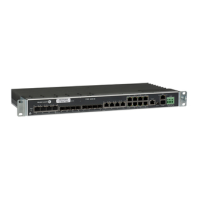
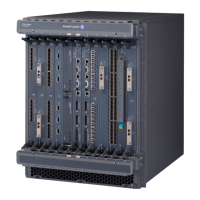
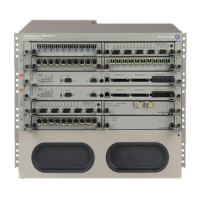
Installing the Components
Page 112 7705 SAR-8 Installation Guide
To attach fiber cables:
Step 1. Attach the cable to the port connector or SFP connector on the adapter card. If
necessary, attach the fiber cable boot according to the manufacturer’s instructions.
Step 2. Route the cables under or over the chassis. If desired, loosely bundle the cables from
each slot together using a cable tie. Do not over-tighten the cable tie.
Step 3. Attach the fiber cable to a distribution panel or appropriate connector.
Making a Shield Ground Connection
To maintain EMC compliance, cables that are shielded and grounded at both ends must be
used with the CSM, Fan module, and adapter card electrical interfaces.
To meet surge protection requirements, the cable shield on any open-ended cable must be
grounded to a convenient chassis ground point, such as the equipment rack.
Hardware required:
•wire stripper
• hardware for making the connection (such as a screw, star washer, and cable ties)
To make a shield ground connection:
Step 1. Locate a convenient chassis ground point, such as the equipment rack.
Step 2. Carefully strip enough insulation (outer jacket) from the cable such that the exposed
grounding wire can reach the chassis ground point. Ensure that there is enough
stripped insulation to provide strain relief for the ground connection.
Step 3. Separate the ground shield (braid, foil, and drain wire) from the signal conductors.
Warning: Fiber cables are sensitive to bending, twisting and general over-exertion. Extreme
caution is recommended when handling fiber cable.
Note: Arrange the cables such that they do not impede the insertion or
removal of field-replaceable units, including the Fan module, or obscure
viewing the LEDs on the Fan module.
Caution: When stripping the cable insulation, avoid nicking the ground conductors
or the insulation on the signal conductor. Nicks can weaken or break a conductor or
expose a wire to a potential short circuit.