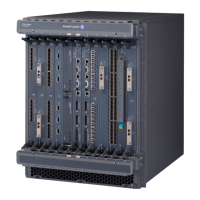
Installing the Components
Page 98 7705 SAR-8 Installation Guide
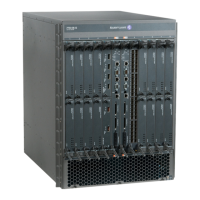
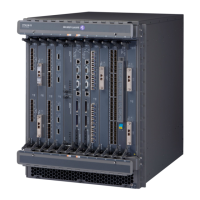
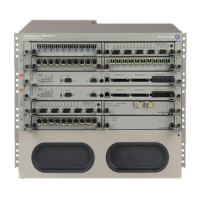
To install a CSM:
Step 1. Remove the new CSM from the packaging. Do not touch the printed circuit board or
connector pins.
Step 2. Install the CSM. For simplex configurations, the CSM must be installed in slot A. For
redundant configurations, install a CSM in slot A and in slot B.
With the ejector levers rotated inward, hold the CSM by the levers, align the card
with the slot guides, and slide the card inward until the connectors are seated in the
backplane and the faceplate is flush with the front of the chassis.
Step 3. Secure the card in place by tightening the captive screws. Do not over-tighten. The
recommended torque is 4-6 lbf-in.
Compact Flash
To facilitate commissioning, the compact flash device is user-replaceable; however, it must
be replaced by a supported compact flash that has the correct files. The files are:
• bof.cfg – boot option file
• boot.ldr – bootstrap software
• config.cfg – default configuration file
• TiMOS-m.n.Yz
→ m – major release number
→ n – minor release number
→ Y – A (alpha release), B (beta release), M (maintenance release), or R (released
software)
→ z – version number
Note: If the CSM does not seat properly in the backplane, an ejector lever
may not be completely rotated inward. Pull the card out half way, adjust the
levers, and reinsert the card.
Note: The CSM cannot be removed if the captive screws are tightened. To
remove the CSM, loosen the captive screws, rotate the ejector levers
outward to loosen the backplane connectors, and pull the CSM out of the
slot.