Installing the Chassis
Page 82 7705 SAR-8 Installation Guide
Installing the Chassis in a Rack
Rack-Mounting the Chassis
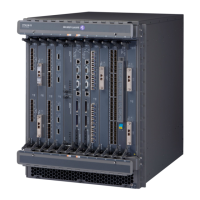
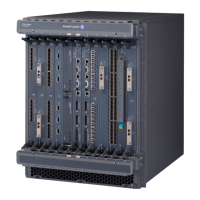
The 7705 SAR-8 router chassis is designed for installation in a 19-inch rack. The rack-
mount brackets are factory-installed. Figure 19 illustrates the installation of the chassis in a
rack.
It is easier to install the 7705 SAR-8 chassis in the rack with two people, one person to hold
the router and one person to secure it to the rack.
Danger: Only trained and qualified personnel should install or replace this equipment.
Cautions:
• Always wear an ESD-preventive wrist or ankle strap and always connect an ESD strap to
a nearby ground point that is connected to the site grounding point (typically, the
grounding stud on the 7705 SAR-8, or a properly grounded rack or work bench).
• Lift the chassis by the bottom of the chassis. Do not put your hands inside a card slot to
lift the unit.
• When rack-mounting the chassis in an equipment rack, do not stack other 7705 SAR-8
units or any other equipment directly on top (where the bottom unit is supporting other
devices). Each unit must be secured in the rack with the appropriate mounting apparatus.
Warnings:
• Failure to comply with the location requirements outlined in
Installation Locations on page
71
and Chassis Location Requirements on page 72 will impede proper airflow and will
result in thermal failure.
• Non-conductive coatings (such as lacquer and enamel) must be removed from threads
and other contact surfaces to ensure electrical conductivity. Thread-forming screws with
paint piercing washers may be used for this purpose during installation.