MaxCommunicator Manual 27
Using
MaxCommunicator
Transferring to Auto Attendant
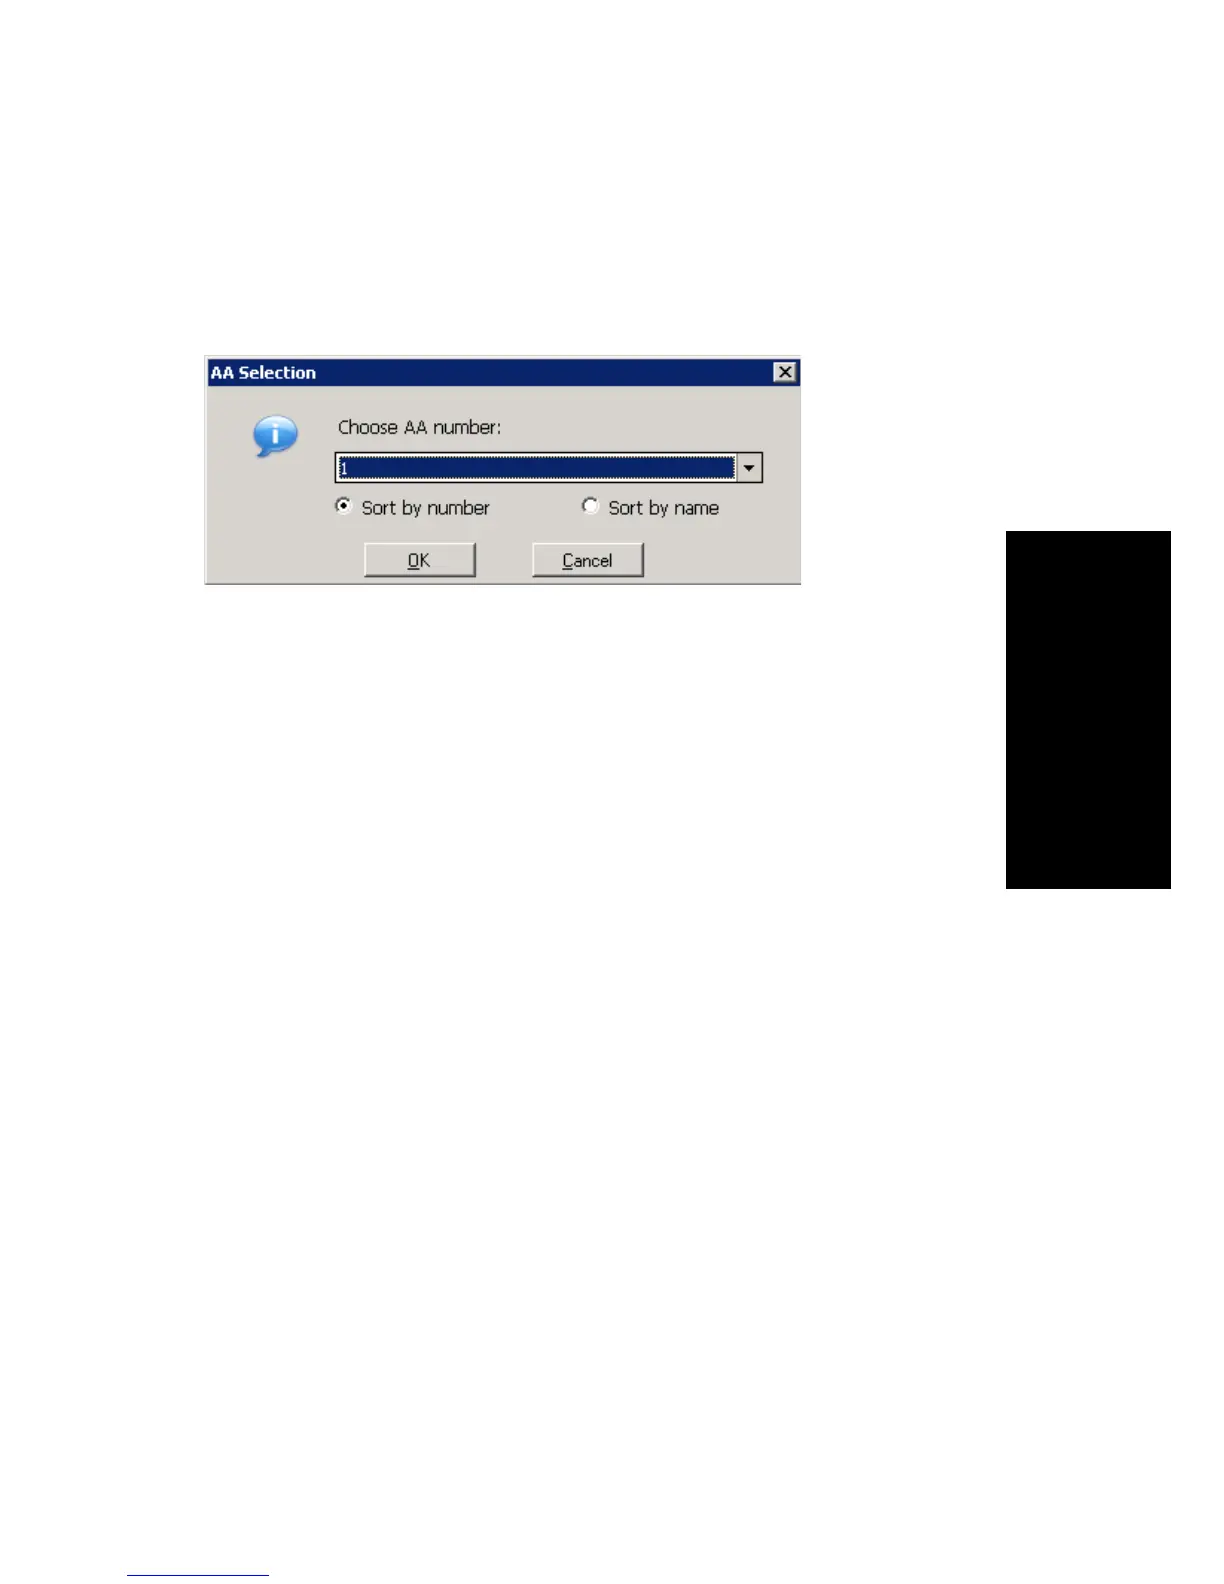
To transfer a call to an auto attendant, while connected to the call click the
To AA button. The AA Selection box pops up. Use the drop-down list to
select an auto attendant to transfer to. (You can sort the list by number or
by name.)
Note: You can forward a call to an auto attendant without answering it by
clicking the To AA button while the call is ringing.
Forwarding Calls Using Do Not Disturb
If allowed, click the DND button to forward all incoming calls according
to your “Enable Busy Call Handling” settings. See “Busy Call Handling
and No Answer Handling” on page 52.
Centrex Transfer
If you have a Centrex line, you can use this feature to transfer an external
call to an outside number without having to tie up two trunk lines. Once the
transfer is complete, the external caller’s line connects directly to the
outside number. Since there are no longer any connections to internal users,
internal trunk lines are then dropped, freeing up system trunk line resources
for other calls. (To enable Centrex transfer, in the MaxCommunicator
Configuration window, General screen, check the Enable Centrex
Transfer check box.)
To perform a Centrex transfer:
1. While connected to an outside caller from a Centrex trunk, type “F*”
in the number field and then press the Enter key on the keyboard.
2. After you hear a dial tone, type the second party’s outside number in
the number field and then press the Enter key on the keyboard again.
3. Now either click the Hang Up button or wait to announce the caller
and then click the Hang Up button.