33 RS2310002 Rev. 1
Cooking Utensils
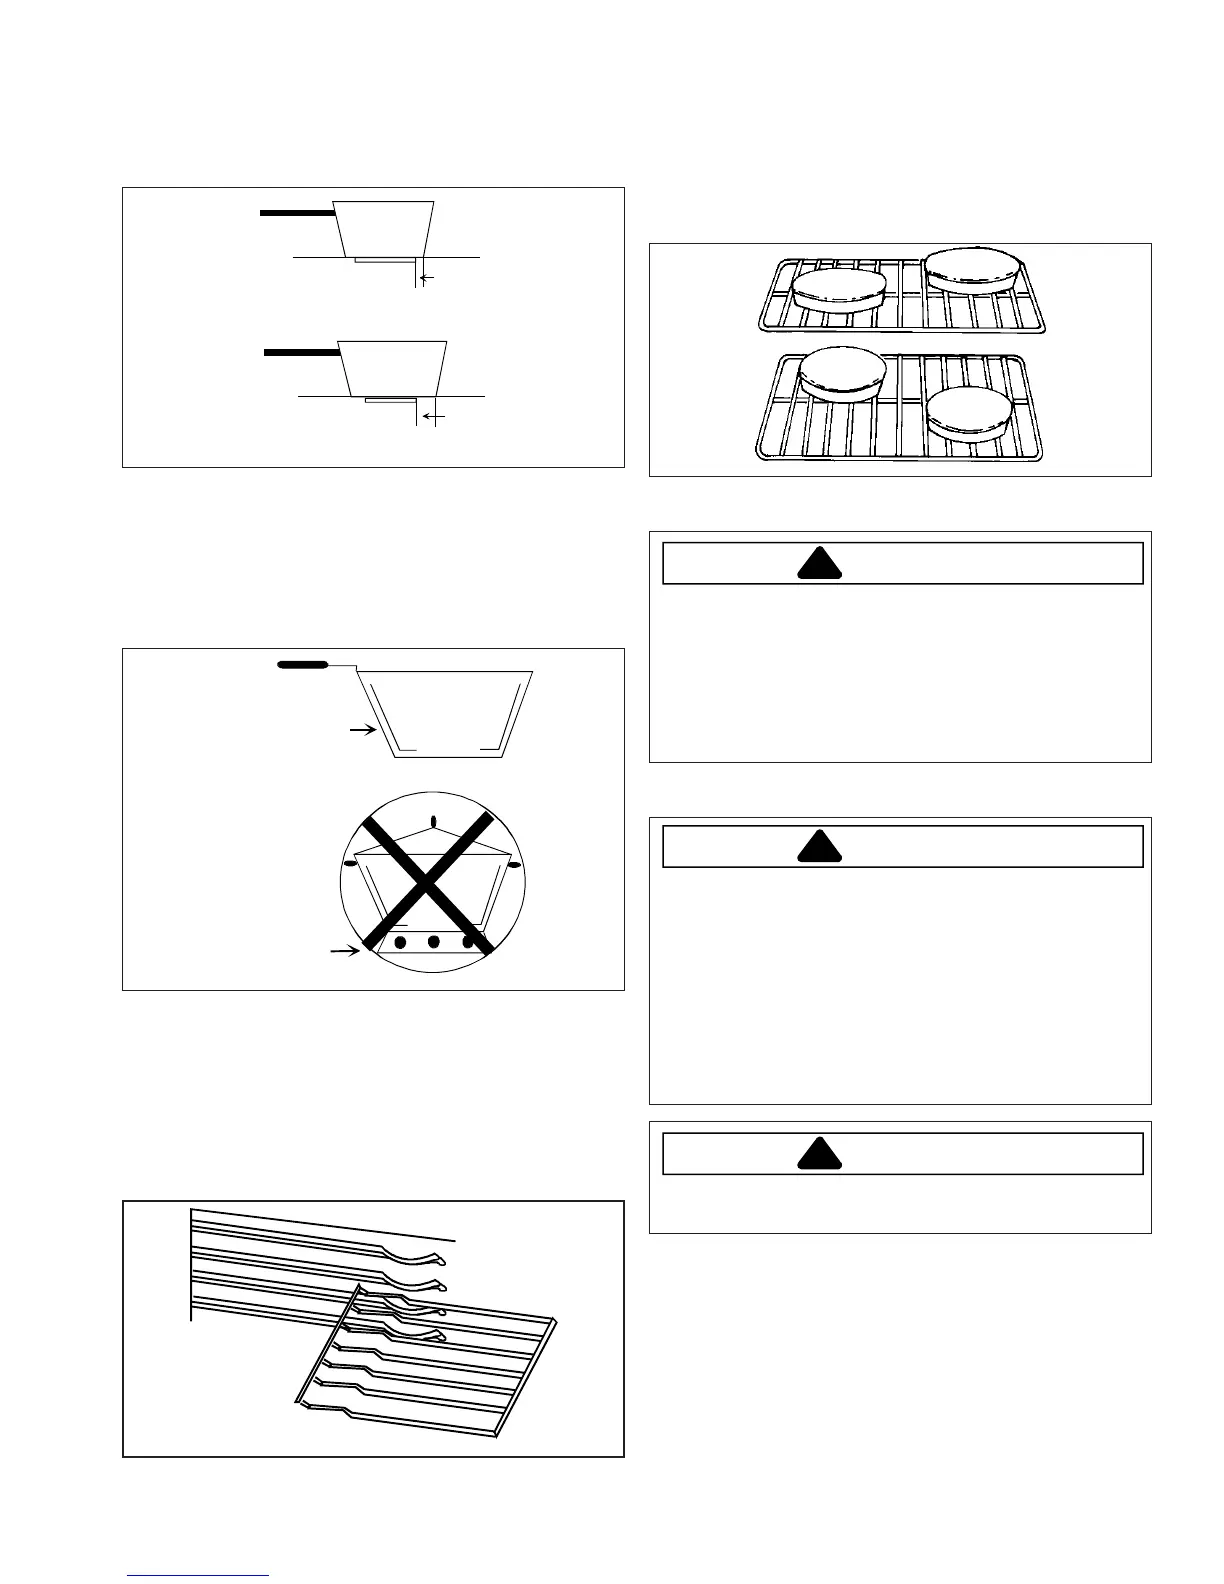
• Use proper pan size. Do not use utensils that
overhang element by more than 1 inch.
1"
2"
Less than 1" overhang
More than 1" overhang
• Use care when using glazed cooking utensils. Some
glass, earthenware, or other glazed utensils break due
to sudden temperature changes.
• Select utensils without broken or loose handles.
Handles should not be heavy enough to tilt pan.
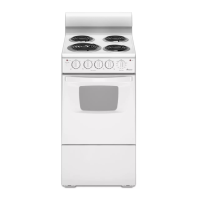
• Select utensils with flat bottoms.
• Do not use a wok with a ring stand.
Flat Bottom Wok
Ring Stand Wok
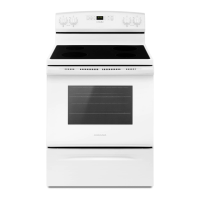
Oven Rack Placement
Position oven rack before turning oven on.
1. Pull rack forward to stop position.
2. Raise front edge of rack and pull until rack is out of
oven.
3. Place rack in new rack position.
• Curved edge of rack must be toward rear of oven.
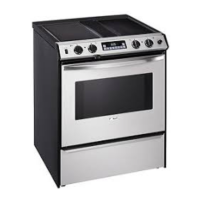
Pan Placement
• Keep pans and cookie sheets 2 inches from oven
walls.
• Stagger pans placed on different racks so one is not
directly over the other.
Broiling Rack Placement
CAUTION
• Do not line oven bottom with aluminum foil, will
damage porcelain coating.
• Do not line broiler with aluminum foil, will cause
fire.
• Opendoor broiling is not recommended, may
cause discoloring or component damage on Slide-
In units.
Removing Oven Door
CAUTION
To avoid personal injury or property damage, handle
oven door with care.
• Door is heavy and can be damaged if dropped.
• Avoid placing hands in hinge area when door is
removed. Hinge can snap closed and pinch
hands.
• Do not scratch or chip glass, or twist door. Glass
may break suddenly.
• Replace door glass if damaged.
CAUTION
To avoid personal damaging oven door, do not lift or
move range by oven door handle. Glass can break.
1. Open door fully.
2. Remove screws on each side of lower oven door.
3. Close door to first stop.
4. Grasp door firmly on each side and lift upward until
door is off hinges.
General Information