ANAFI Ai
30
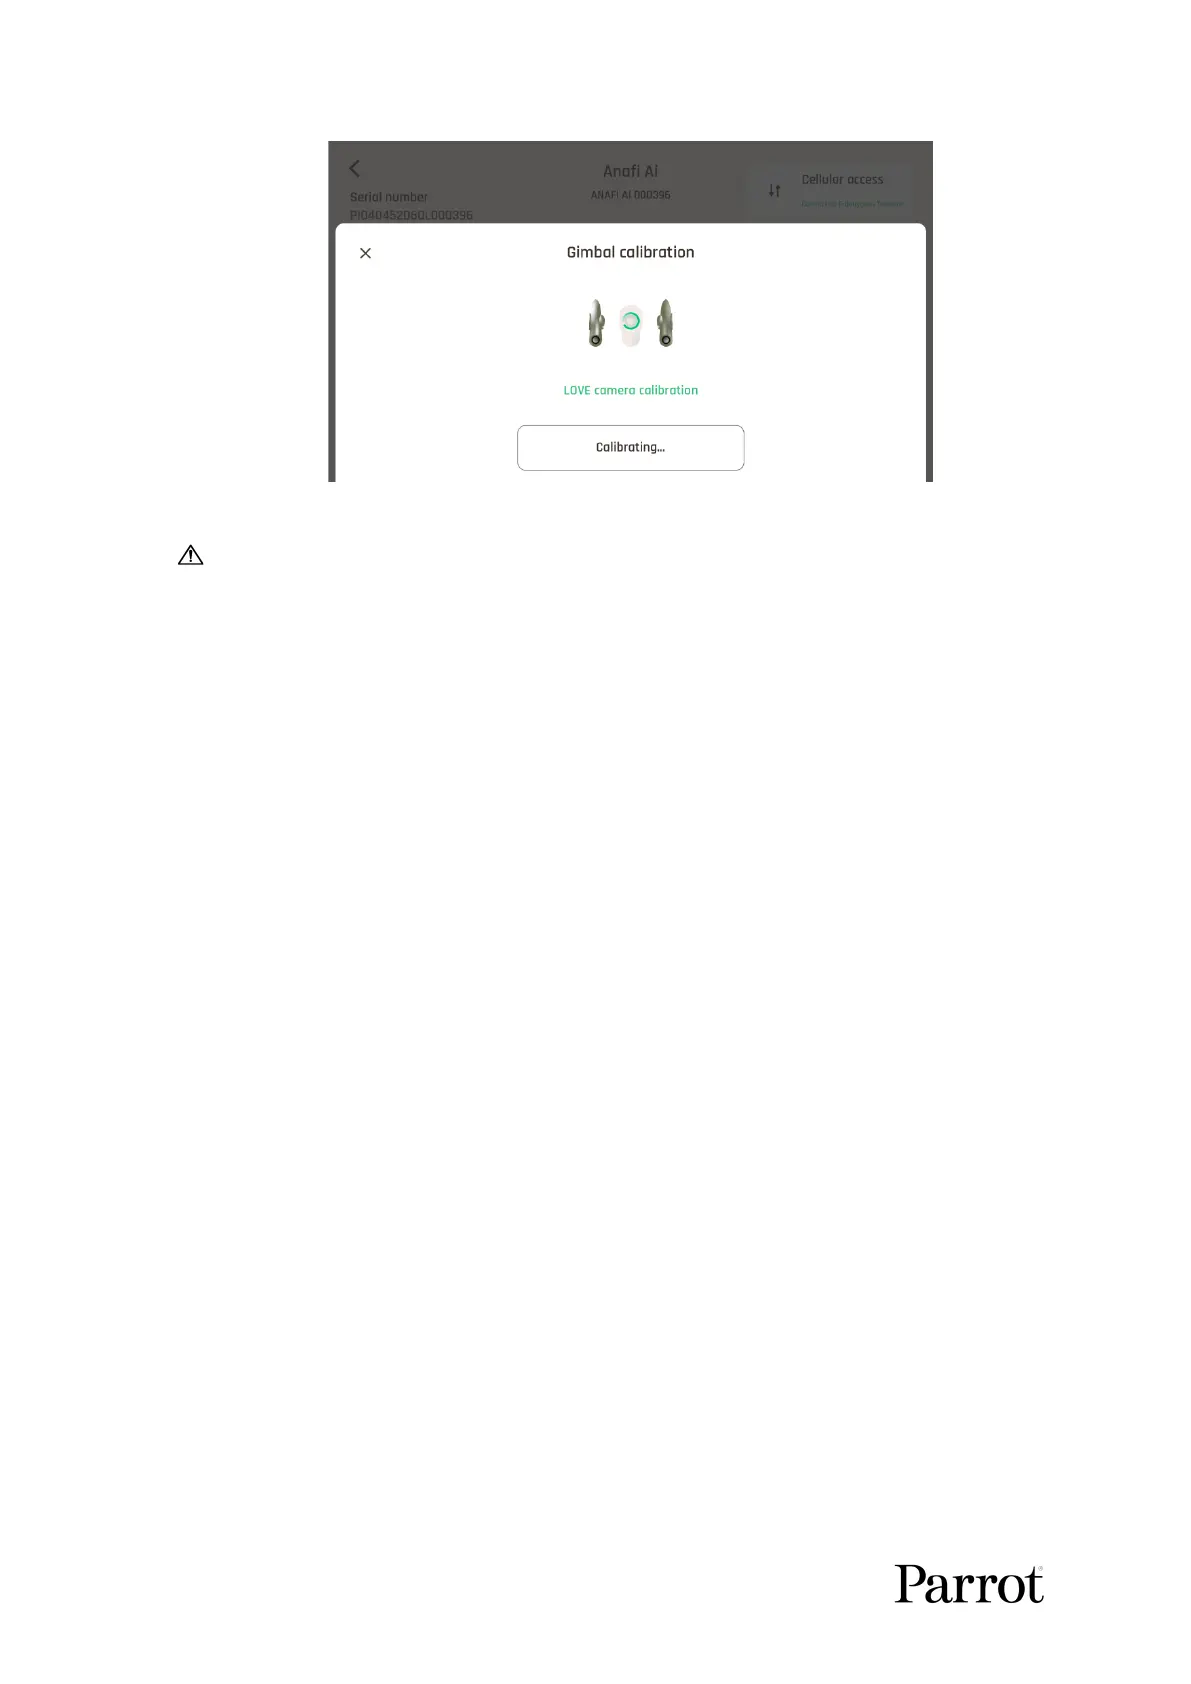
Stereo camera calibration in progress
Be aware that FreeFlight 7 can prompt you to carry out this calibration when
needed. It is not mandatory to take off, but it is recommended.
Horizon calibration (exceptional procedure)
Your ANAFI Ai’s camera has been factory-calibrated with unparalleled precision.
Unlike the magnetometer calibration of ANAFI Ai or that of the Parrot Skycontroller 4,
which must be carried out periodically, the horizon calibration must not be carried out
unless it appears necessary – typically, after a crash.
If you notice a tilted horizon on all your videos and photos, and if this tilt is always on the
same side, access horizon calibration to make your horizon perfectly straight again.
This feature is accessible from the ANAFI Ai page on the FreeFlight 7 dashboard (or
from the ANAFI Ai box of the HUD).
Before starting this procedure, you need to position ANAFI Ai on a flat and perfectly level
surface, exactly perpendicular to any pattern containing straight lines you can use as
horizon references.
A half empty large water bottle provides a useful horizon line almost anywhere.
When ANAFI Ai is correctly positioned, perpendicular to a horizon, power it on,
along with the Parrot Skycontroller 4 and your device, as you would for any flight.
Access the calibration menu from the ANAFI Ai page of the dashboard of
FreeFlight 7.
Select the “Horizon calibration” option.
Tap “–“ or “+” until the artificial horizon of ANAFI Ai matches the horizon reference
facing the drone.