v.early.1.03 – published on December 20, 2021
63
Creating Panoramas
ANAFI Ai panoramas are generated automatically through the gallery of FreeFlight 7,
based on a series of pictures taken by the drone.
The generation of a panorama, regardless of its format, implies three phases:
collecting the pictures, in flight;
downloading the pictures from ANAFI Ai to your device;
stitching the pictures together to create the panorama, on your device, through
the gallery of FreeFlight 7.
Before shooting a panorama:
Make sure you are not flying lower than 10 meters (30ft) over water.
Make sure no object nor subject are present in a 10 meters (30ft) radius around
ANAFI Ai.
Bear in mind ANAFI Ai locks the exposure (refer to the “AE Lock ” section of this
guide for additional information on exposure locking) of the frame with which you
start your panorama. For this reason, Parrot recommends you always frame the
main subject of the intended panorama before pressing the shutter button.
Bear in mind ANAFI Ai will not enable you to proceed with a panorama if the
drone is short on power (capturing a 360 Panorama takes ANAFI Ai
85 seconds).
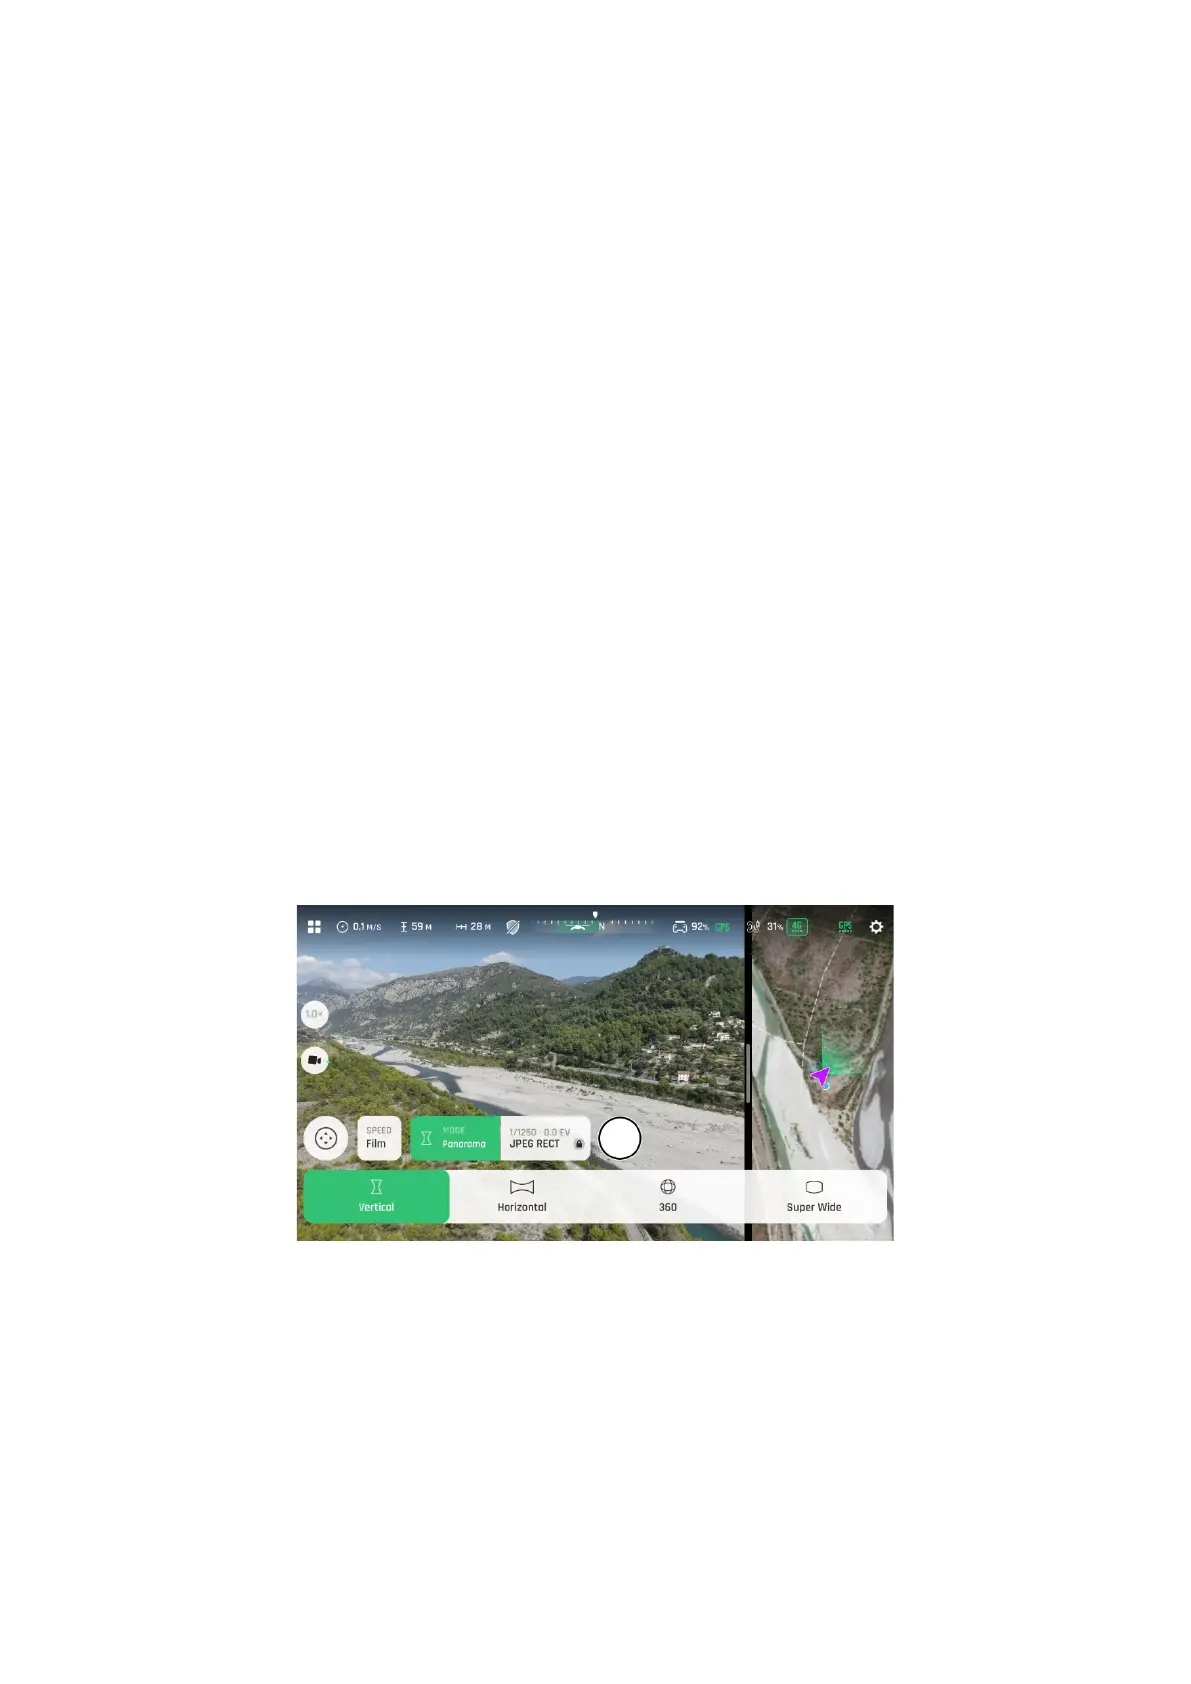
To capture a panorama, select the “Panorama” box from the imaging “Mode” menu of
the HUD. Then, tap the panorama type you want to select it: Vertical, Horizontal, 360
or Super Wide.
Panorama types
When you are happy with your framing, press the hard shutter button on the right of
the Parrot Skycontroller 4 (or tap the soft shutter button of the HUD) to begin the
Panorama capture. ANAFI Ai starts taking pictures and the bottom of the HUD
displays a progress bar which fills with green as the capture unfolds.