LCX 890 Installation Guide 35
Attaching the Output Relays
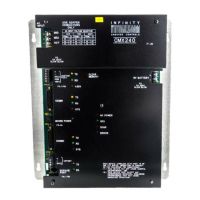
The outputs are on the upper part of the LCX 890 just to the left of the
divider. On the LCX 898, they are on the outer side of the left and right
dividers. A relay connects to each output.
This explanation covers installing relays on the LCX 890 and the right
side of the LCX 898. All output wires should enter from the right.
If you purchase Andover Controls relays, install them as follows:
1. Thread the wires through the opening provided on the divider.
2. Press on the square end of the relay so it latches to the opening in the
divider. Be sure the two large screws on the end of the relay are
facing the front of the cabinet.
3. Plug the plastic connector at the end of the wires onto the 5-pin
connector to the right of the output terminals and to the left of the
divider.
Caution
Be sure the blue wire is at the top and the yellow at the bottom. Other-
wise, you could damage the relay.
4. Repeat the above procedure for each relay.
The outputs are numbered starting with the row to the right. The odd num-
bered outputs are to the right, the even to the left. To be sure of the exact
output number, follow the wires that connect the relay through the left side
of the divider to the terminal wiring area. The relay wires connect adjacent
to the output terminal with the corresponding output number.
 Loading...