10
Set of channels that describes a single type of
failure.
An analog (optical, audio, microphone) input
on the Failure Detection Box.
A digital input on the Failure Detection Box.
A sequence of actions required to control
either DUT or failure detection.
4. ESD Scanner Operation Procedures
The hardware set up should be accomplished at this point, e.g. the probe is attached to the robot;
amps, cables and instrument are connected. Operation procedures are described in the order of
normal operation sequence.
4.1. Create "Workspace" and "Project"
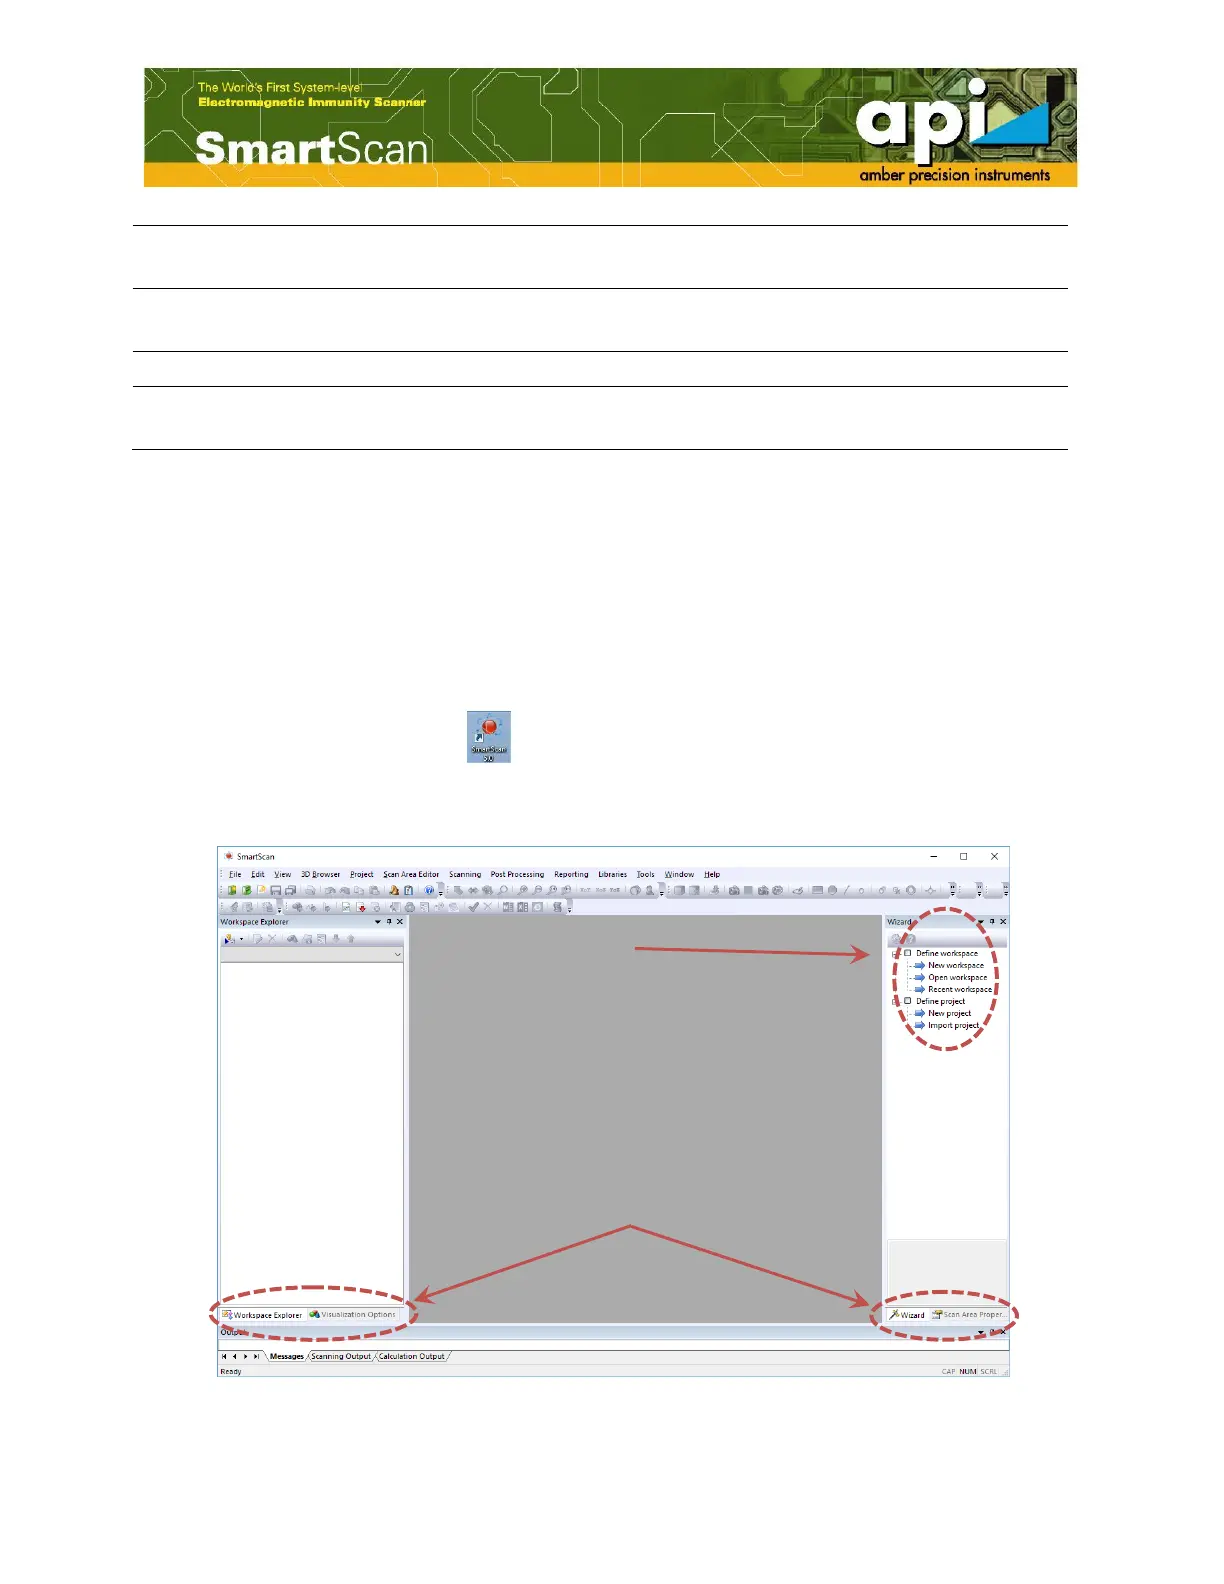
As user opens SmartScan V5.0 ( ) , following window with "Workspace Explorer" docking
pane on left and "Wizard" pane on right, pops up. Docking panes can be selected by user as
shown in Figure 2.
Figure 2: Opening window of SmartScan V5.0.