17
4.4. Define Scan Area and Height
Several options are available to define the scanning area shape over the DUT image: rectangular
area, polygon area, line, and point. These options can be found in the icon bar ( )
highlighted in Figure 13, or can be activated from the "Wizard" pane by double click on the
name.
- Rectangular area – defines a rectangle.
- Polygon – it can be called any shape, too. It allows users to define any shape of scan area.
- Line – defines a straight line.
- Point – defines a single point.
The polygon area option will be used as an example in the following procedures.
Define Scan Area
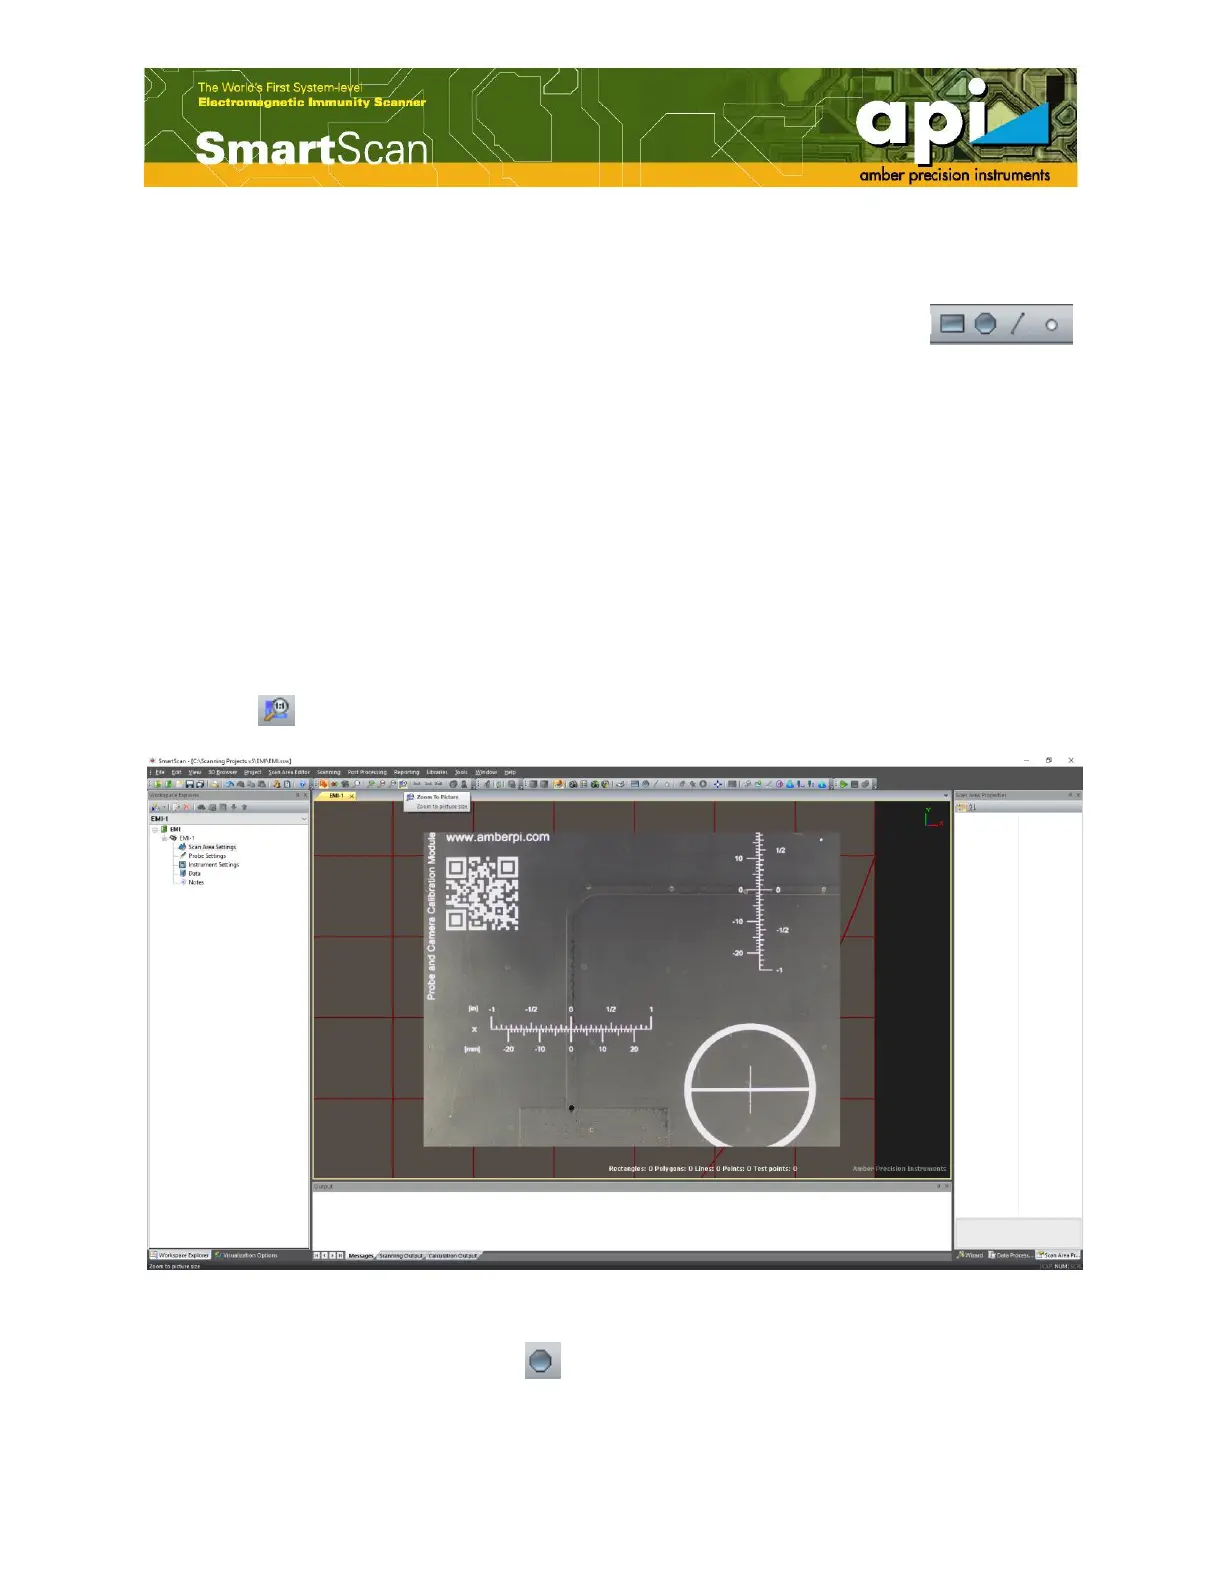
a. Zoom in the picture taken in the previous procedure by clicking on the "Zoom to Picture"
button ( ) in the top icon bar, highlighted in Figure 13.
Figure 14: Zoomed in DUT picture.
b. Click on the "Polygon Area" icon ( ). Then go to DUT picture, click left mouse button to
select as many points as needed on the DUT picture. Seven points has been defined in this
example, as shown in Figure 15.