6.
Load the RNase P plate or array card into the instrument:
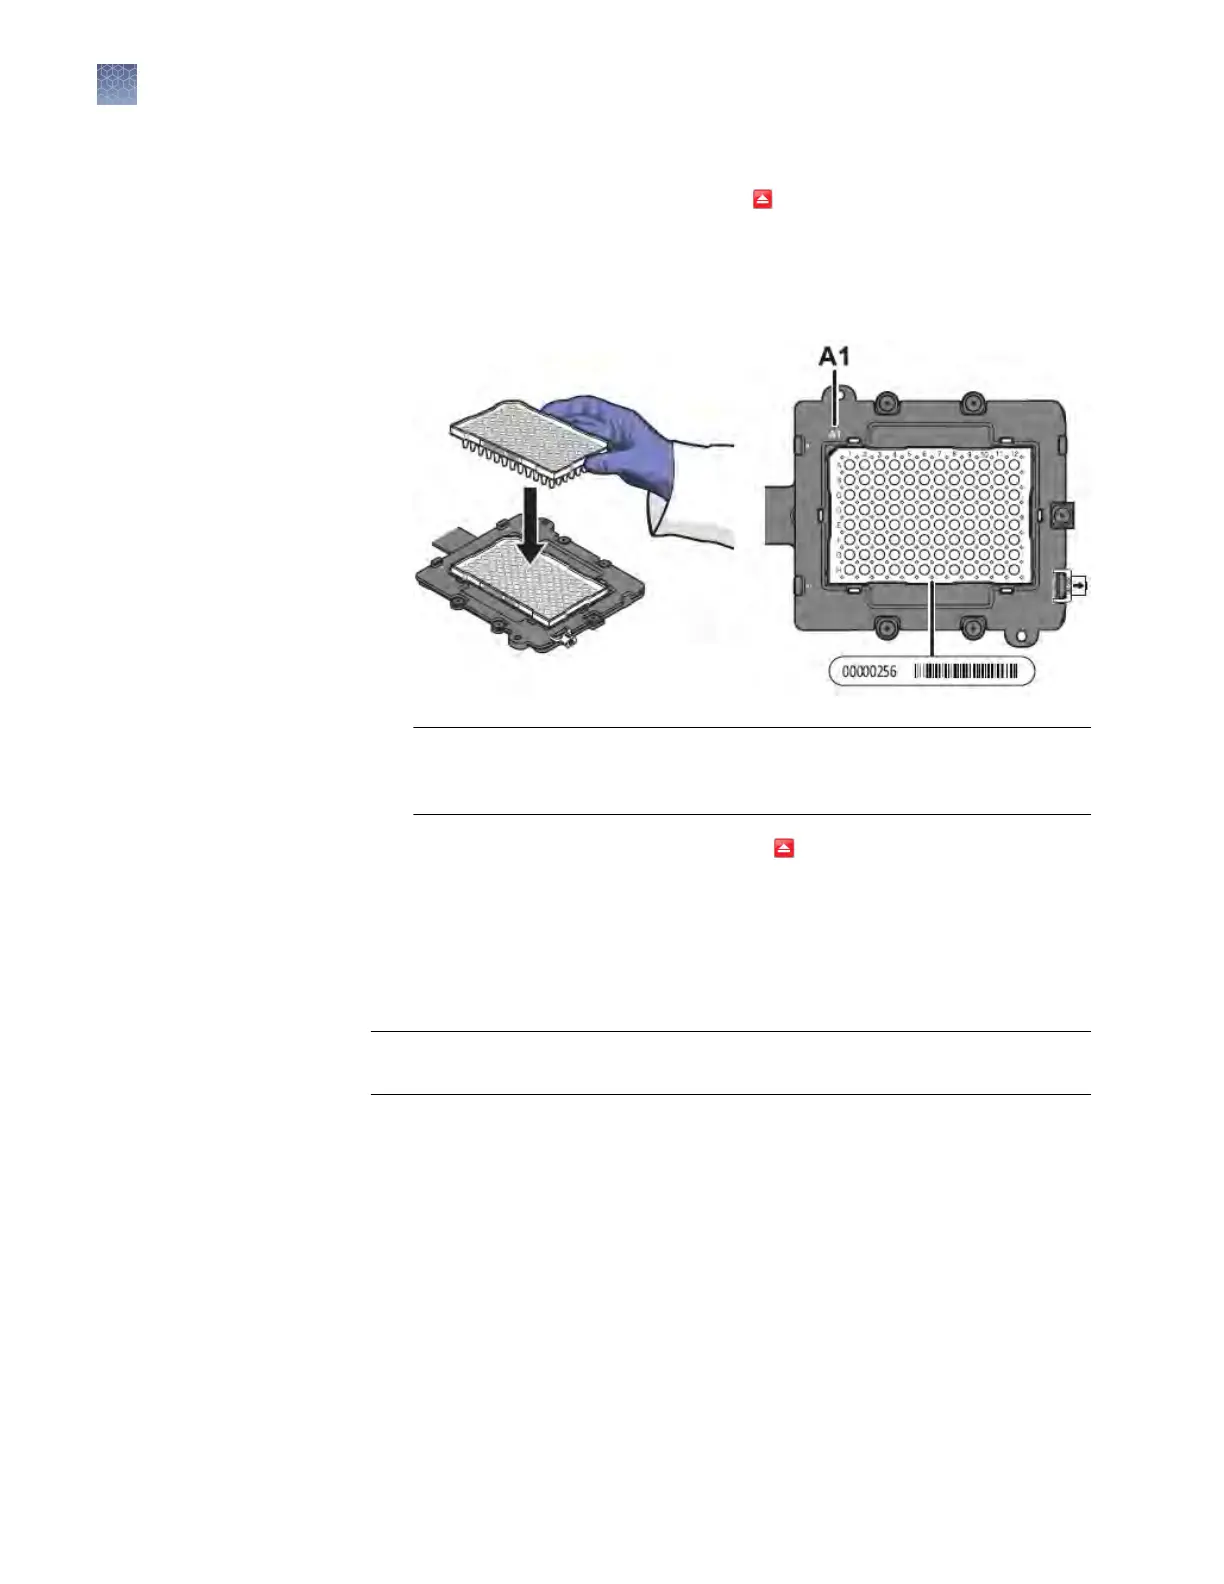
a.
From the instrument touchscreen, tap to eject the instrument tray.
b.
Load the plate or array card into the plate holder so that:
•
Well A1 of the plate or array card is in the top-left corner of the adapter.
• The barcode faces the front of the instrument.
IMPORTANT! Plates and array cards should be loaded and unloaded by
operators who hav
e been warned of the moving parts hazard and have been
adequately trained.
c.
From the instrument touchscreen, touch
to close the instrument tray.
7.
After loading the plate or array card, start the instrument v
erication test:
a.
In the Overview screen, select Check the box when the RNase P plate has
been loaded, then click Next.
b.
In the Run screen, click Start Run to start the test.
IMPORTANT! Do not aempt to open the access door during the run. The door
is locked while the instrument is in operation.
Note: Before starting the instrument v
erication test, the instrument may pause
(up to 10 minutes) to allow the heated cover to reach the required temperature.
Chapter 2 Calibr
ate the instrument
Verify the instrument performance
2
68
QuantStudio
™
6 and 7 Flex Real-Time PCR Systems v1.6 Maintenance and Administration Guide