101
Proceduretoinstallthecutterheadtimingbelt.
For this procedure it is best to have the timing belt in position but very loose so that the ball screw and the
motor shaft can independently rotated.
1. Power must be on. The machine must be in E-STOP.
Take all necessary safety precautions
for working with a live machine.
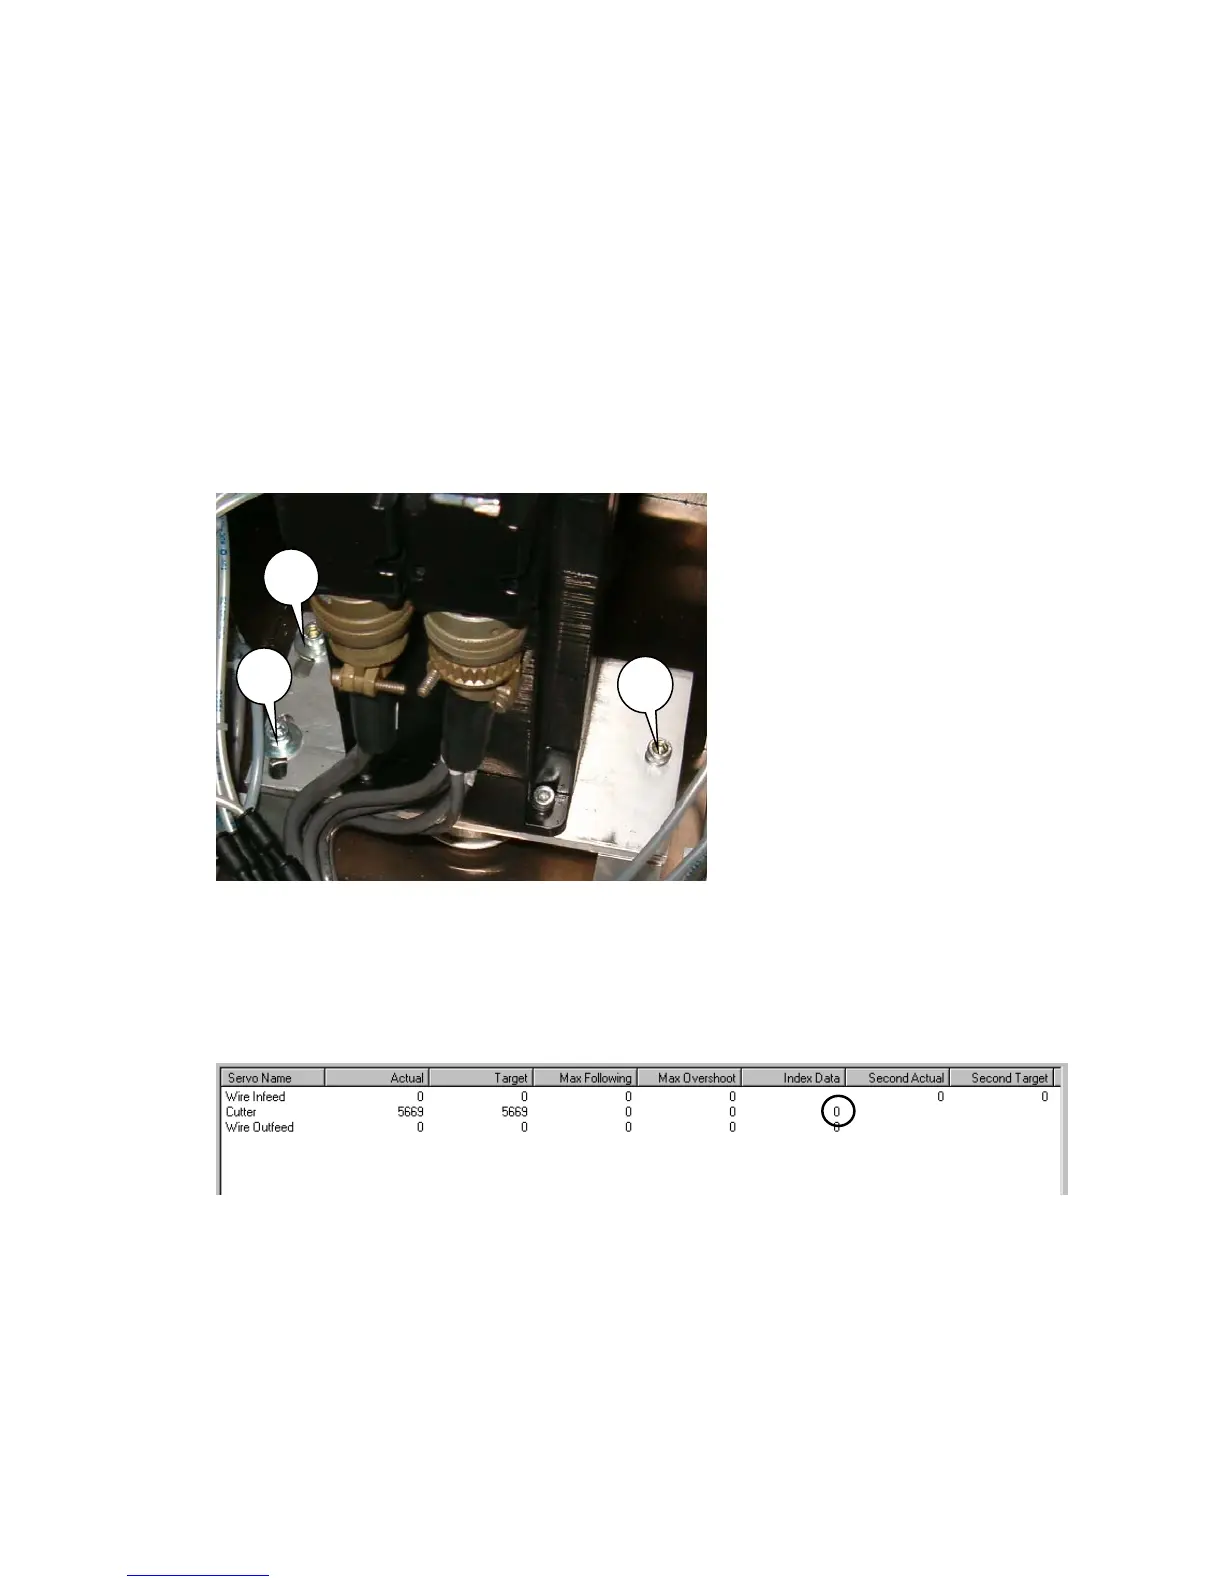
2. Loosen the screws marked “E”. (3 places) Loosen belt by pushing the motor forward.
Slip the belt from under the pulleys.
3. If the belt is not yet installed then place the new belt over the pulleys but do not tension
the belt yet. Leave the belt loose so that the ball screw and the motor shaft can be
independently rotated.
4. Rotate the ball screw in the cutterhead opening direction until the light on the cutter prox turns
on. See photo 2.
5. Rotate the ball screw in the cutter head closing direction about 1/4 turn and stop
6. Click Maintenance, I/O status from the CS327 software.
7. Very slowly rotate the motor shaft without moving the ball screw, until you see the Cutter Index
Data number increment. You should be able to rotate back and forth over this position and the
index data number will keep incrementing. At this point position the timing belt and tighten.
Proper belt tension should be no more than 1/16
th
in (1,5 mm) of deflection when pushing
on the center of the belt between the pulleys.
E
E
E
 Loading...