14
25. Remake. As you make batches of parts you may need to make an extra part. By pressing the remake
button, one part extra will be made for the current batch. When running in job/batch mode, this
button will be inactive as the machine changes over from one part to the next. The button is always
inactive for in Job/Harness mode.
26. Bar code scan. For selecting part name by scanning a bar code.
27. Material. Opens a window for verifying the wire via bar code scan.
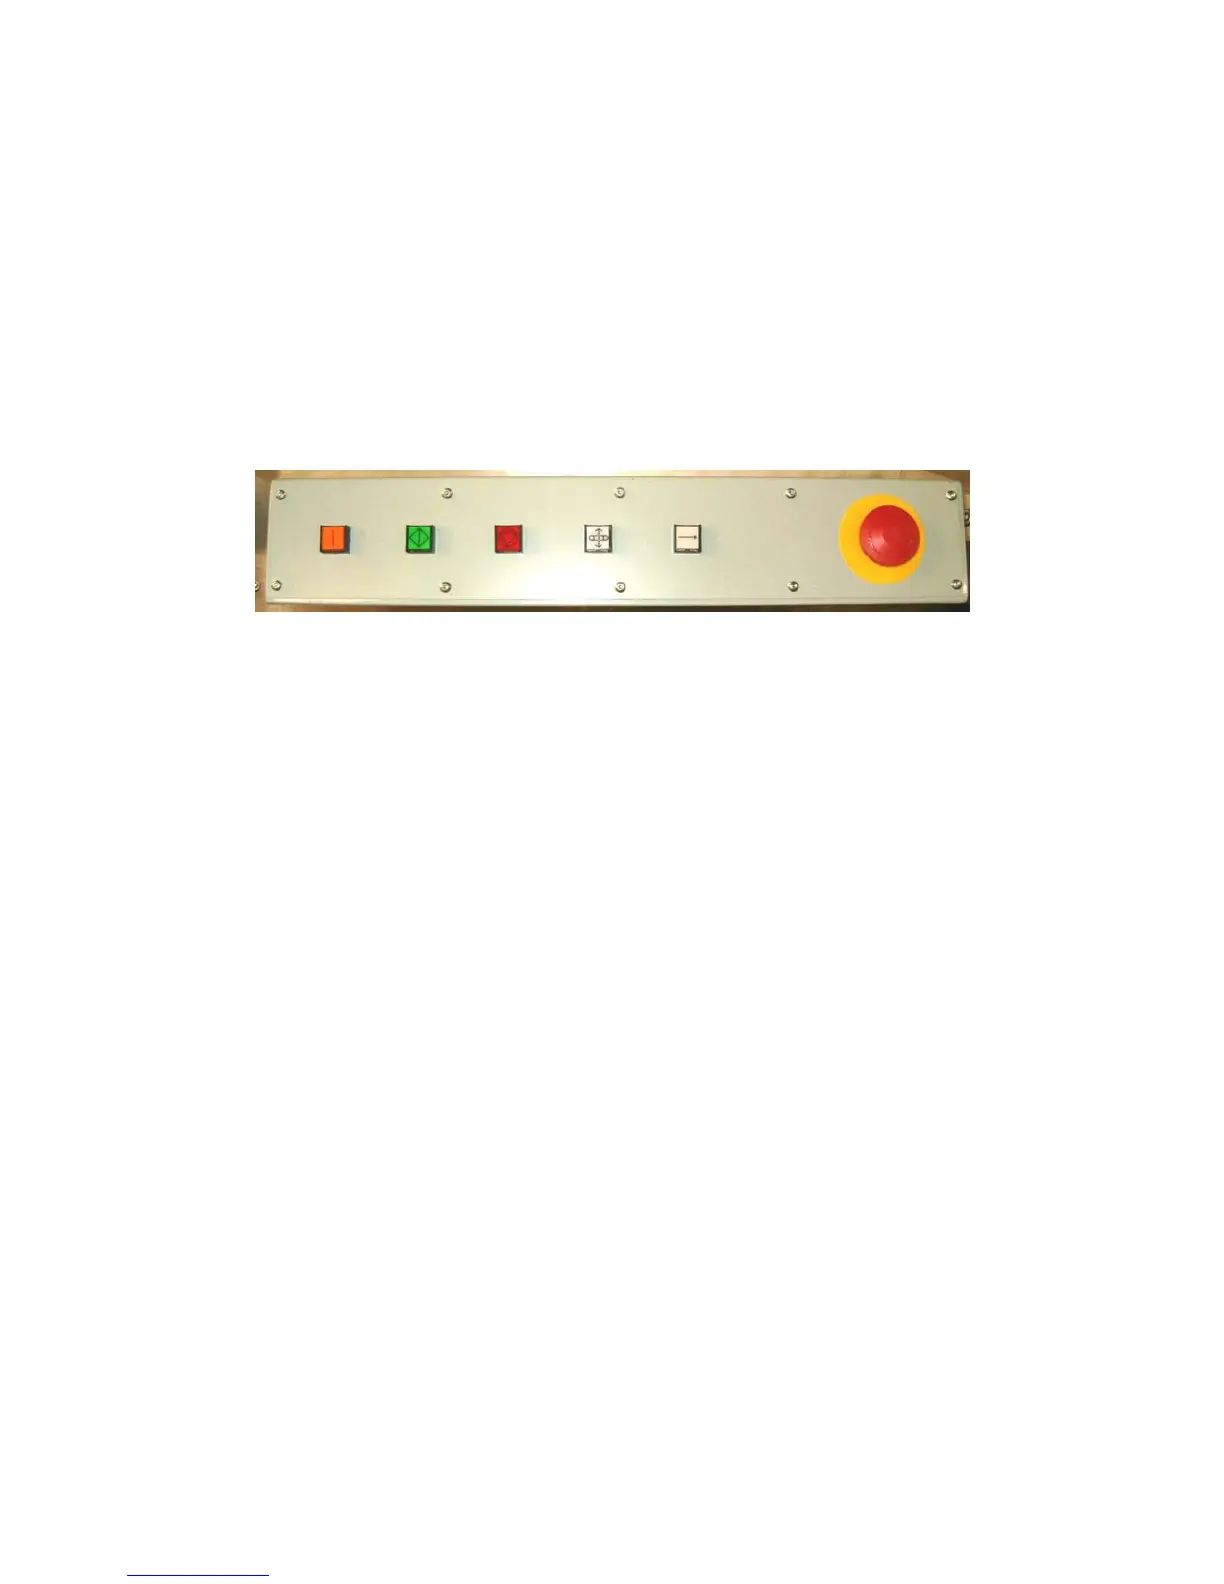
PUSH BUTTON LEGENDS
MASTER START: Activates the main contactor. Must be on for any action to occur.
CYCLE START: Activates the cycle function that is selected. AUTO, SINGLE, or STEP MODES
CYCLE STOP: Will stop the current cycle at the end of the cycle.
FEED BELTS: Will alternately open and close the feed system. (Master Start must be on)
EMERGENCY STOP (The red mushroom button) will stop all motion immediately.
GETTING STARTED
To put your CS 327 into production follow these easy steps:
1. Insure the proper blades are installed in the cutterhead. (See 89)
2. Select the measuring mode desired, inch or metric, by clicking on “Ruler Icon” at the top of the
screen (#12). The selection will toggle between inch and metric.
3. Click on “Wire” (#5) to setup a new wire or click on Drop down button (#6) to select from
existing wires. For more information configuring the wire properties see section WIRE
PROPERTIES page 22.
4. Click on Drop down button (#14) to select part, select MDI (Manual Data Input).
5. Enter data in #’s 1, 2, and 3. Select Preprocess if required.
6. Now to save this information as a Part to be used again click on the “Part Icon” (#13) the Parts
Properties dialog window will appear. Click on the “New” button and enter the name you wish to
use in the window that appears. Click on the green check box. For more information on
configuring the part properties see section PART PROPERTIES page 19.
Master Cycle Cycle Belts Jog Feed Emergency
Start Start Stop Open/ Close Stop
 Loading...