Checking the Fuses
Whenever the line voltage is changed, the fuses should be checked to
make certain that their values are correct. To check the fuses, follow
these steps:
1. If the Cover (see Figure A-2) is not already removed from the
instrument, remove it by inserting a small blade screwdriver (or
similar tool) into the Removal notch (shown on Figure A-2) and
prying gently.
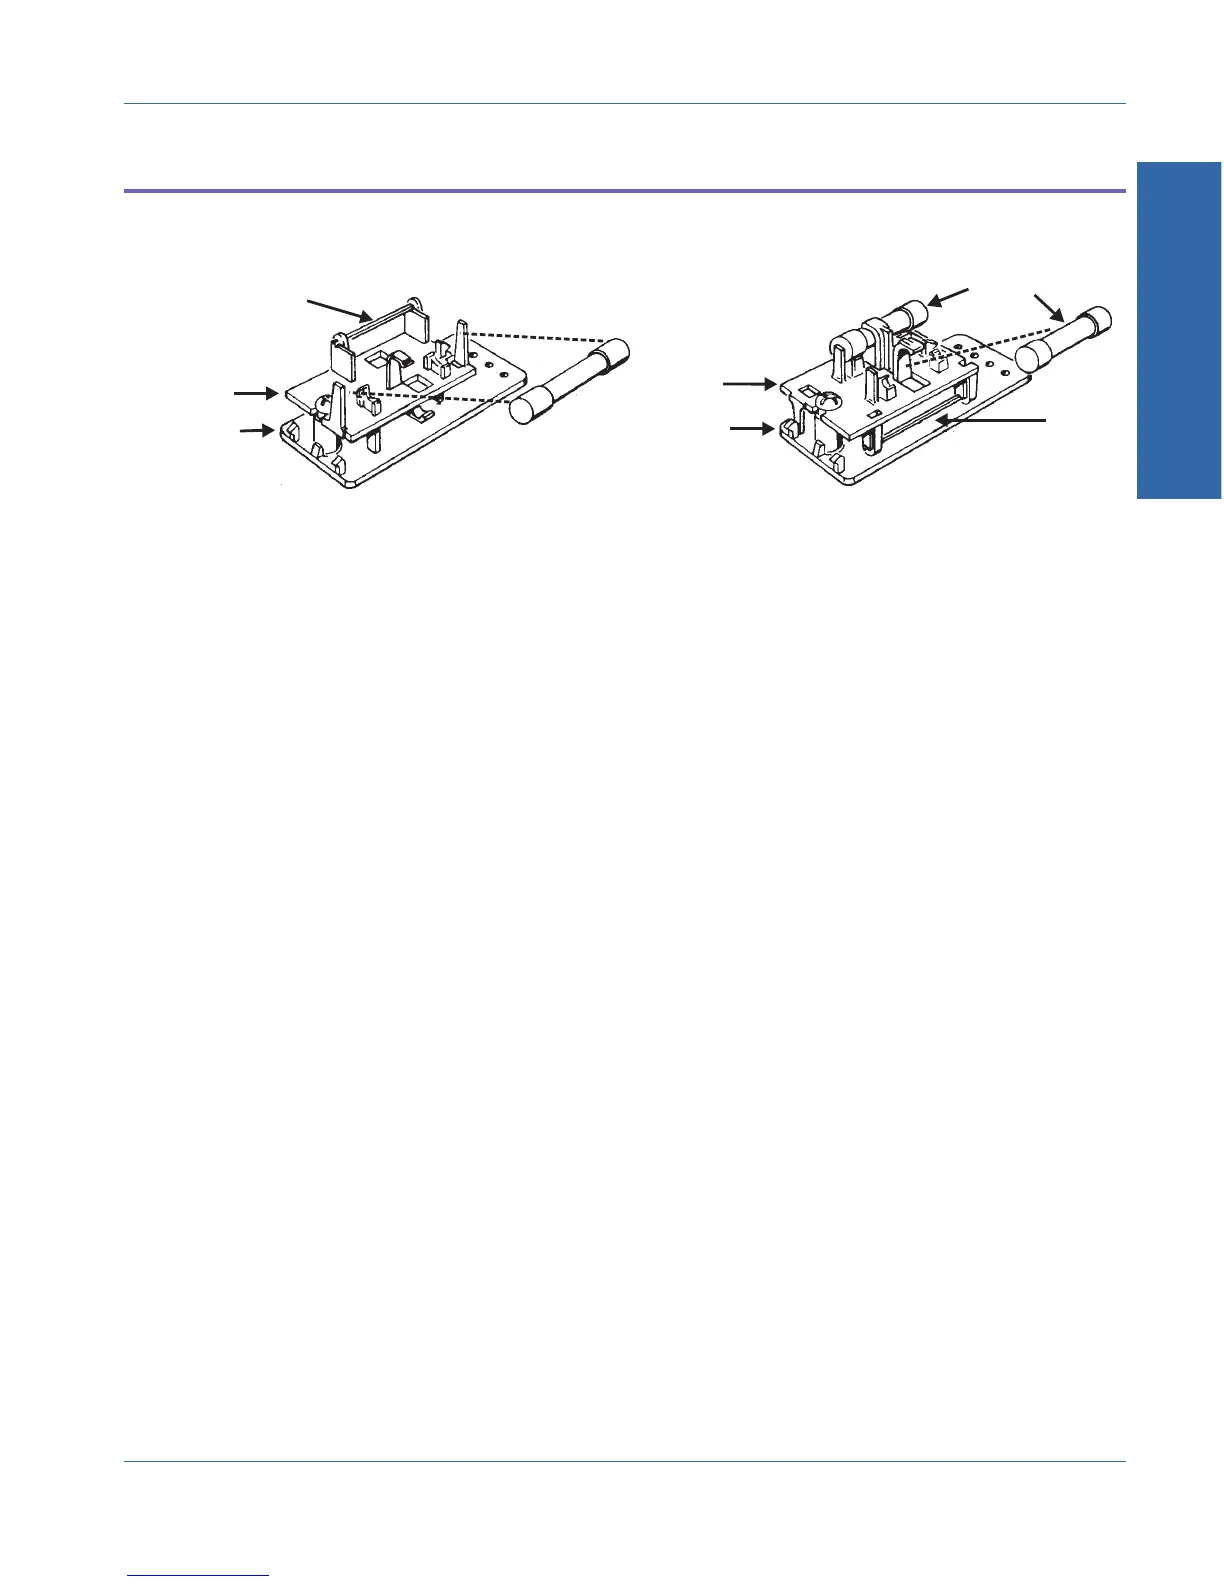
2. On the back of the Cover you should see the Fuse Block. If it is
set for the 100 V or 120 V configuration, you should see one
fuse. If it is set for the 230 V or 240 V configuration, you should
see two fuses.
3. Check the fuse values. For 100 V or 120 V line voltages, a single
500 mA (1/2 Amp) 250 Volt slow-blow fuse should be used.
For 230 V or 240 V line voltages, two 250 mA (1/4 Amp) 250
Volt slow-blow fuses should be used. The ratings for each line
voltage are also shown on the rear panel of the instrument.
4. Replace fuses if necessary. Replace Cover, making sure that
indicator tip is inserted in correct indicator hole for the selected
line voltage (see Figure A-1 for location of indicator holes).
Fuses
Fuse block
Cover
Jumper ba
230/240 V Orientation
Fuse
Fuse block
Cover
Jumper bar
100/120 V Orientation
Figure A-5. Fuse Block Orientations
A Line and Fuses
Appendix A - Changing Mains Voltage Selection Checking the Fuses
ATS-1 Access User's Manual A-5