Appendix B - Rackmounting
Two methods of rackmounting are possible: either fixed brackets, or
slide track mounting. The slide tracks themselves are not furnished, but
the slide mount capability is compatible with the Chassis Trak®
Models C-300-S-114 (14-inch rack depth), C-300-S-116 (16-inch rack
depth), and C-300-S-118 (18-inch rack depth) rack mounts available
from General Devices, Inc.
Note that conversion from bench top to rack nount configuration does
not require the removal of the covers. Also note that the top and
bottom covers may be removed from a slide rack-mounted ATS-1
without removing the unit from the rack or from the slides.
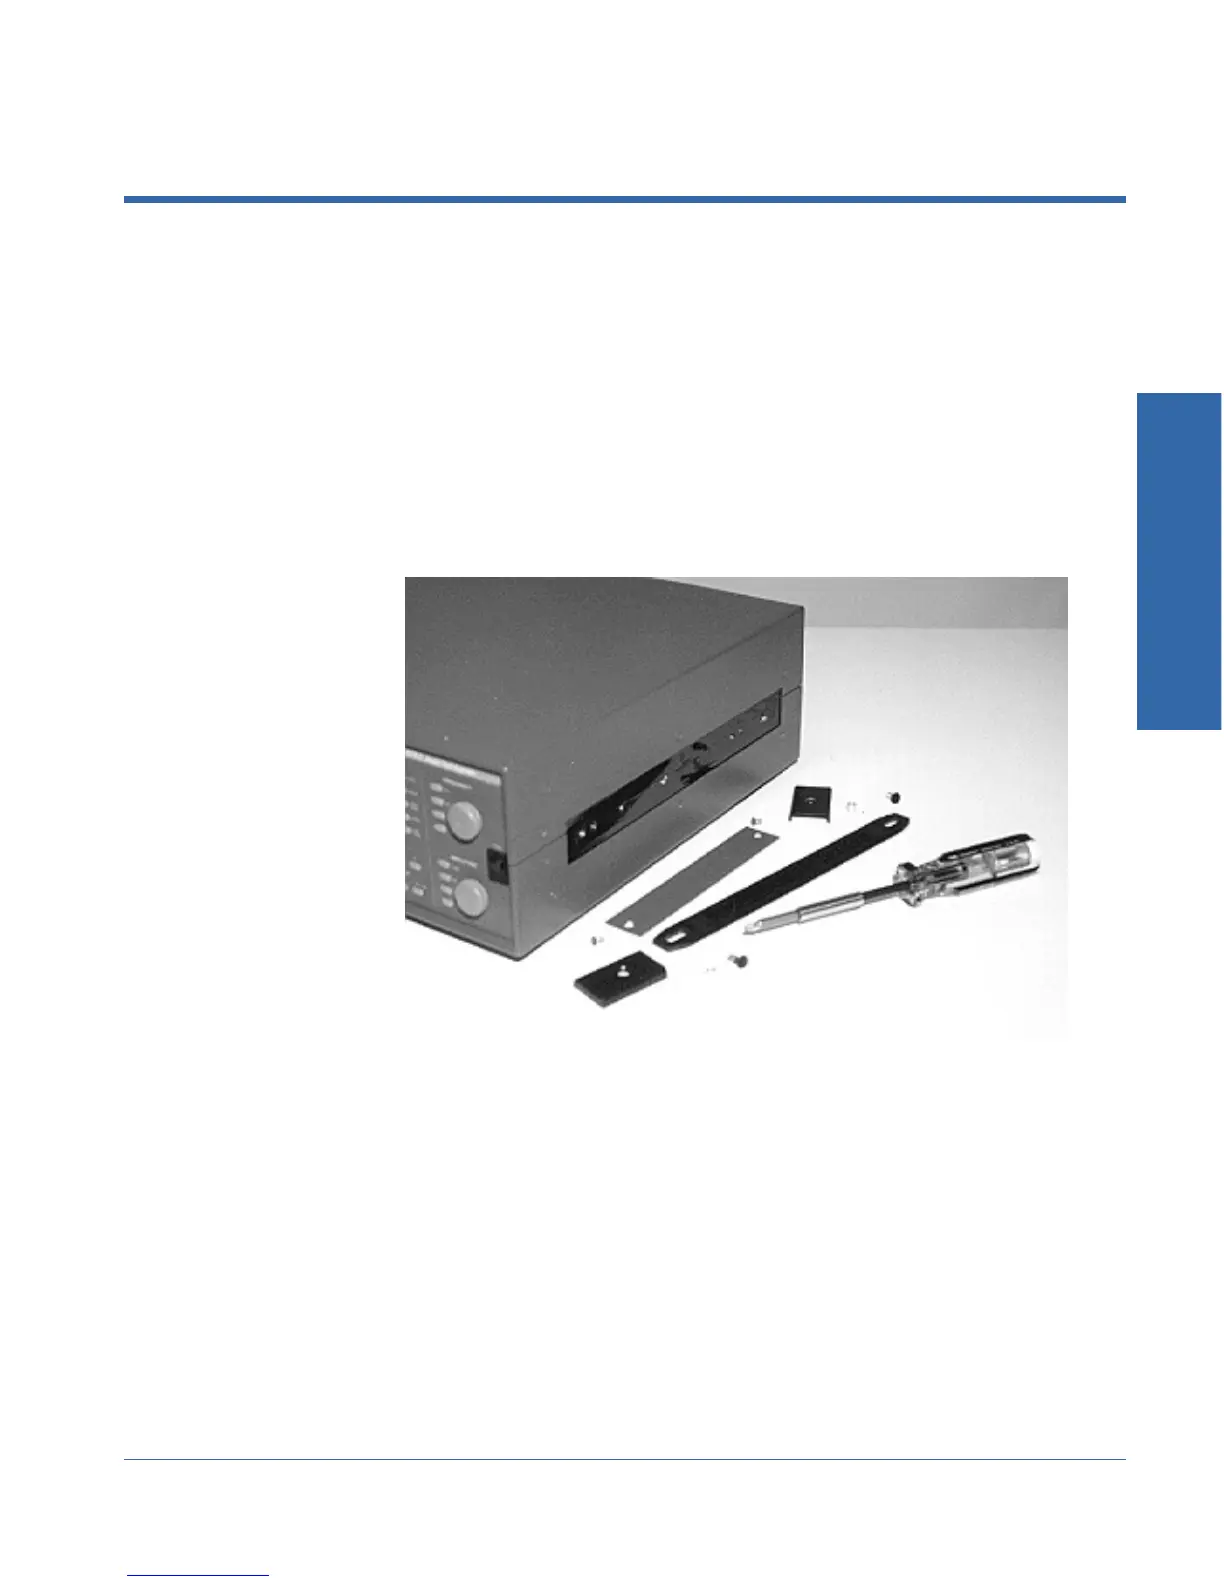
1. Remove the handle, handle brackets, two bracket spacers, and the
trim panel from the right side of the instrument (see Figure B-1).
2. Remove the trim panel and the four adhesive-backed feet from
the left side of the instrument.
3. Remove the four feet and bail from the bottom of the instrument.
4. Align the rack mount spacer to the right side of the instrument.
The spacer fits into the recess formed by the covers. Three holes
in the spacer align wit three matching holes in the chassis; Do
not insert screws at this time.
Figure B-1. Handle parts after removal
B Rackmounting
ATS-1 Access User's Manual B-1