Fixed Rack Mount
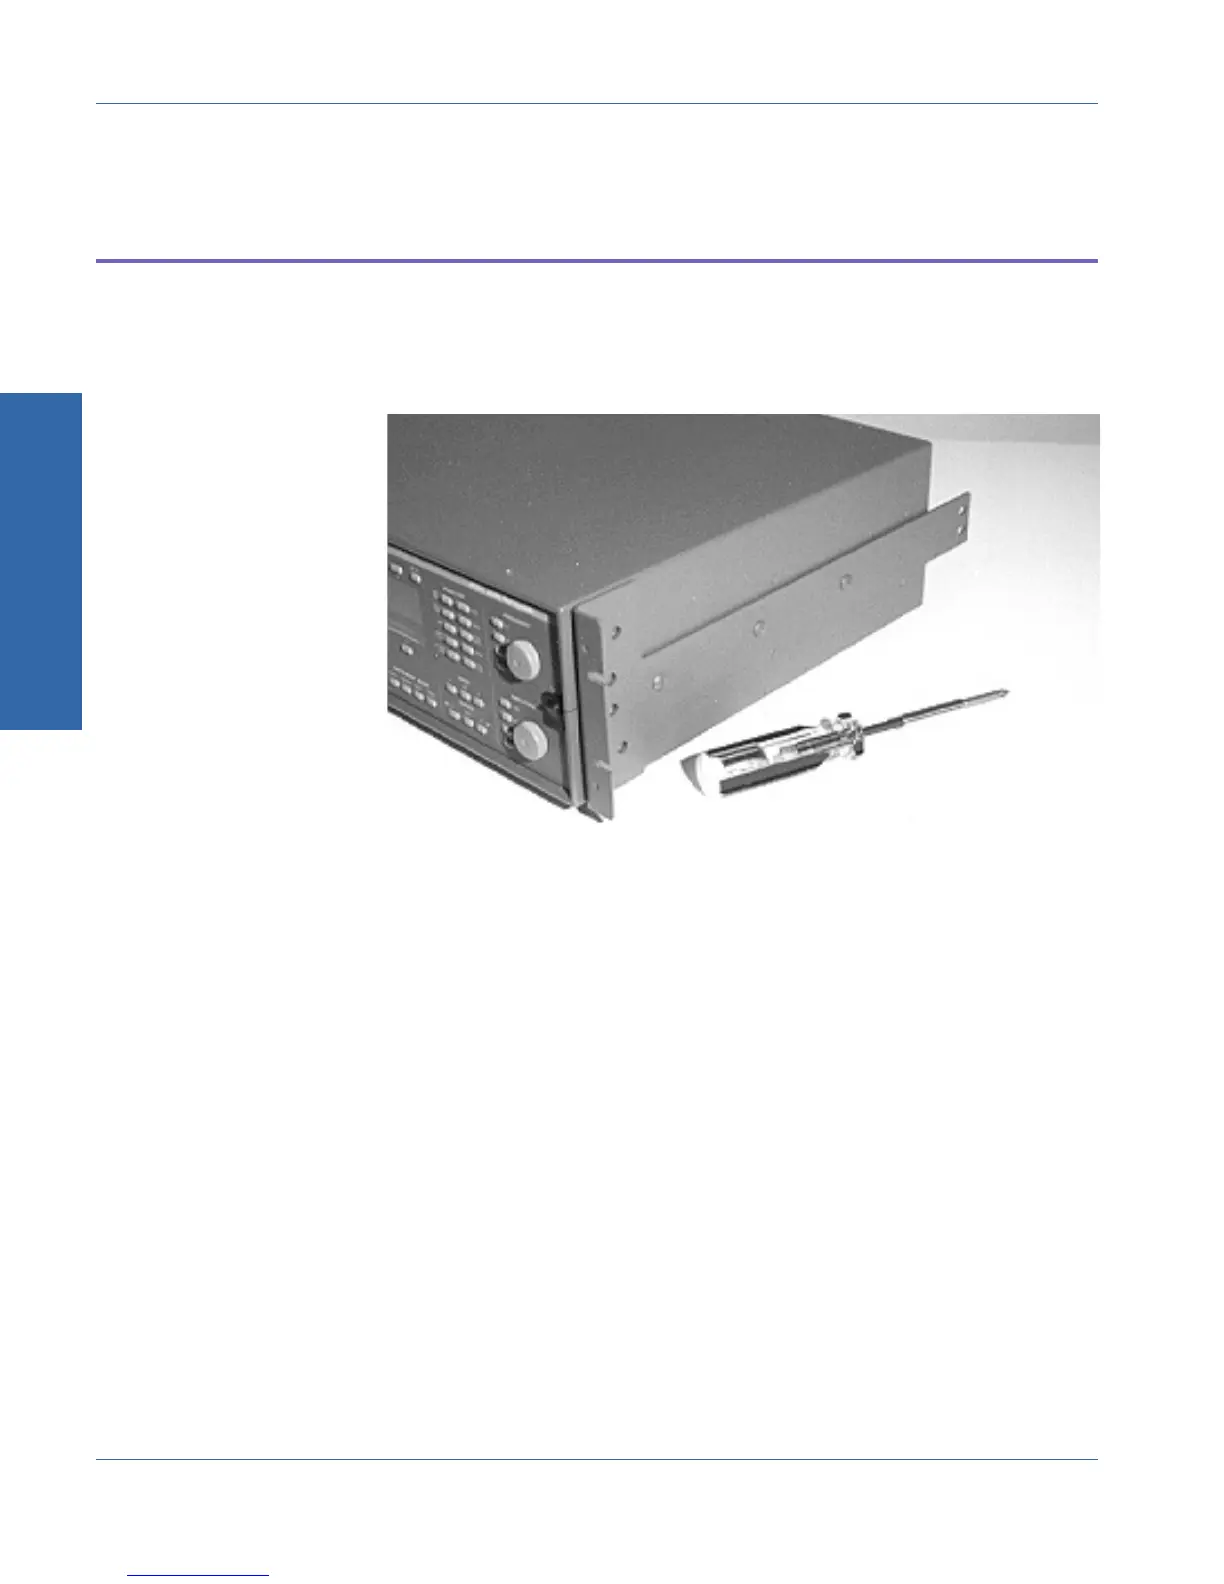
a. Align the right hand rack handle (a painted, formed steel plate 16
inches long) over the spacer mentioned in Step 4. The spacer is
now sadwiched between the instrument chassis and the rack
handle. See Figure B-3.
b. Fasten the rack handle and spacer to the chassis with three 10-32
screws.
c. Repeat Steps 4, a, and b on the left side of the instrument.
d. Install the two handles on the brackets if desired, oriented toward
the center of the instrument.
Figure B-2. Fixed rackmounting bracket in place
B Rackmounting
Fixed Rack Mount Appendix B - Rackmounting
B-2 ATS-1 Access User's Manual