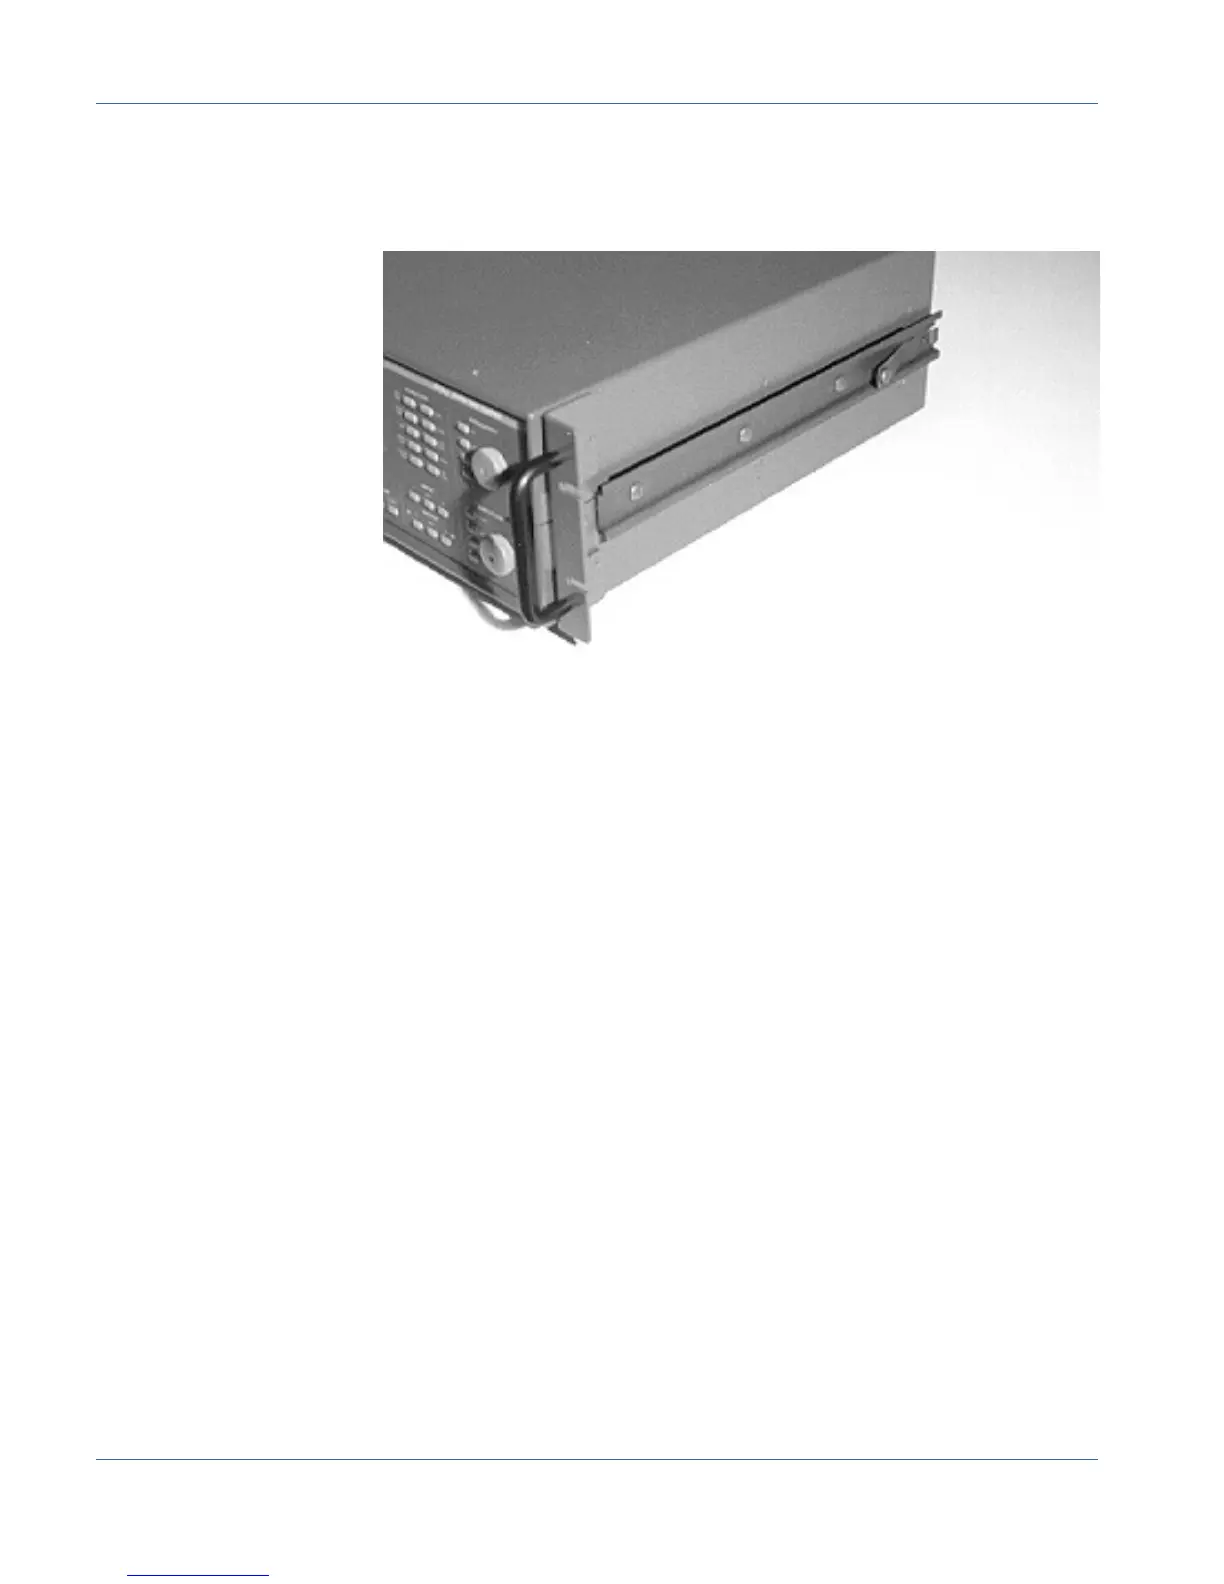
f. Align and secure (with three #10-32 screws) the fixed portion of
the Chassis Trak rack mount kit to the chassis, sandwiching the
spacer between. See Figure B-4.
g. Mount the right-hand rack ear bracket, using two #6-32 screws.
Note that the right-hand and left-hand rack ear brackets are not
identical, the cutpout portion of the proper bracket clears the
fixed slide mounted in the previous step. See Figure B-4.
h. Repeat Steps 4, f, and g on the left side of the instrument.
i. Install the two handles on the rack ear brackets, oriented toward
the center of the instrument.
Figure B-4. Slide rack mounting hardware in place
Fixed Rack Mount Appendix B - Rackmounting
B-4 ATS-1 Access User's Manual