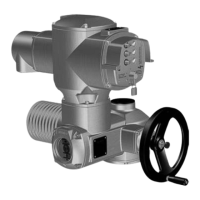
9.5. Test run
Only perform test run only once all settings previously described have been
performed.
The direction of rotation can be checked at the position indicator if available. (Chapter
<Direction of rotation at mechanical position indicator: check>)
The direction of rotation must be checked at the hollow shaft/stem if no mechanical
position indicator is available. (Chapter <Direction of rotation at hollow shaft/stem:
check>)
9.5.1. Direction of rotation at mechanical position indicator: check
Valve damage due to incorrect direction of rotation!
→
If the direction of rotation is wrong, switch off immediately (press STOP).
→
Eliminate cause, i.e. correct phase sequence for cable set wall bracket.
→
Repeat test run.
Information Switch off before reaching the end position.
1. Move actuator manually to intermediate position or to sufficient distance from
end position.
2. Switch on actuator in direction CLOSE and observe the direction of rotation on
the mechanical position indication:
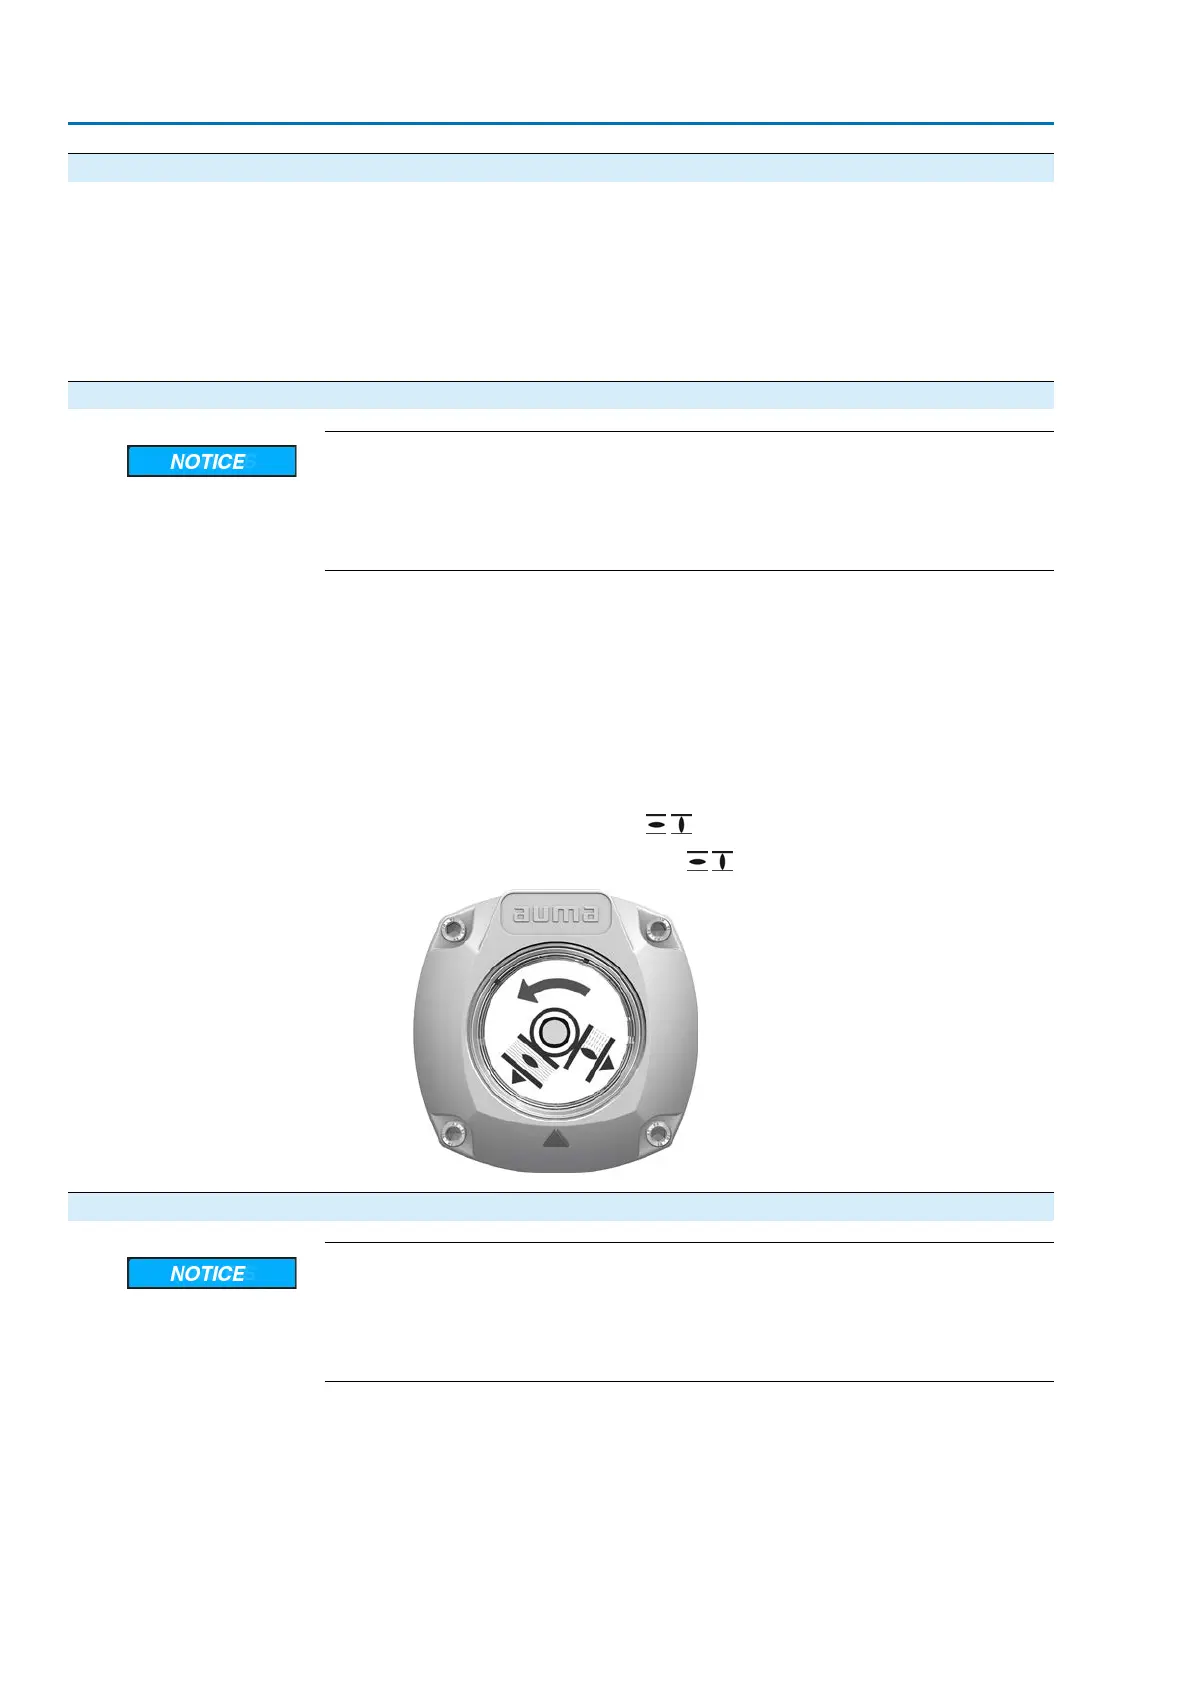
→
For mechanical position indication via indicator mark: (not self-adjust-
ing)
➥
The direction of rotation is correct if the actuator operation in direction
CLOSE and the symbols ( / ) turn counterclockwise:
Figure 48: Direction of rotation / (for “clockwise closing version”)
9.5.2. Direction of rotation at hollow shaft/stem: check
Valve damage due to incorrect direction of rotation!
→
If the direction of rotation is wrong, switch off immediately (press STOP).
→
Eliminate cause, i.e. correct phase sequence for cable set wall bracket.
→
Repeat test run.
Information Switch off before reaching the end position.
1. Move actuator manually to intermediate position or to sufficient distance from
end position.
2. Unscrew threaded plug [1] and seal [2] or protective cap for stem protection
tube [4].
46
SA 25.1 – SA 48.1 / SAR 25.1 – SAR 30.1
Commissioning (basic settings) AM 02.1
 Loading...