Control Camera for Third-Party Apps
You can also Pan-Tilt-Zoom the embedded HD camera or an additional USB camera with the
CU360 remote-control when a generic application is using it.
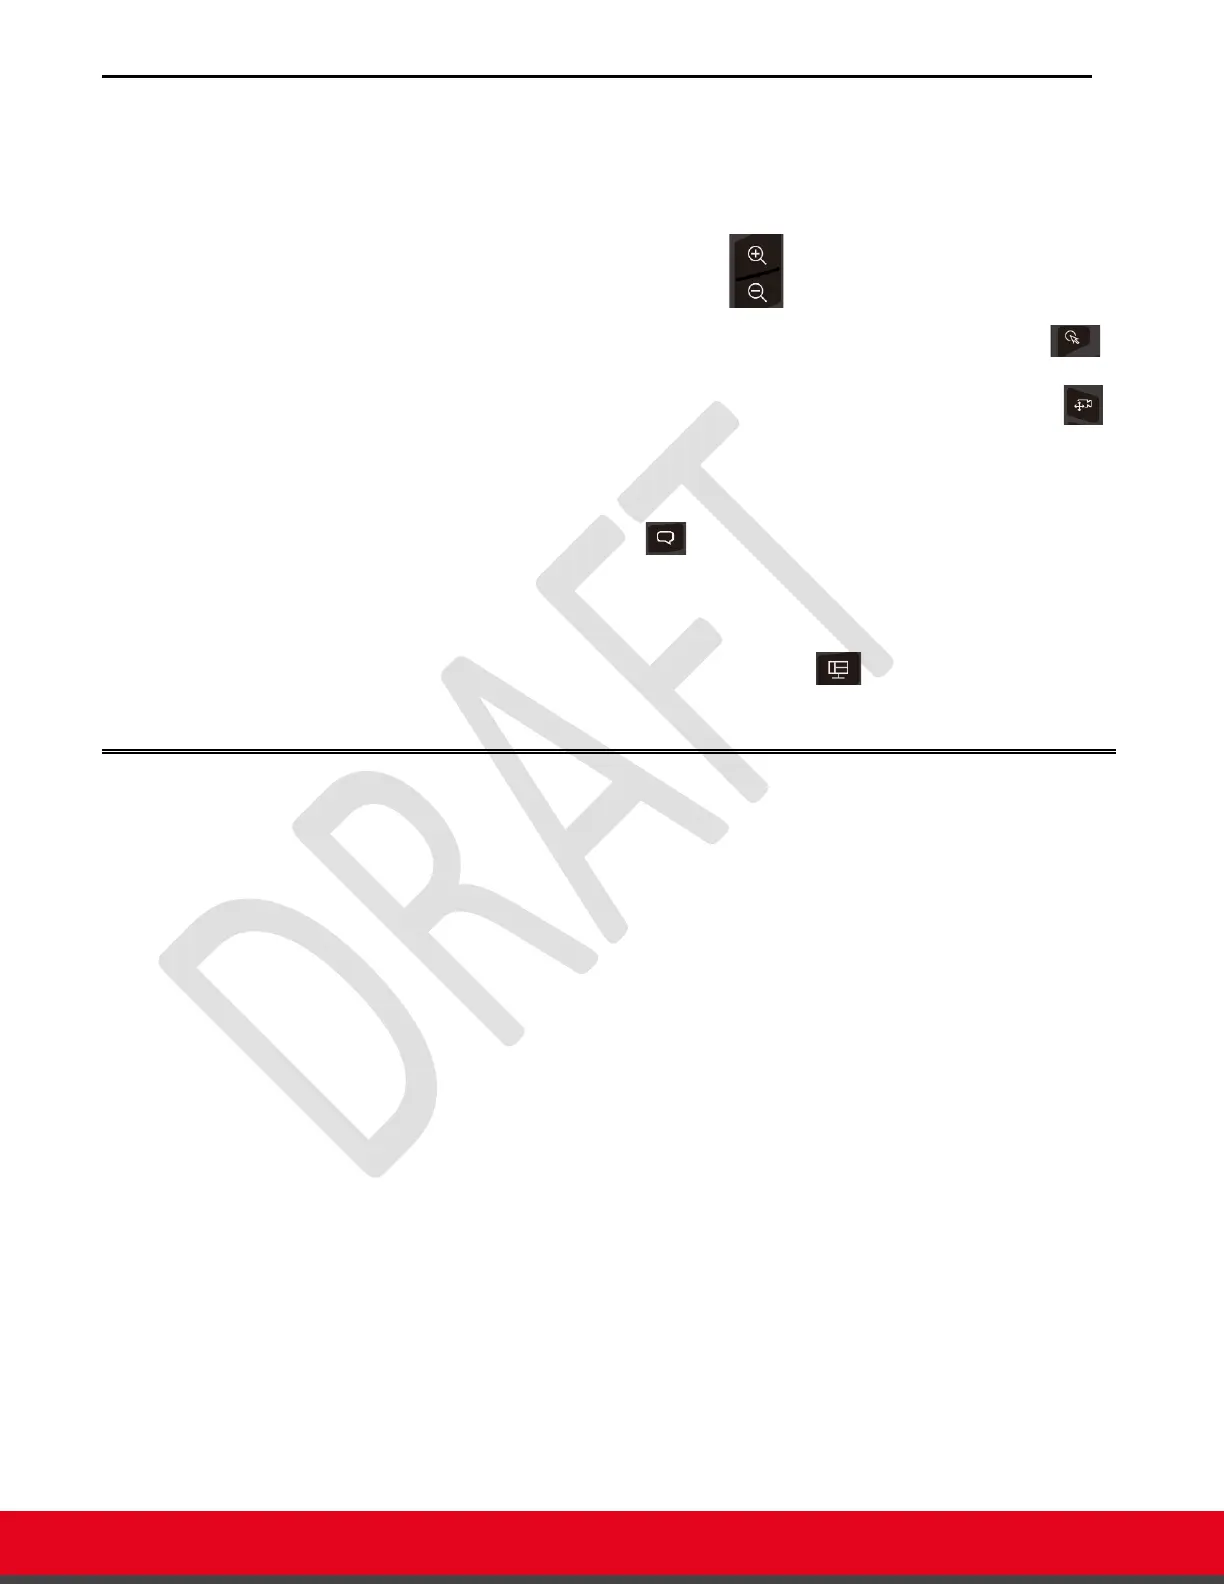
o Pan/Tilt/Zoom
- To zoom in/out, use the zoom keys on the remote-control
- To pan/tilt, first use the zoom-in key, then press the air pointer key
on the remote-control (the small light on the top right of the remote-control
becomes steady blue), and drag the video image while pressing the
key.
o Tracking Mode
- Change camera tracking mode (Track Speaker/Auto Framing/Tracking
Off), by pressing the key (when a tracking mode is active, ePTZ is
disabled).
o Virtual Background
- Change camera background mode (real background, blurred background
and virtual background) by pressing the key on the remote-control.
Network Connectivity
Before configuring your device for the first time, assure that the device is connected to an Ethernet
(LAN) or Wi-Fi network.
To connect the unit to the network using Wi-Fi, you need to select the proper Wi-Fi network in the
Android Settings and insert the credentials and the authentication type.
Please be aware that it is strongly suggested to NOT connect both Ethernet and Wi-Fi network.
Please note that an IP address is automatically assigned to the unit if you connect the unit to the
network using the Ethernet and your network is equipped with a DHCP server,
Wi-Fi and Bluetooth settings can be accessed in
[GUI] CONFIGURE>QUICK SETUP
[GUI] CONFIGURE > ADVANCED > [ADMINISTRATOR PIN] > SYSTEM>SECURITY>SETTINGS
Figure 7: Security Settings
Figure 8: Security Settings – Wi-Fi and Bluetooth
Wi-Fi Settings can also be accessed in
[GUI] >CONFIGURE> NETWORKS>WI-FI
[GUI] >CONFIGURE> ADVANCED > NETWORKS>WI-FI
Figure 9: OS Settings – Wi-Fi
Enable Wi-Fi and Configure the parameters for your network according to your IT admin
indications.
If you do not need to install certificates for your Wi-Fi, select for CA certificate: “Do Not Validate”.
Otherwise install a proper CA Certificate, according to you IT admin indications.