VENUE Software Installation Options when Upgrading 33
Backing Up System Settings
Before performing a System Restore or a Software Update, back up your system’s settings (such as Console settings, Show files
and Presets) first.
To back up current settings:
1 Go to the Filing page and click the Transfer tab.
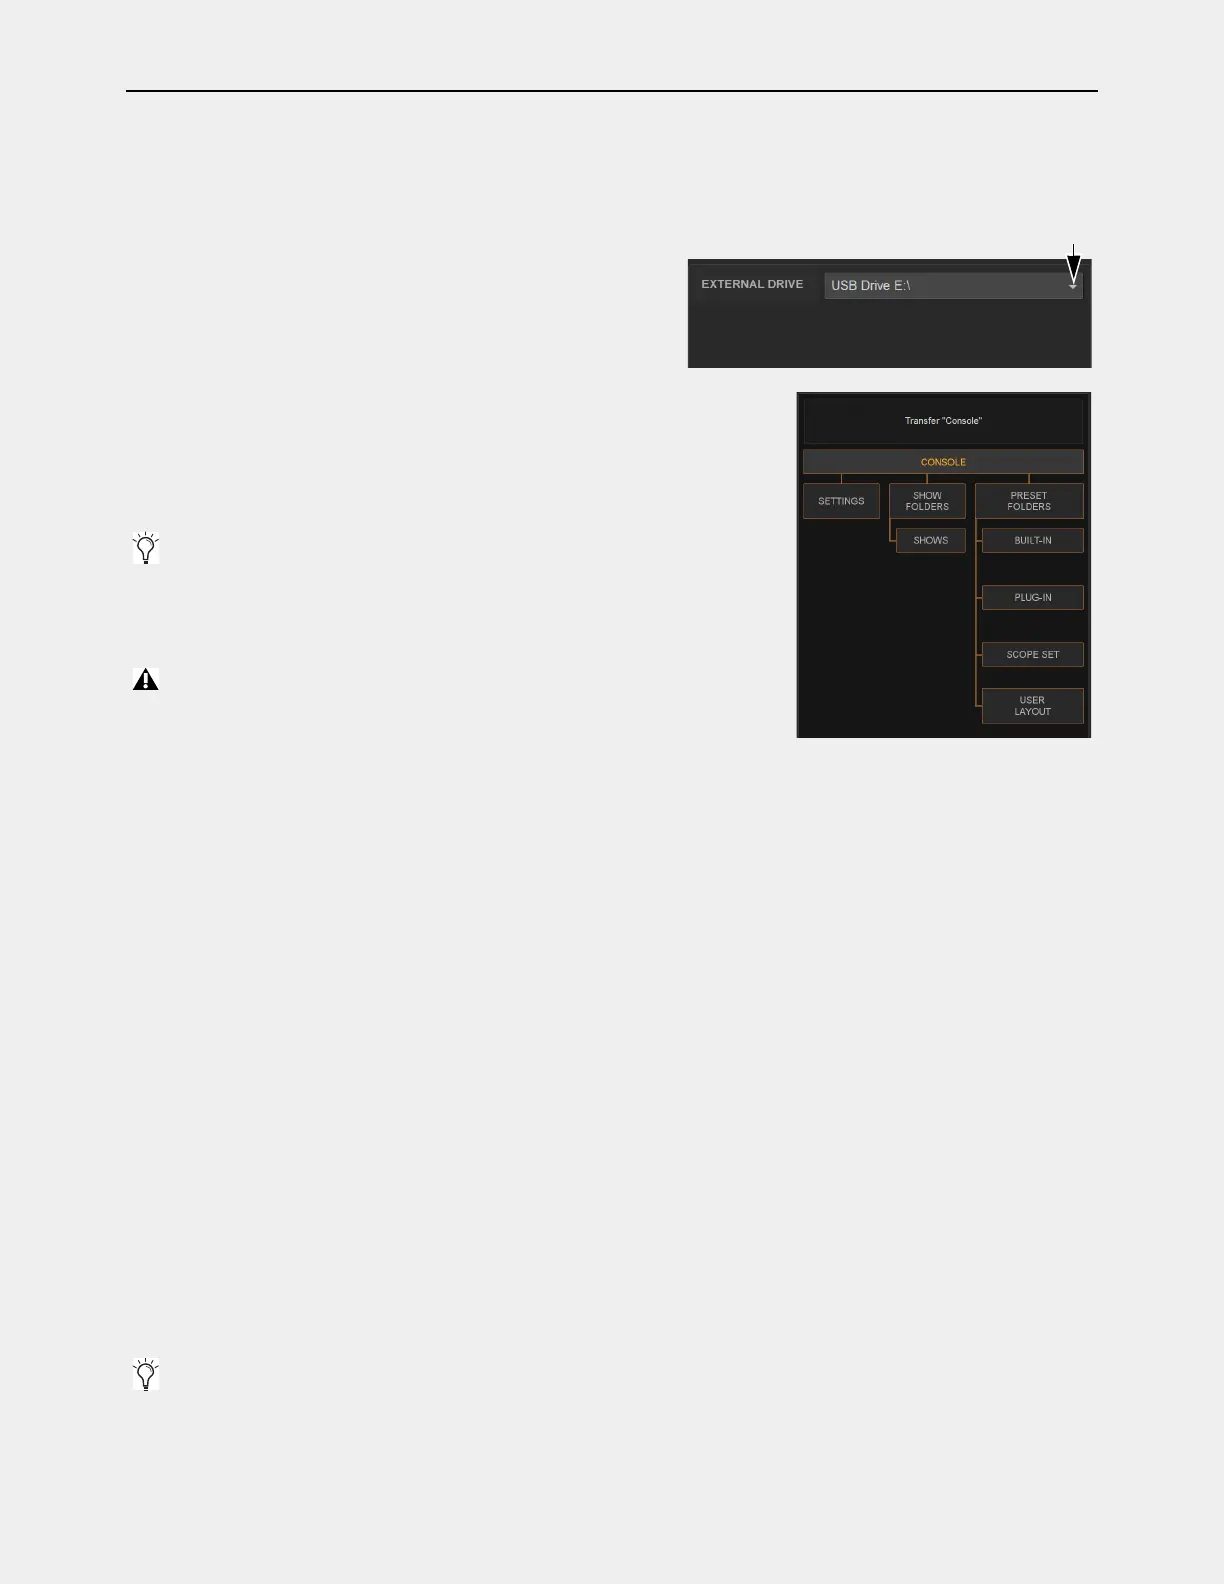
2 Connect a portable storage device (such as a USB flash drive, for-
matted as FAT32) to the system. The device appears above the right
column of the
Transfer tab. If it does not, click the External Drive se-
lector and choose the device.
3 In the center column, select the type of data to transfer. To backup (transfer) all data,
click
Console so that it is highlighted.
4 For selections other than Console, in the left column select the items you want to
transfer f to your portable storage device. The items that appear in the left column
depend on the type of data selected in the center column.
5 Click the lit Transfer>> button. Large transfers may take time. Transfer status is
shown by a progress bar. A transfer can be canceled by clicking
Cancel.
IMPORTANT!
Be aware of the following additional back-up recommendations.
VENUE 6.2.x and Later, and Waves SoundGrid Licenses
If your system has any Waves licenses on the S6L control surface hard
drive, you must first transfer those licenses to a USB drive or to the license cloud before performing a System Restore to VENUE
7.0 or later. After the System Restore is complete you can re-install Waves software and licenses.
Custom Lock Images
If you installed any custom Lock screen images, manually copy them to your portable storage device before
performing a System Restore. Lock screen images are stored in
User Data(D):\D-Show\Images.
VENUE On-Stage Password Files
If you utilize password protection for VENUE On-Stage mixes, manually copy the OnStage-
Passwords.txt
file to your portable storage device before performing a System Restore.
To manually back up Custom Lock images or On-Stage Password files:
1 Go to Options > System.
2 Enable Config mode.
3 Hold down the Control key on your computer keyboard while clicking SHUTDOWN, then click EXIT TO DESKTOP.
4 Insert your USB storage device into an available USB port on the S6L control surface.
5 Locate the files you want to back up, and copy them to your USB storage device.
• Custom Lock screen images are located at
User Data(D):\D-Show\Images
• On-Stage Password.txt file is located at the root level of the S6L control surface D:\ drive
6 Double-click the Return to VENUE shortcut to proceed with the update.
7 Remove the portable storage device from the system.
8 After backing up your user data, proceed to either Upgrading Using VENUE Software Update, or Upgrading Using VENUE
System Restore
.
You can Shift-click to select multiple consecutive items or Control-click to
select multiple non-consecutive items to transfer.
Canceled transfers may result in partial folder contents on the storage de-
vice, which will have to be deleted manually.
USB flash drives do not have to be unmouted or ejected to be removed from VENUE systems.
 Loading...