69
Updating the BIOS
All systems that are updating from VENUE software version 5.1.0 or lower must first update the E6L engine BIOS. Other versions
of VENUE software might also require a BIOS update (the installer will inform you of this during installation).
If you are performing a System Restore or Software Update on a system that is already running VENUE software version 5.1.1 or
higher, and the VENUE software installer does not prompt you to update the BIOS, you can skip these instructions.
Updating your system to BIOS 50 involves the following steps:
• Collecting the
Required Components
• Creating the BIOS 50 Update Key
• Updating the BIOS on the E6L
Required Components
Before you begin, make sure you have all the following required components:
• Blank USB key
• VGA display and VGA cable
• USB keyboard and mouse (connect to USB ports on the front panel of the E6L Engine)
• Windows computer for creating a DOS bootable USB key
• BIOS50_Update.zip (included in the System Restore or Update .zip downloaded from your Avid Account)
• rufus-2.9.exe (included with VENUE 6.x.x software, and available for download at
https://rufus.ie/en_IE.html)
After collecting all the required components, proceed to
Creating the BIOS 50 Update Key.
Creating the BIOS 50 Update Key
To create the BIOS 50 Update Key:
1 Make sure you have the BIOS50_Update (included in the Restore and Update .zip
files), and downloaded and installed the Rufus utility (rufus-2.8.exe) as explained
in
Downloading VENUE Software.
2 Insert a USB key drive into an available USB port on your Windows computer.
3 Launch Rufus.
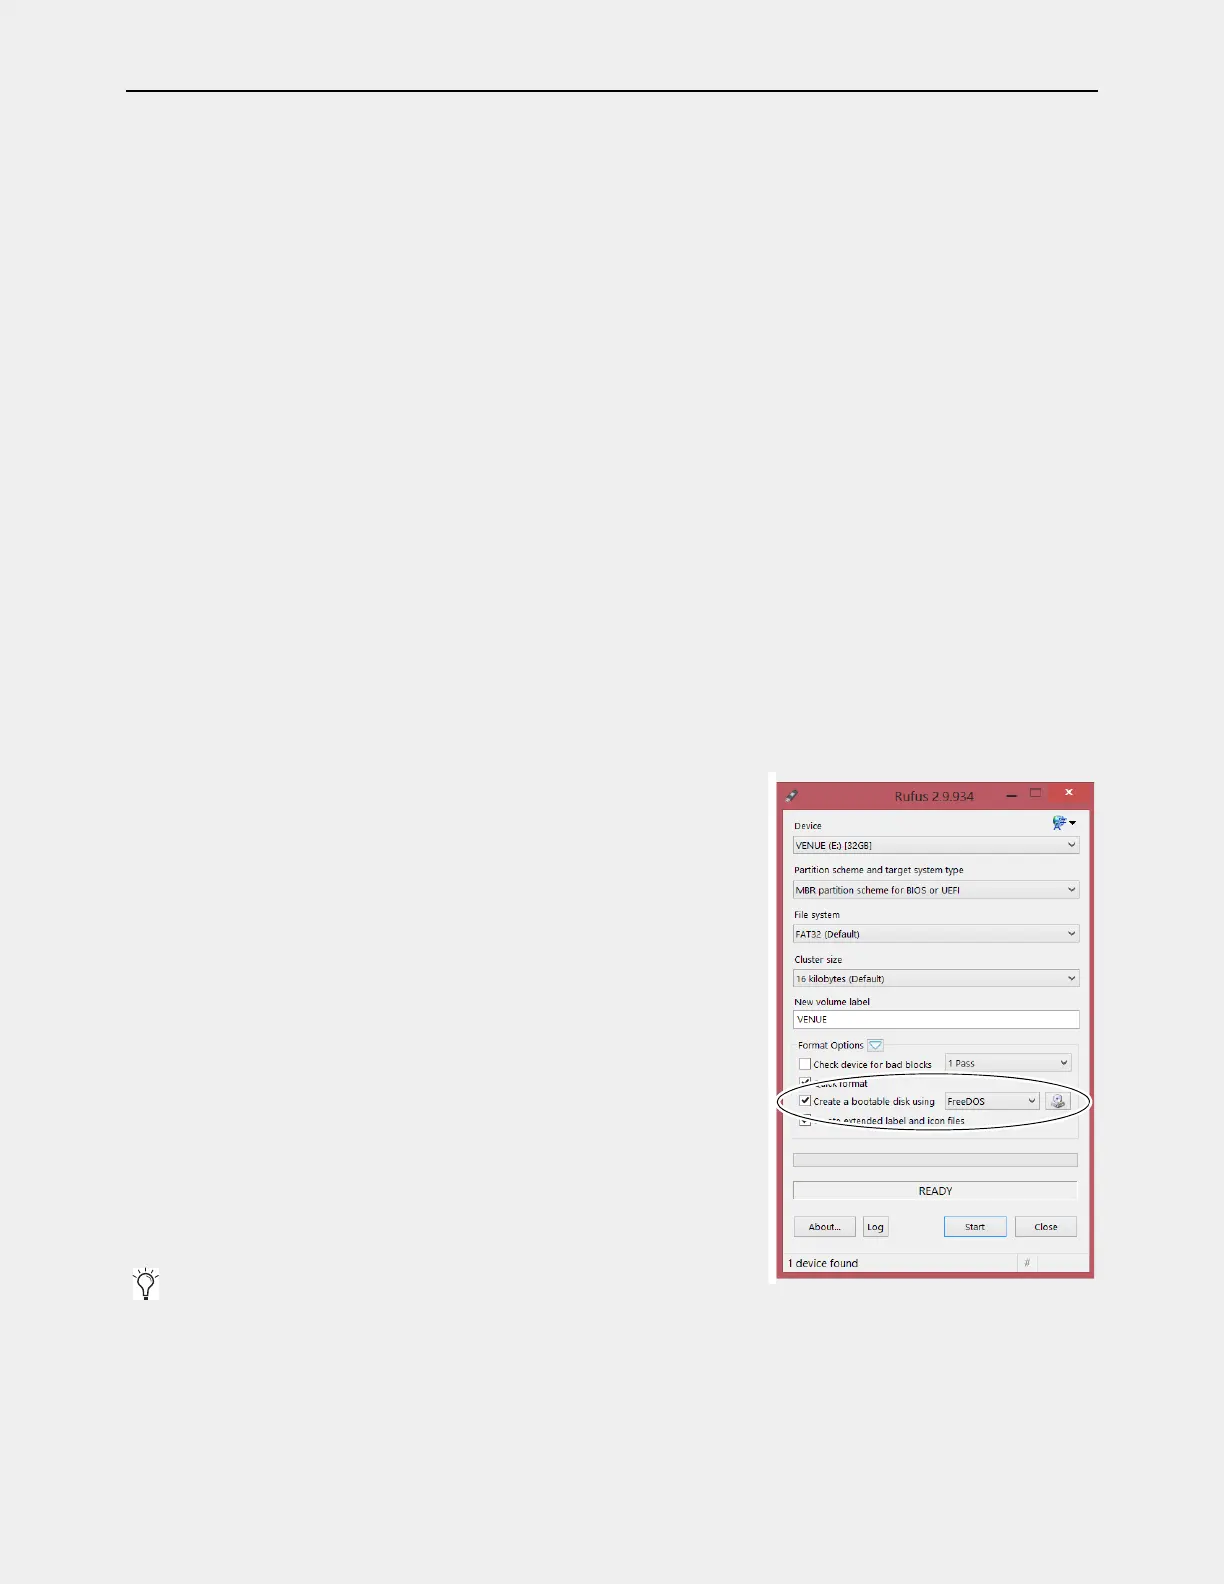
4 In Rufus, do the following:
• Choose the USB drive from the Device pop-up menu.
• Choose
FAT32 from the File System pop-up menu.
• (Optional) Enter a name for the USB drive in the
Volume label field.
5 Under Format options, do the following:
• Choose
Quick Format.
• Choose Create a bootable disk using, and then from the pop-up choose Free-
DOS.
6 Click Start, then click OK.
Rufus begins to format the USB drive and progress is indicated on-screen.
7 Wait until formatting is completed (indicated by Done at the bottom of the Rufus
window).
8 If you have not already done so, extract (unzip) the BIOS50_Update.zip.
9 Copy the contents of the BIOS50 folder (not the enclosing folder itself) to the root level of the USB drive.
If the Autoplay window appears during formatting, close it.
 Loading...