3.12 | Installaon Pro-Stcher User Manual
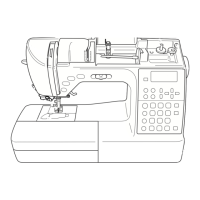
7. The small black cable with the black 3-connector clip
should be routed underneath the P-Pod and snapped
into the quilng machine’s Y-encoder.
The cables that run from the carriage up to the
computer should be clipped into the cable clip
under the rear handlebar to help prevent these
cables from geng caught on the edges of the
carriage.
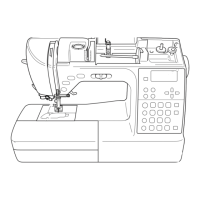
8. Once again verify that the y-axis gear engages the
blue Flexirack for the y-axis.
• Do this by looking from the back of the machine
between the boom of the quilng machine and
the top of the carriage. If necessary, use the man-
ual engagement/diseangagement tool to move
the gears so they engage.
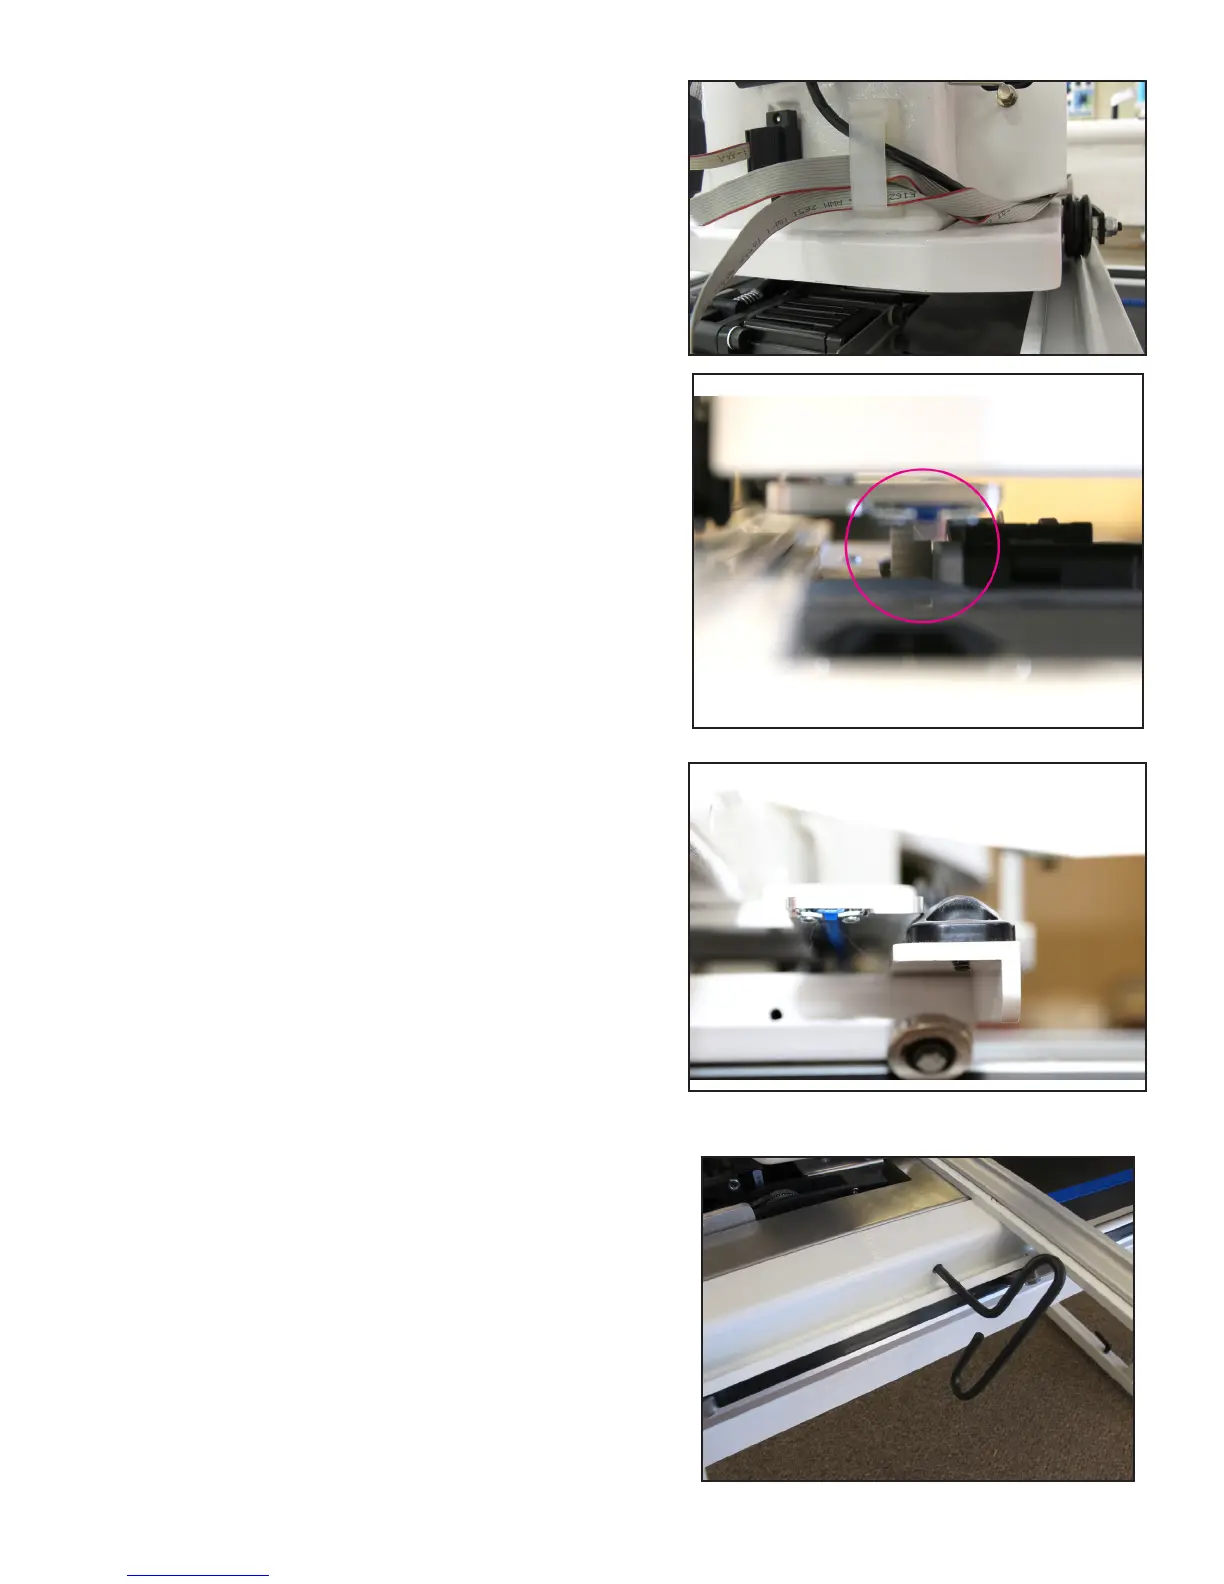
• If horizontal adjustment is needed to ensure that
at least half the white gear and blue Flexirack are
interlocking, loosen the two screws that mount
the y-axis bracket to the base plates and push the
bracket in the direcon necessary while reghten-
ing the screws.
• Both screws can be adjusted with the quilng
machine on the carriage. Pull the machine to the
front to access the front screw and to the rear to
access the rear screw.
• Pull the quilng machine to the rear of the car-
riage and ensure the rear of the Y-axis bracket
does not collide with the black plasc track retain-
er on the rear of the carriage. Adjust the Y-bracket
if needed.
Ü IMPORTANT: If necessary, use the manual
engagement/disengagement tool to move the
gears so they engage. Insert the end of the tool
into the hole at the front of the EZ Carriage.