Installing the BayStack 350 Switch
304376-B Rev 00
2-15
Verifying the Installation Using the Self-Test Screen
If a monitor is connected to the switch (see “Connecting the Console/Comm Port”
on page 2-10
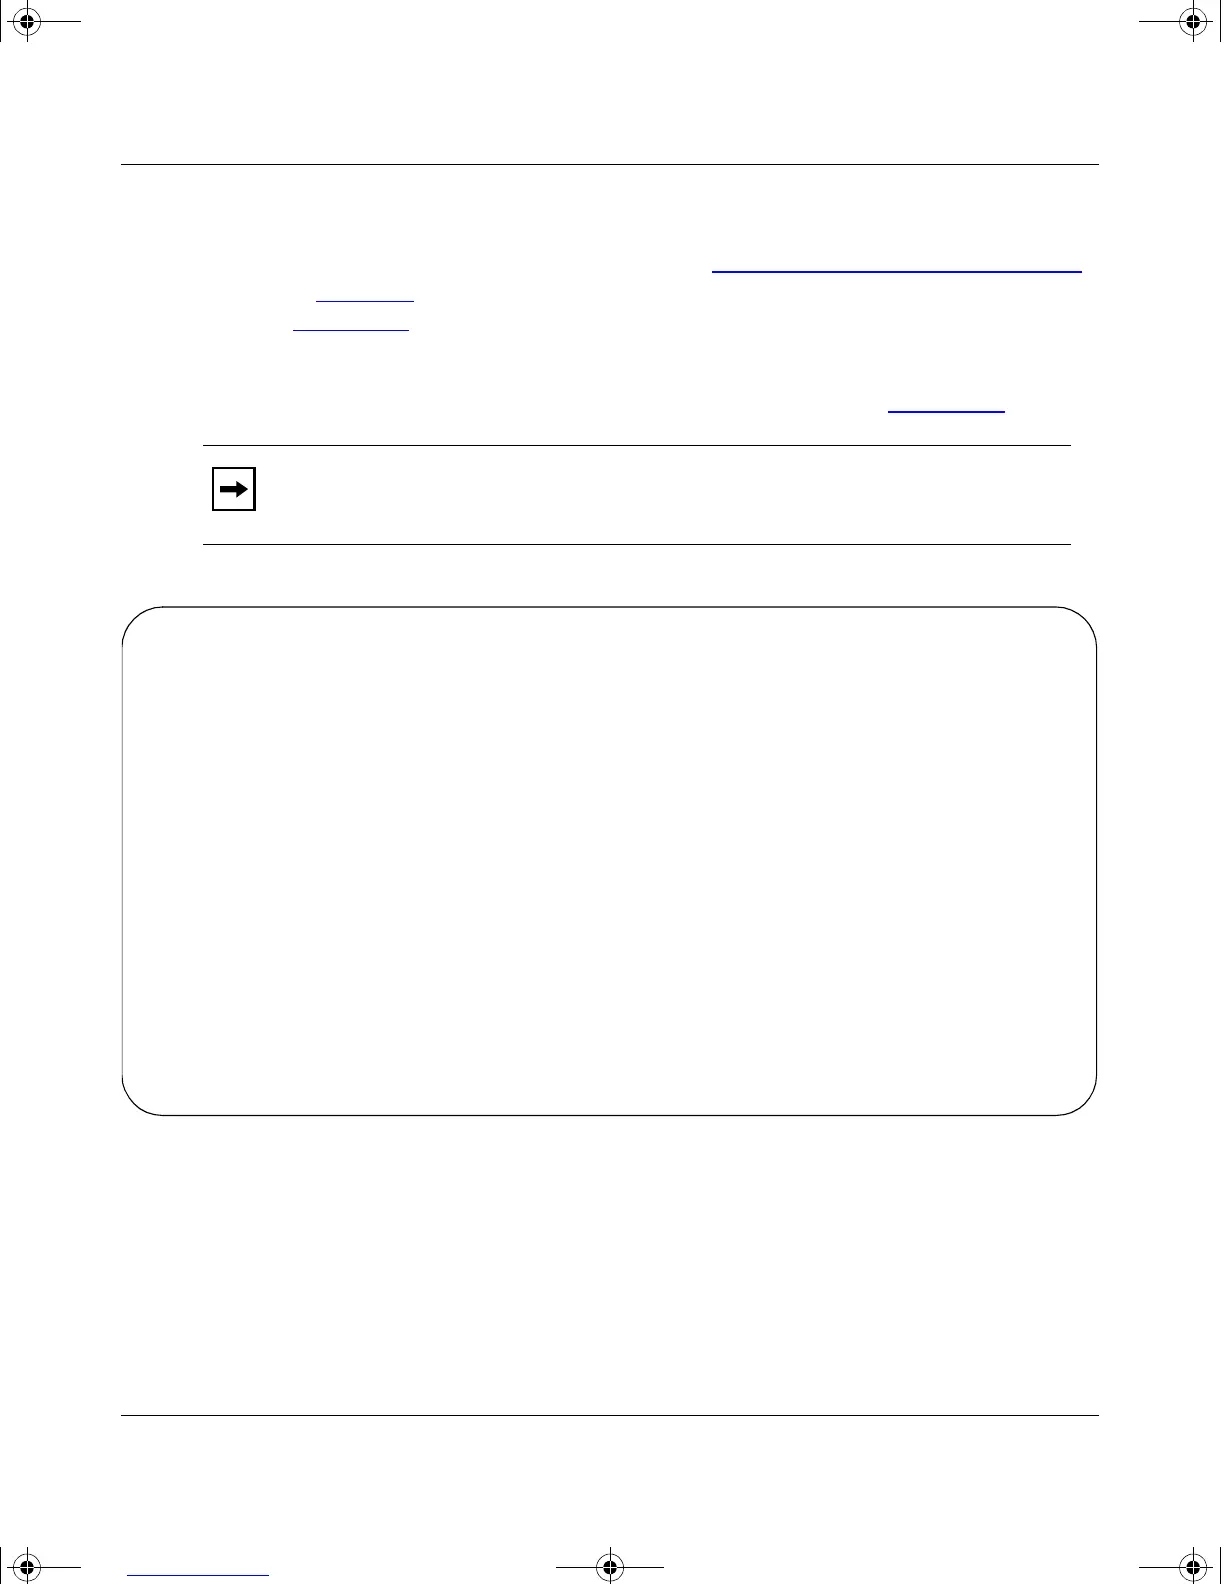
), you can observe the BayStack 350 switch Self-Test screen
(Figure 2-10
).
The results of the self-test are displayed briefly (5 or 10 seconds) in the Self-Test
screen, which is followed by the Bay Networks logo screen (Figure 2-11
).
Figure 2-10. BayStack 350 Switch Self-Test Screen
Note:
The Self-Test screen remains displayed only if the self-test detects a
fatal error.
BayStack 350 Self-Test
CPU RAM test ... Pass
ASIC addressing test ... Pass
ASIC buffer RAM test ... Pass
Port internal loopback test ... Pass
Self-test complete.
kombk.book Page 15 Thursday, February 18, 1999 10:59 AM