Using the BayStack 350 10/100/1000 Series Switch
2-6
304376-B Rev 00
To install the BayStack 350 switch in a rack, follow these steps:
1.
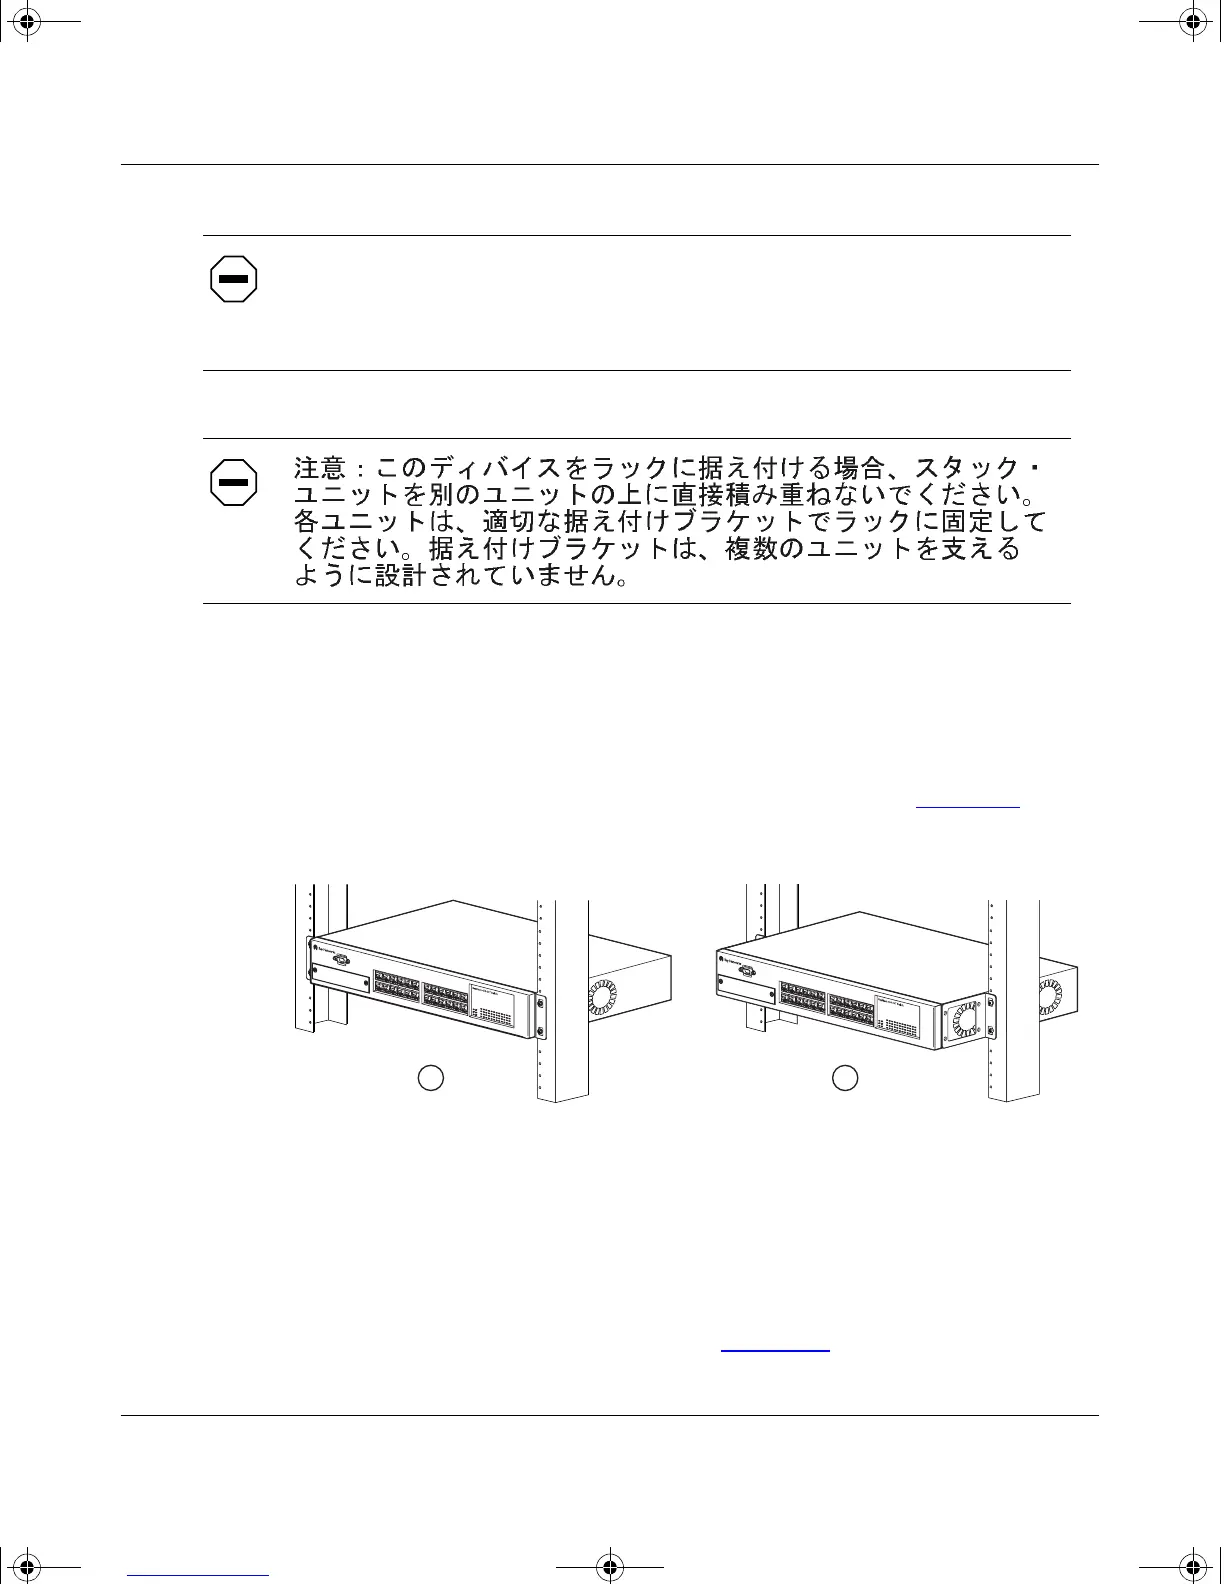
Determine how far you want the switch to protrude in front of the rack.
You can install the switch flush to the rack or extended from the rack,
depending on the orientation of the mounting brackets (see Figure 2-2
).
Figure 2-2. Positioning the Chassis in the Rack
2.
Using a Phillips screwdriver, attach a mounting bracket to each side of
the switch using the supplied screws (Figure 2-3
).
Attenzione:
Se il dispositivo viene installato su una cremagliera, non
impilarlo su un altro dispositivo montato sulla cremagliera. Ciascuna unità
deve essere fissata alla cremagliera con le apposite staffe di montaggio. Tali
staffe non possono essere utilizzate per fissare più unità.
BS35035A
1 = Flush with rack
2 = Extended from rack
1
2
kombk.book Page 6 Thursday, February 18, 1999 10:59 AM