66 Multifunction Control Panel
®®
z Event Code - This column is for the Event Codes (usually assigned by the
Central Station). Event codes comprise 2 digits, accepted values: 0 through 9
for CESA and, 0 through 9 and HEX digits A and F for all other protocols.
When using Pulse protocols with single digit codes, the second digit must be
programmed as ‘A’ (refer to ‘Customer Codes’ in the ‘Teleservice’ page).
The programmed Codes will be sent to the Telemonitoring Telephone numbers
(refer to ‘Types’ in the ‘Telephone’ page) . Events that are not given Codes, or
those with ‘ØØ’ value will not activate the Digital Communicator.
Existing Codes Event (e.g. ØØ) must be deleted before new Codes can be
entered.
z Voice Message - This field will allow you to assign a Voice message to the
Event. The Voice Message will be sent when the Event occurs.
Voice Message Telephone numbers must have the ‘Voice message’ attribute
(refer to ‘Type’ in the ‘Phone Page’).
To assign a Voice message — triple click the relative field, open the ‘Voice
Message’ drop-down list (click the arrow) then select the Voice Message.
z CONTACT-ID button - This button will allow you to assign the Codes
shown in Table 3.2. All the Events will be sent to the first Telephone Number
programmed as Contact-ID.
z Default SIA button - This button will program the default SIA Codes (only
for Kyo16D Control Panel). The complete list of this protocol is shown on
the ‘Programming Manual’ of KYO16D Control Panel.
z Clear button - This button will allow you to clear all the data programmed in
the ‘Telephone numbers’ column, Event Code and/or SIA.
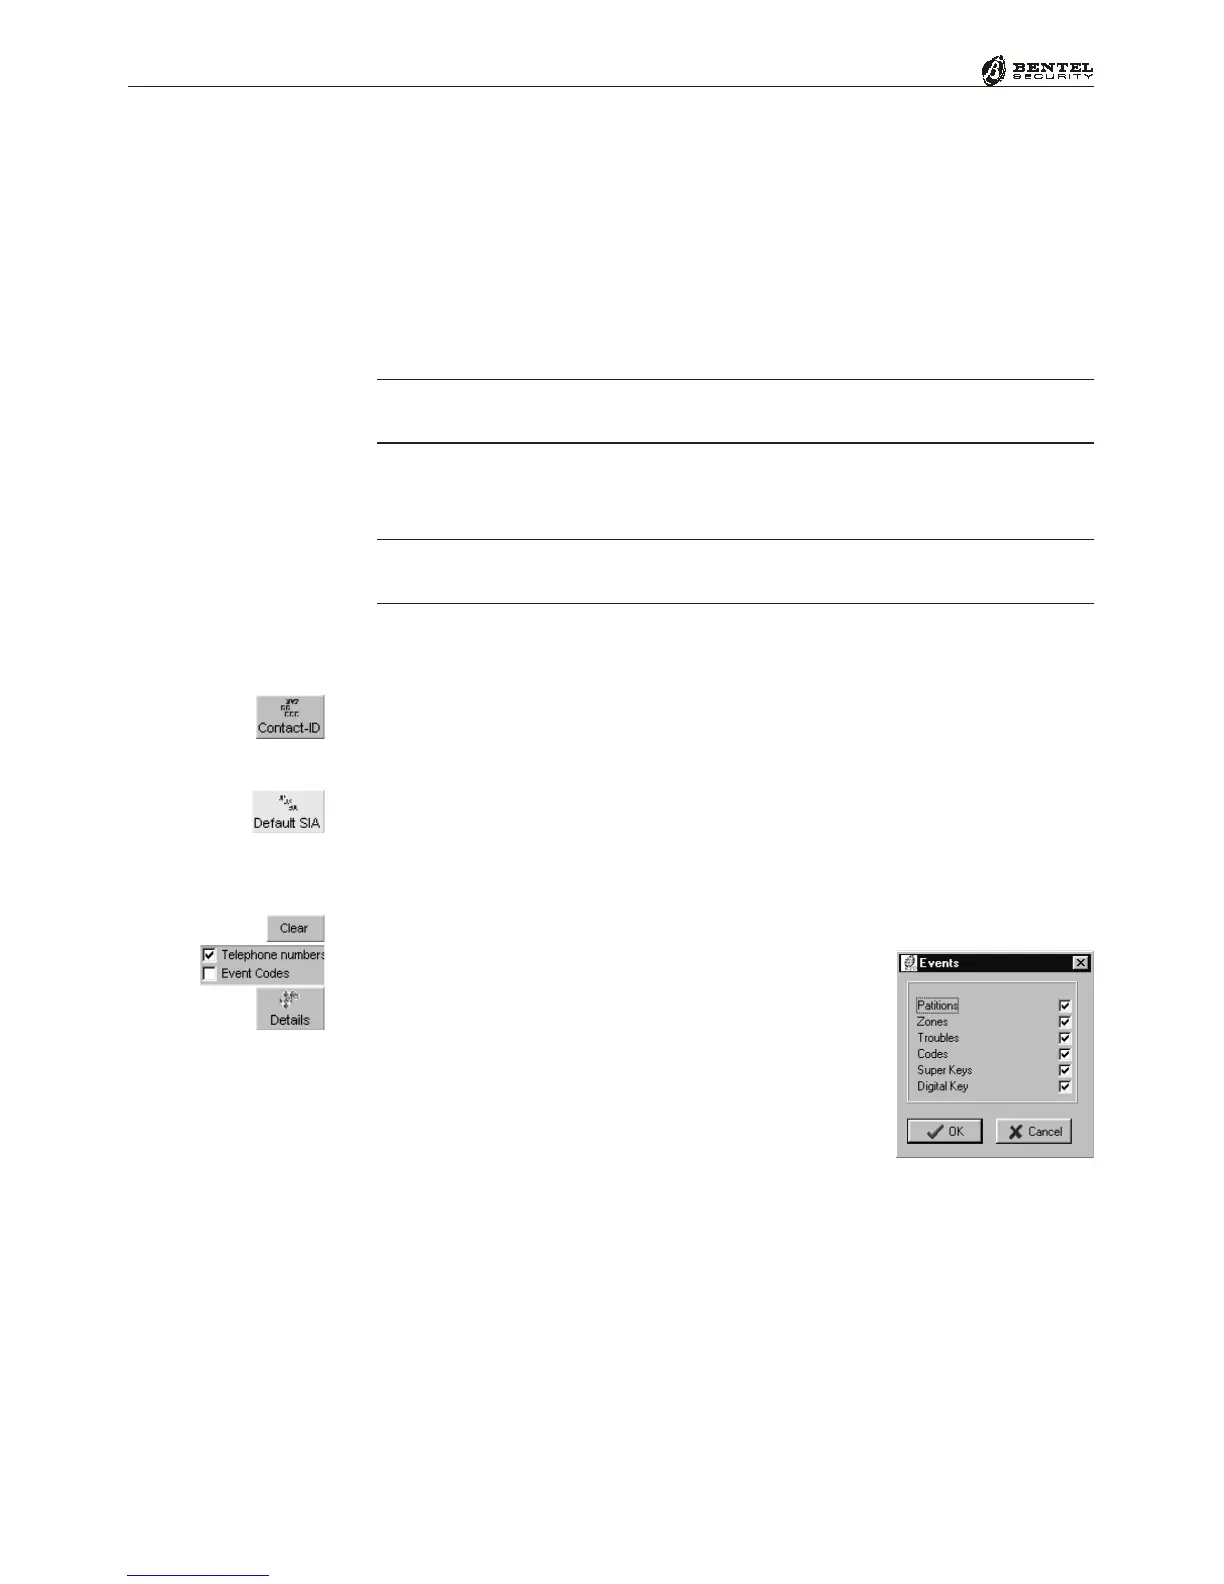
z Details button - This button opens the ‘Events’ win-
dow that will allow you to expand (check box se-
lected) or contract (check box deselected) the details
of specific events.
Therefore, if you wish to group the Partition Event de-
tails (‘Partition Details’ box deselected), the list will
show just one string —*Global* — for all the Partition
events, for example:
Alarm Partition *Global*
Arm Partition *Global*
However, if you wish to expand the Partition Events details (‘Partition Details’
box selected) the list will show all the strings relative to Partition events, for
example:
Alarm Partition n°1 (Partition 01)
Alarm Partition n°2 (Partition 02)
Alarm Partition n°3 (Partition 03)
Alarm Partition n°4 (Partition 04)
Arm Partition n°1 (Partition 01)
Assigning Voice
Messages
 Loading...