16
bernette
SEWING MACHINE WORK
BOOK
Pattern Functions - Pattern Begin/End
NOTE: Refer to Page 40 Reference-Decorative Stitching for
more tips on appropriate tools for decorative stitching.
Firm woven fabric, 4” x 6”
Lightweight tear-away stabilizer 4” x 6”
80/12 Universal
Polyester or cotton embroidery thread
Default
Embroidery Sole-Sewing (JK)
1. Place stabilizer behind the fabric.
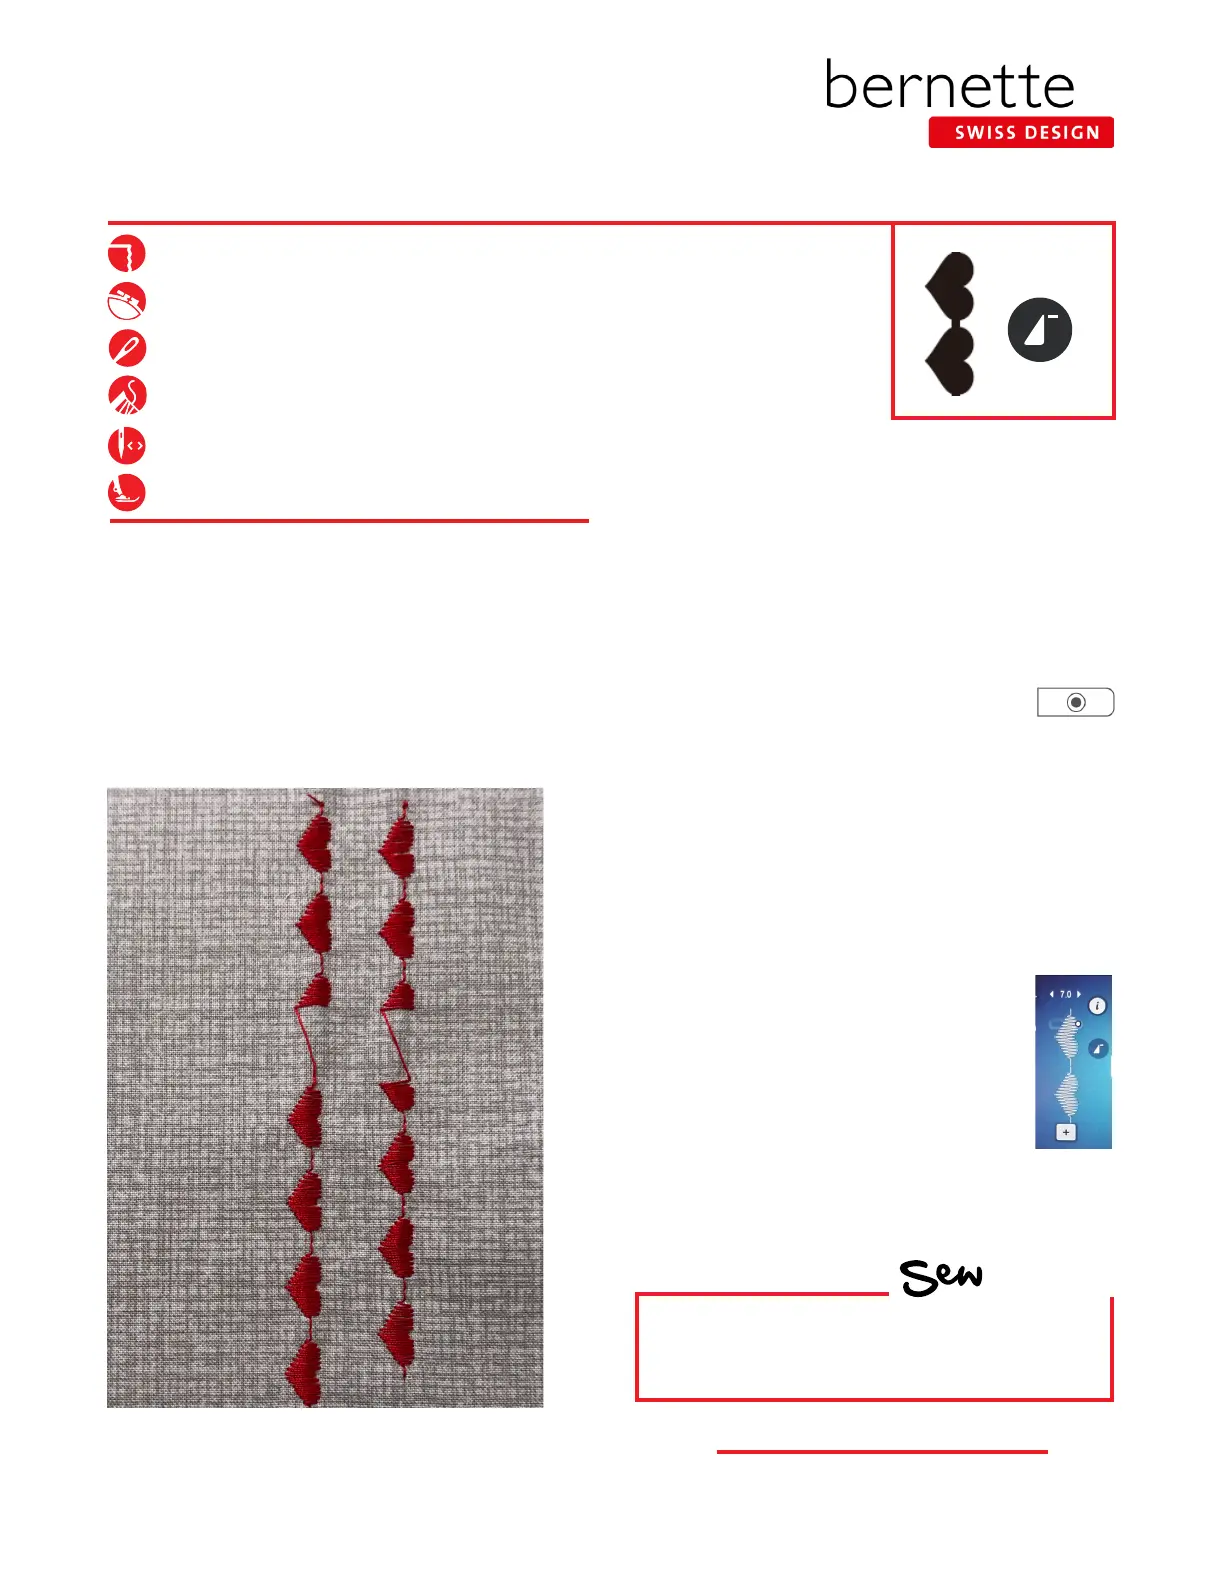
2. Select the satin stitch hearts-Stitch #124.
3. Select the Presser Foot Sole Display. Notice the Sole JK
is the recommended foot. Attach Embroidery Sole JK.
4.
Sew 2½ patterns, stopping in the middle of the third pattern.
5. Lift the presser foot and move the fabric down about
an inch; then begin sewing again. The pattern will start
forming where you left off.
6. After completing the interrupted heart,
start the nal heart and press the Securing
Button. The machine will stop stitching
when the pattern is complete. NOTE: The Securing
Button was programmed to complete a stitch pattern
when pressed. (See Page 6 Programming Securing
Button.)
7. Move to a new position and sew 2½ patterns, stopping
in the middle of the third pattern. Lift the presser foot
and move the fabric down about an inch.
8. Before starting to sew again, press Pattern Begin.
NOTE: The Pattern Begin icon appears on the
screen in the stitch altering area only when
the pattern is not at the beginning. To get
to the beginning of the pattern, select the
on-screen Pattern Begin icon. If it is not
visible, then the needle is at the beginning
of the stitch pattern.
9. Start sewing; the pattern will start forming at the
beginning. Again, press the Securing Button when you
start stitching the nal heart.
HOW
Do you know how to:
• Access Pattern Begin?
Tip: To make sure you have a complete pattern, depress
the foot control and do not lift your foot until the machine
stops.