26
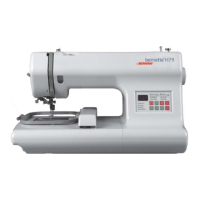
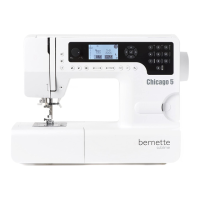
bernette
SEWING MACHINE WORK
BOOK
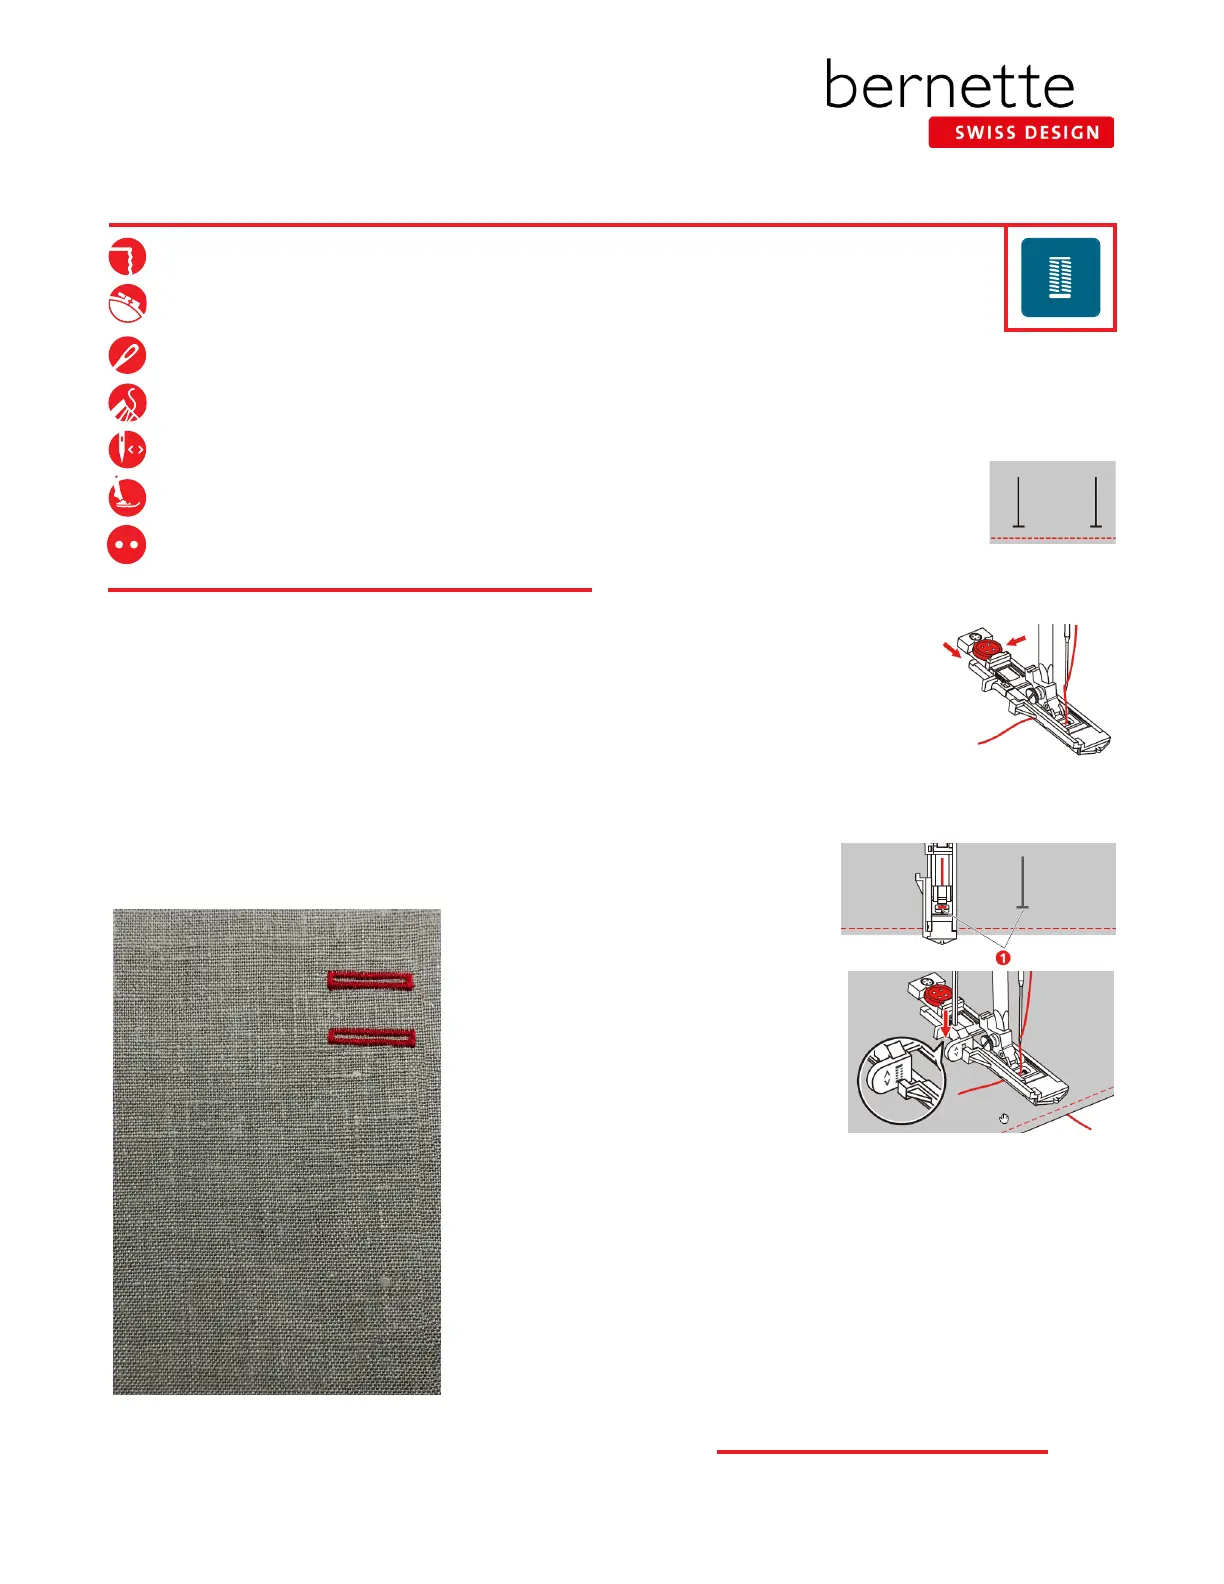
4. Pull out the button holder plate and insert the
button. Pass the thread through the hole in the
presser foot; then place the thread under the
foot.
5. Attach Buttonhole Sole with Slide (RJ).
6. Select the Buttonhole menu; select Standard
Buttonhole #51.
7.
Adjust the stitch width and length to the desired width and density.
8. Position the fabric under the presser
foot so that the drawn center line
is aligned with the center of the
buttonhole foot (1).
9. Push the Start/Stop button. While
the buttonhole lever is raised, an
error message will be displayed to
remind you to lower the buttonhole
lever. Pull down the buttonhole
lever as far as possible until it clicks
into place.
10. Hold the end of the upper thread in your hand and start sewing. After
the buttonhole has been sewn, the machine sews a securing stitch
automatically and then stops.
11. The buttonhole is repeatable without re-setting. Stitch the second
buttonhole.
NOTE: We will use this same buttonhole to stitch the corded buttonhole
on the next page.
Automatic Buttonhole
1. Fold the fabric square in half to 3” x 6”. Press.
2. Mark the start positions for two buttonholes on
the fabric. (The maximum buttonhole length is 3 cm
(1 3/16") which is the total of the diameter plus the
thickness of the button.) The length
of the buttonhole will be determined
by the button inserted in the
buttonholer plate.
3. Insert the stabilizer between the layers.
Wool-like fabric or heavy flannel, 8” x 6”
Lightweight tear-away stabilizer 4” x 6”
80/12 Universal
Polyester or cotton embroidery thread
As programmed
Buttonhole Sole with Slide (RJ)
3/4” (19 mm/30L) two-hole button