28
bernette
SEWING MACHINE WORK
BOOK
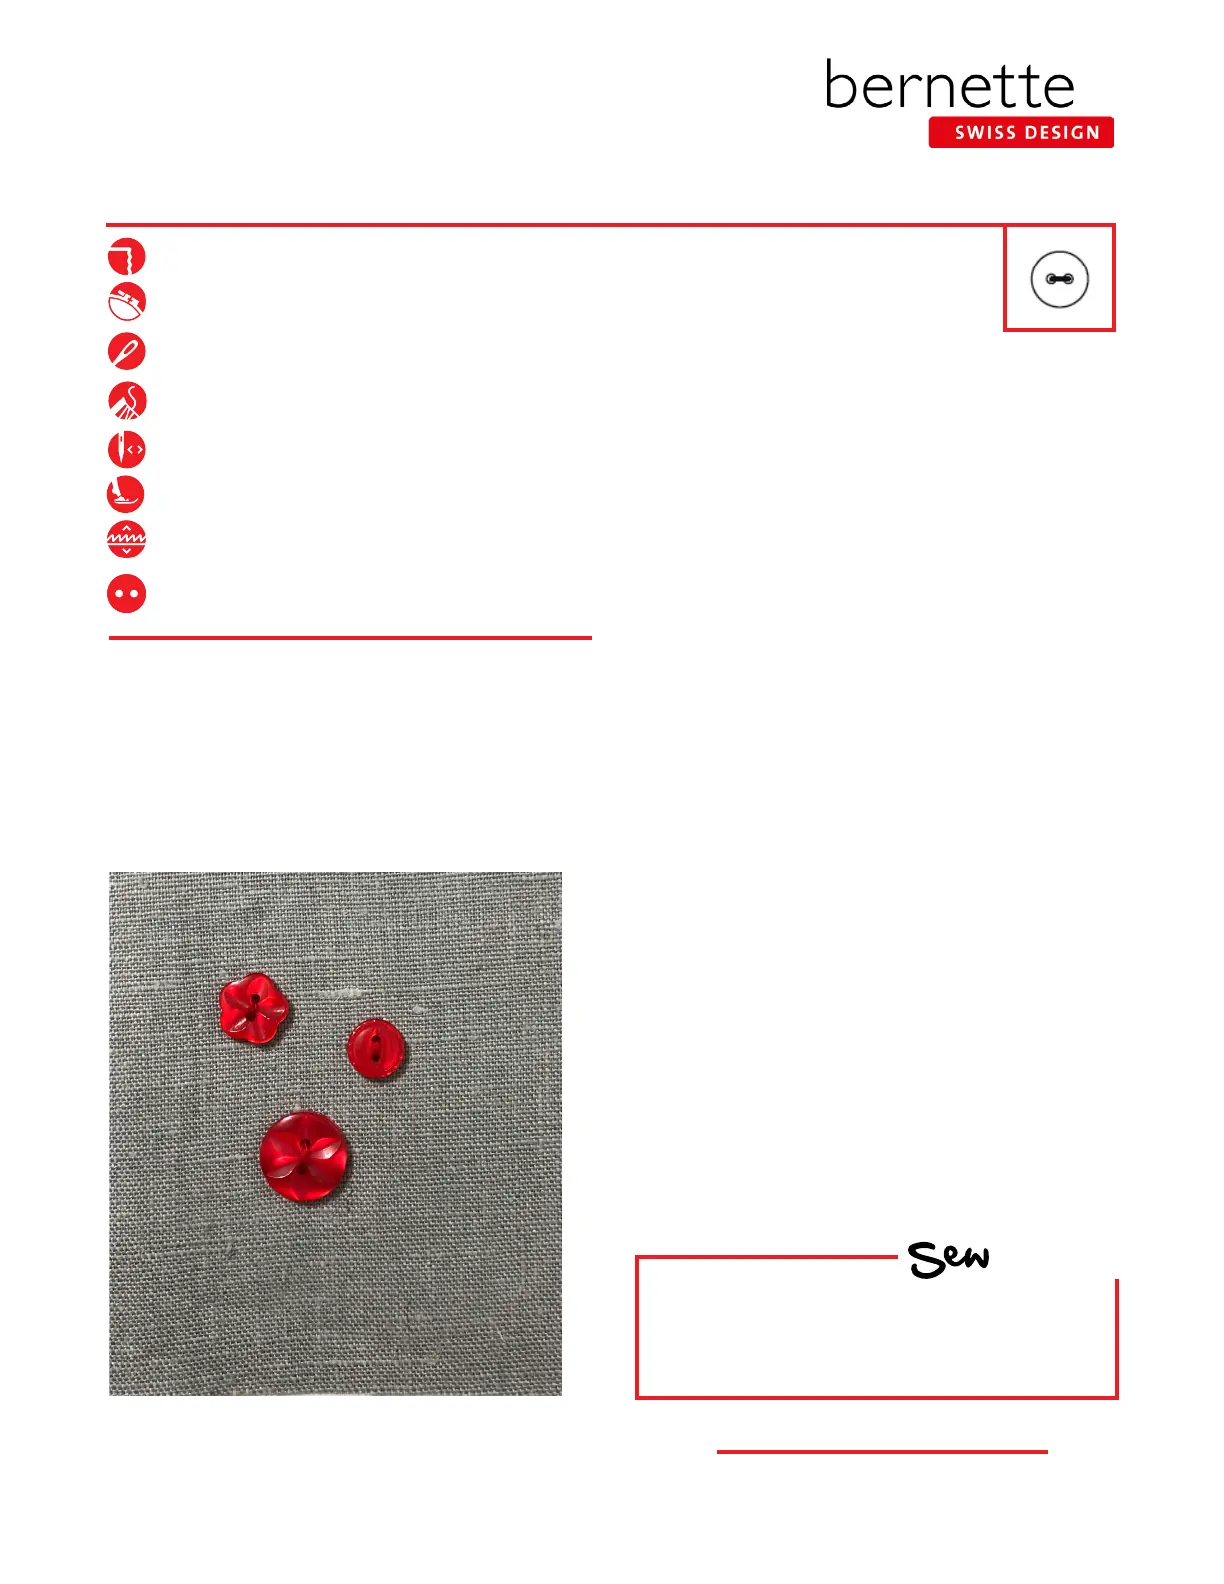
Attaching Buttons
1. Attach the Button Sew-On Sole (RC) to the machine
with the blue part of the foot in front.
2. Lower the feed dog.
3. Select the Button Sew-On Program #60.
4. Fold the fabric in half to 4” x 4” and press.
5. Insert the stabilizer between the layers of fabric.
6. Place the button on the fabric.
7. Check the distance between the holes of the button
by turning the hand wheel. Adjust the stitch width
if necessary so that the left and right swings of the
needle fall into the holes of the button. Hold the thread
tails as you begin to sew.
8. When using the Button Sew-on Program, the machine
stops automatically when the program is complete
(keep the Foot Control fully depressed until the
machine stops, or use the Start/Stop button).
9. Pull on both bobbin threads until the ends of the upper
threads are visible on the wrong side.
10. Knot the ends manually.
Tips:
• A longer shank is appropriate for coat and jacket-weight
fabrics. To achieve this, place a darning needle on top of
the button between the eyes before stitching the button
on.
• Stitch a ribbon with this technique (the stitch makes a
bartack) and then tie the ribbon into a bow.
HOW
Do you know how to:
• Lower the feed dog on your machine?
Firm woven fabric, 4” x 6”
Lightweight tear-away stabilizer 4” x 6”
80/12 Universal
Polyester or cotton embroidery thread
As Programmed
Button Sew-on Sole (RC)
Feed dogs down
3/4” (19 mm/30L) two-hole button