25
Sewing preparation
Stitch plate
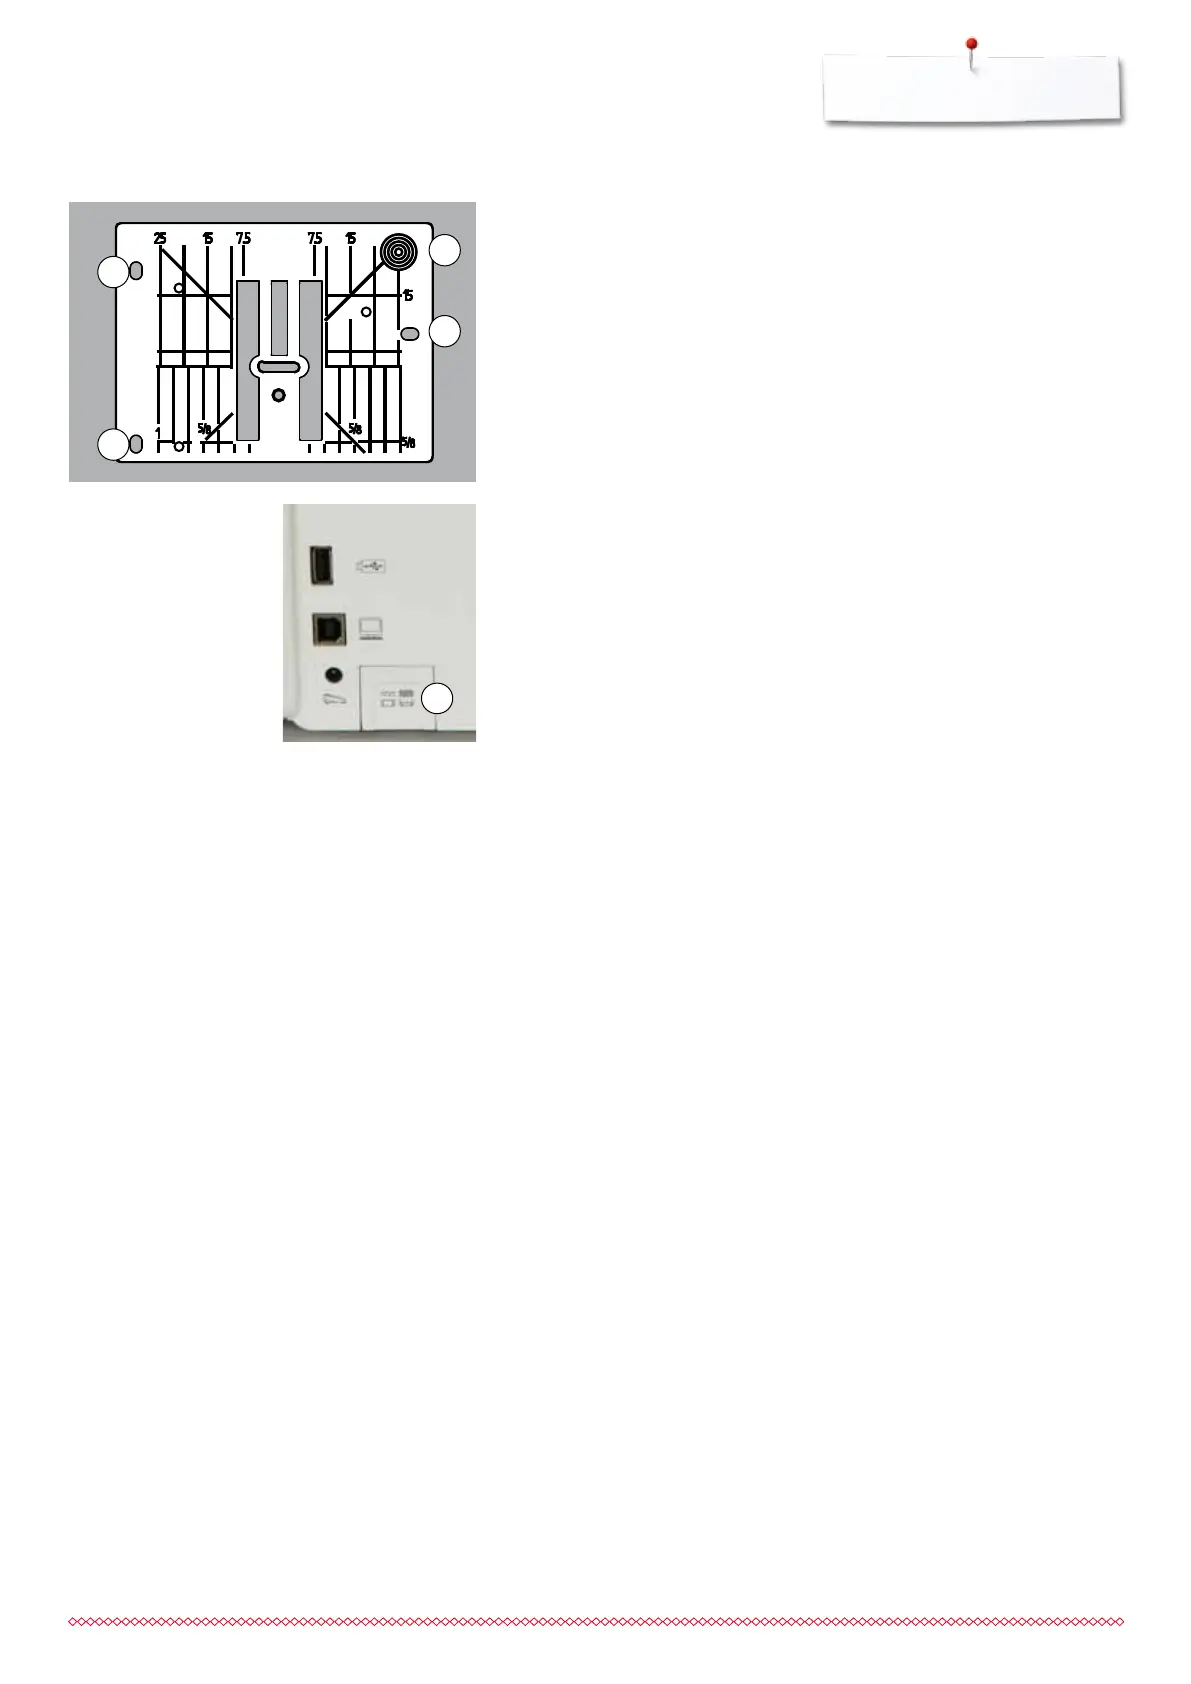
Markings on the stitch plate
the stitch plate is marked with vertical, horizontal and diagonal lines in mm
and inches
the lines help to guide the fabric for sewing seams and precise topstitching,
etc.
the horizontal markings are helpful for sewing corners and buttonholes, etc.
the diagonal markings are useful for quilting
needle insertion point is position «0» (center needle position)
the vertical measurements correspond to the distance between the needle
and the line
measurements are marked to the right and to the left of center needle
position
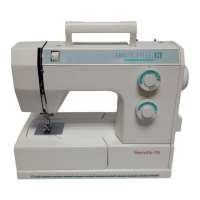
Removing the stitch plate
⦁
press «Feed dog»-button 5
►
the feed dog is lowered
⦁
turn power switch to «0» (off)
⦁
remove presser foot and needle
⦁
press the stitch plate down at the right back corner 1 until it flips up
⦁
remove the stitch plate
Replacing the stitch plate
⦁
place the openings of the stitch plate 2, 3 and 4 above the corresponding
guide pins
⦁
press down until it clicks into place
⦁
press «Feed dog»-button
►
the feed dog is raised as soon as the first stitch is sewn
1
2
3
4
5
033805.51.04_2014-02_Manual_B710_EN