68
Practical stitches
Zipper foot No. 4D
Straight stitch No. 1
Preparation
⦁
close seam to the zipper beginning
⦁
sew securing stitches
⦁
baste seam closed and clean
⦁
finish the seam allowance
⦁
iron the seam
⦁
open the zipper
⦁
baste the zipper: baste or pin zipper in place so that fabric folded edges
meet over the center of the zipper
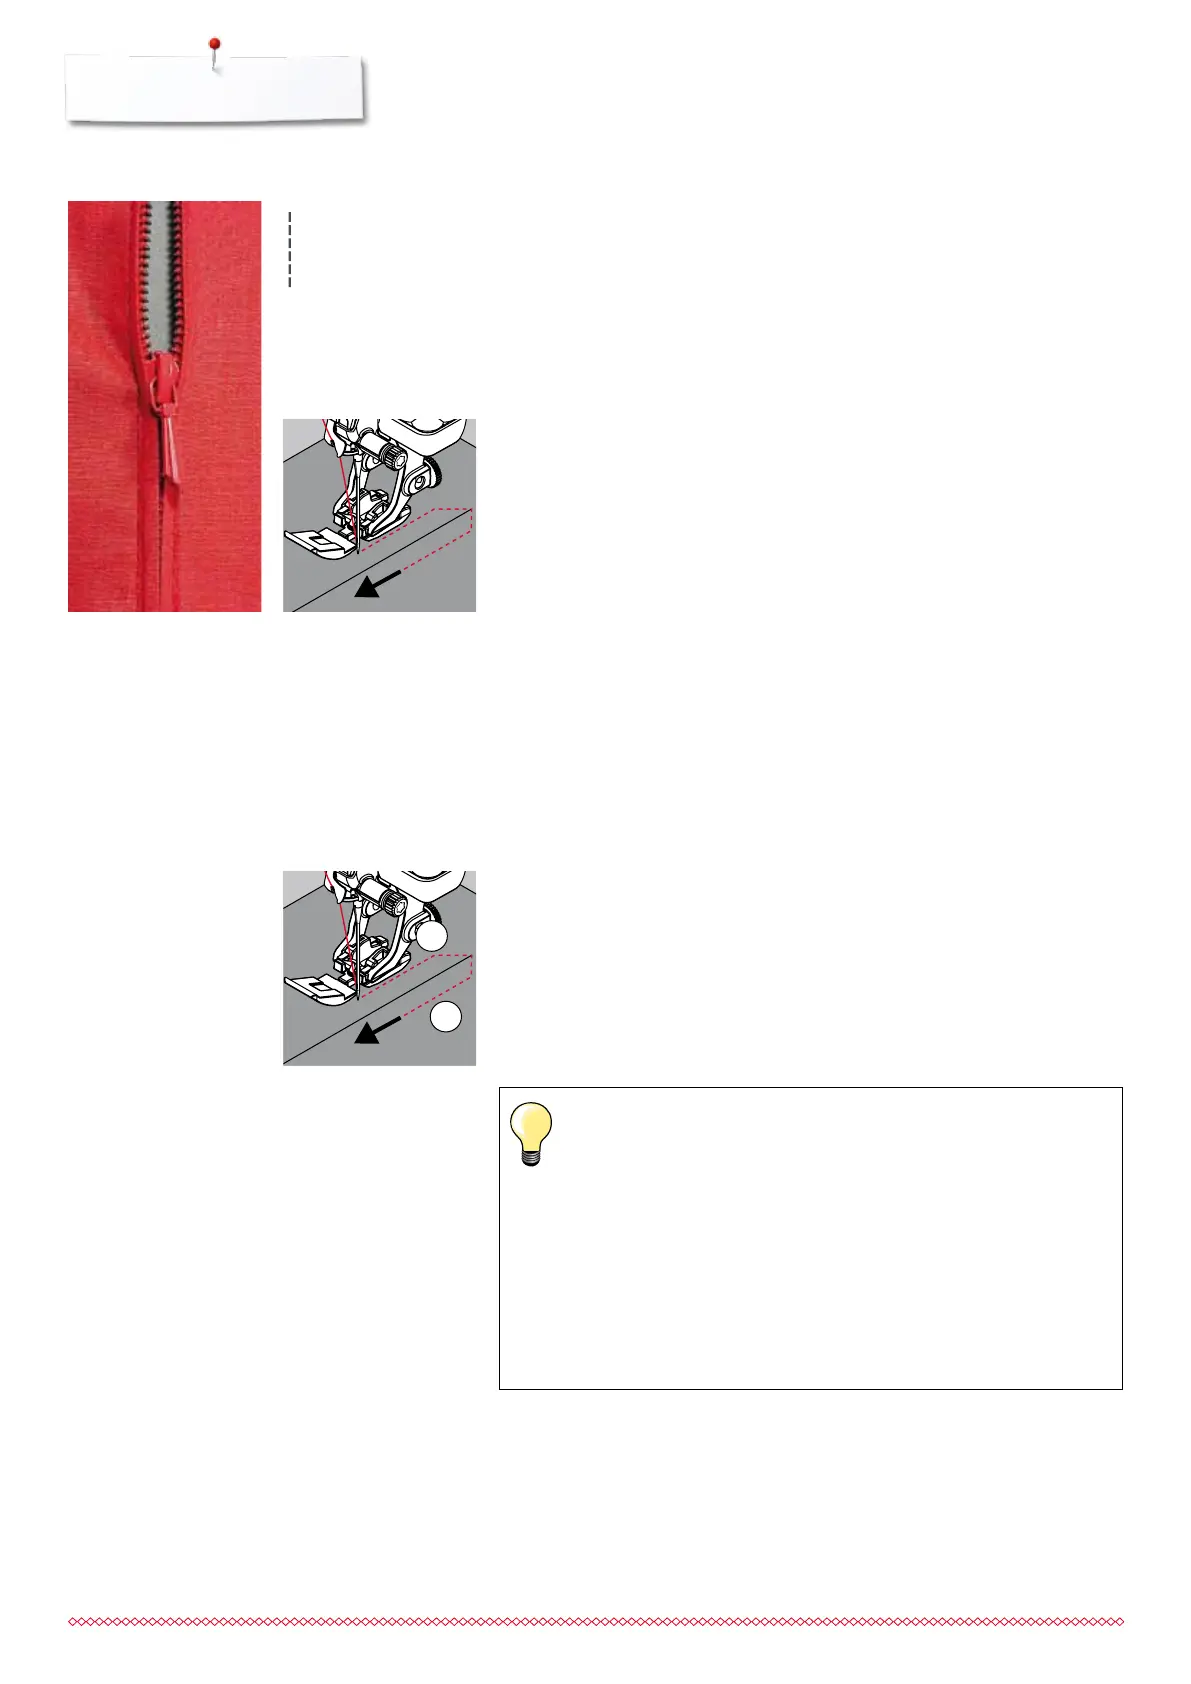
Sewing in the zipper
⦁
open zipper a little
⦁
move needle position to the right
⦁
start sewing from top left
⦁
position the foot so the needle stitches along the edge of the zipper coils
⦁
stop in front of the pull (needle position down)
⦁
raise the presser foot
⦁
close the zipper again
⦁
continue to sew, stop in front of the base of the zipper, needle position
down
⦁
raise the presser foot
⦁
turn the sewing project
⦁
sew across the seam, stop with needle position down
⦁
raise the presser foot
⦁
turn sewing project again
⦁
sew the second side from bottom to top
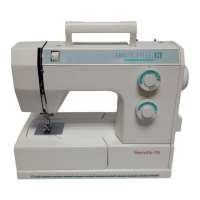
Variation: Sew both sides of zipper from bottom to top
Suitable for all fabrics with nap or grain (e.g. velvet).
⦁
prepare zipper as described above
⦁
start sewing in the seam of the zipper end and sew first side from bottom to
top, needle position on the right
⦁
sew diagonal along the edge of the zipper coils
⦁
first side 1 sew from bottom to top
⦁
move needle position to the left
⦁
second side 2 sew in the same way from bottom to top
Sew around the zipper pull
sew up to about 5cm away from the zipper pull
stop with the needle down, raise the presser foot, open the
zipper, finsih sewing (use Free Hand System)
Seam begin
hold thread firmly when starting to sew = pull fabric slightly to the
back (fewer stitches) or
sew about 1-2cm reverse first, and continue to sew as usual
Zipper or fabric is thick or densely woven
For even stitch formation use a 90-100 needle.
Zipper
1
2
033805.51.04_2014-02_Manual_B710_EN