Communication Error Codes | 89
Apply the Plate Stacked Height Value
LHC Touch screen
Gen5/Gen5
TS
Only available at runtime.
Select the Run Info tab before starting a
protocol.
Select
System>Plate
Types and
select the
database
record for the
plate type you
are using.
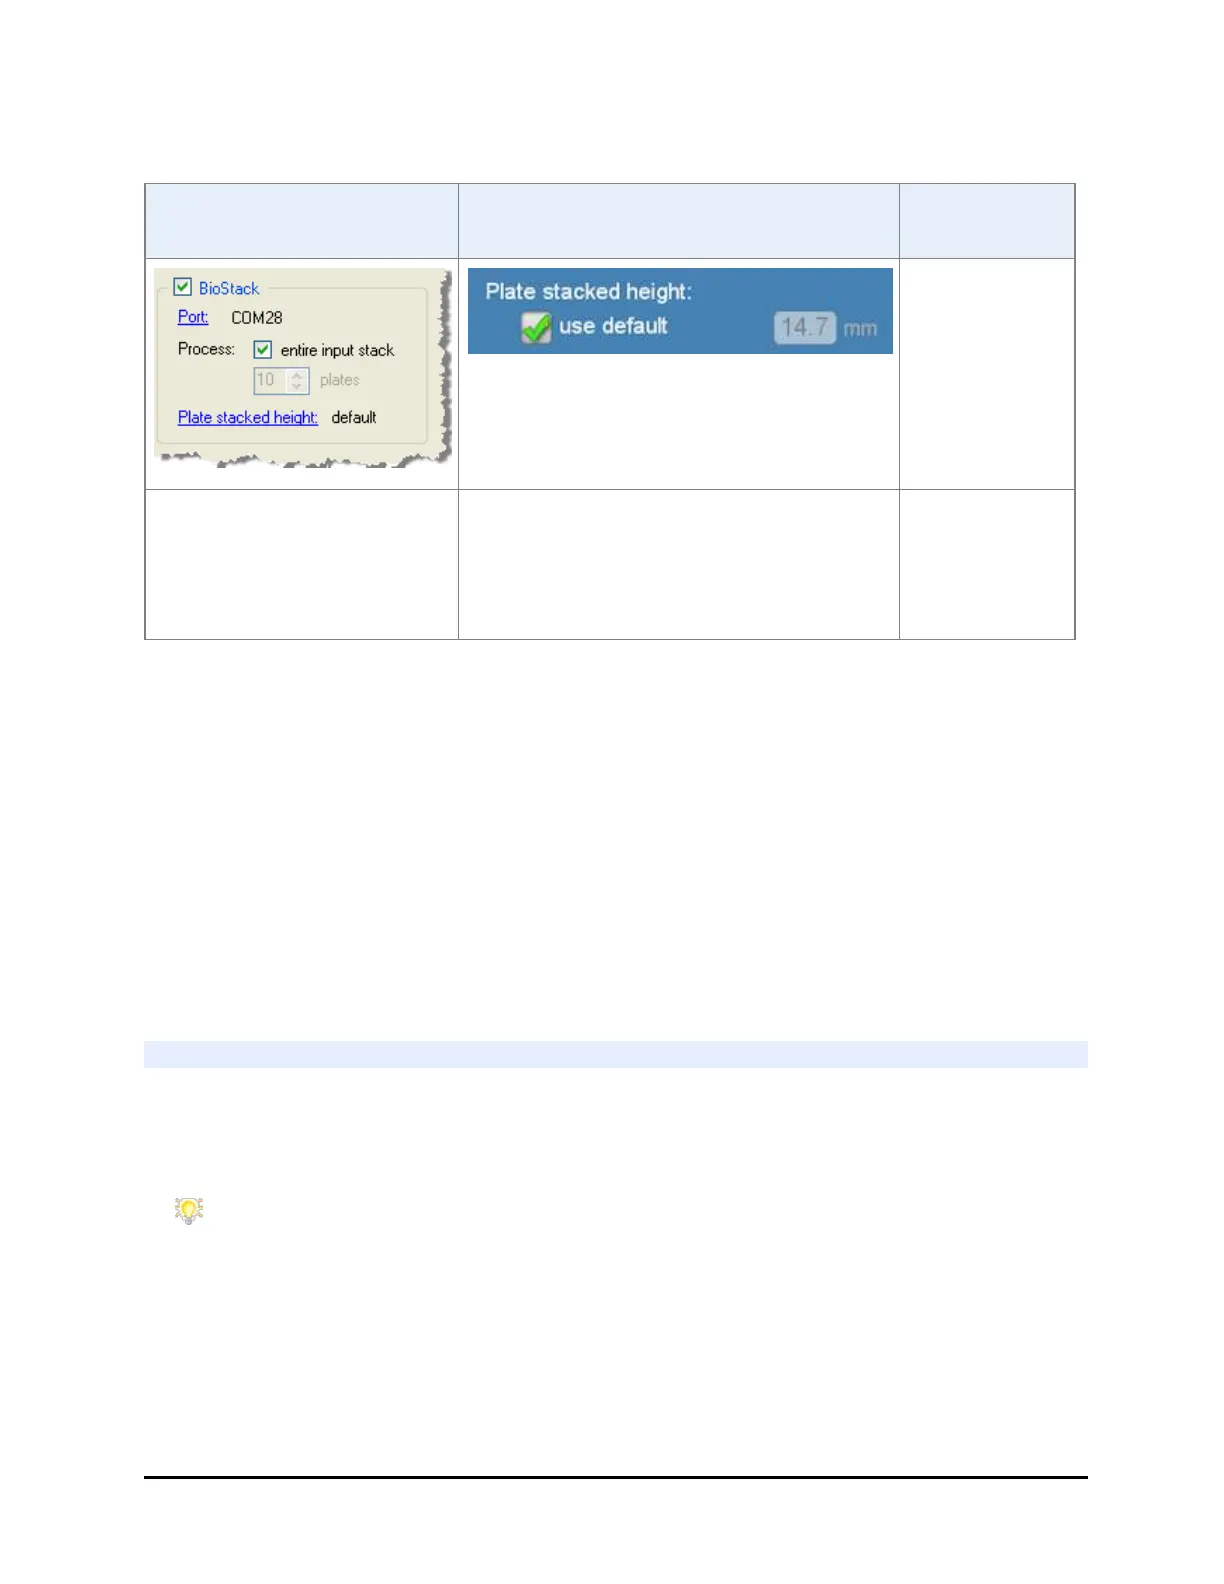
Apply the plate stacked
height setting in the BioStack
control in the main view.
Click the link to specify a
height value.
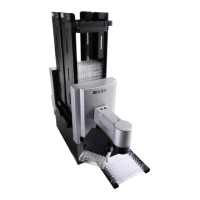
Apply the plate stacked height setting:
select the checkbox to use the default
setting or touch the number field to enter
a height value.
Add the plate
stacked height
value to the
Plate Type file.
Control Method Limitations:
l When controlled with Gen5 or LHC, the BioStack supports plates having a stacked
height at least 4.50 mm greater than the plate skirt height. The stacked height value
may range from 5.00 mm to 21.00 mm (1 mm less than the maximum plate height due
to the base recess), but acceptance of this value shall not ensure proper operation.
l When controlled by the instrument, i.e., not controlled with Gen5 or LHC, and the plate
height dip switch is closed, or standard default setting, the BioStack supports plates
having a stacked height greater than 10.16 mm and a skirt height less than 5.66 mm.
l When controlled by the instrument and the plate height dip switch is open, i.e., set to
“Low Volume,” the BioStack supports plates having a stacked height greater than 8.89
mm and a skirt height less than 4.39 mm.
Change Setting for Low-Profile Plates
To prevent transfer errors when using low-profile, half-height and other shorter-
than-standard plate types, change the dip switch setting. This changes the BioStack's
behavior to better grip the plates.
See Dip Switch Settings on page 28 for photos and more information.
1. Turn off the BioStack.
2. Two plugs on the rear wall of the instrument cover two sets of dip switches.
Remove plug #2, the plug on the right when viewing the instrument from the
rear.
BioTek Instruments, Inc.