30 | Chapter 2: Installation
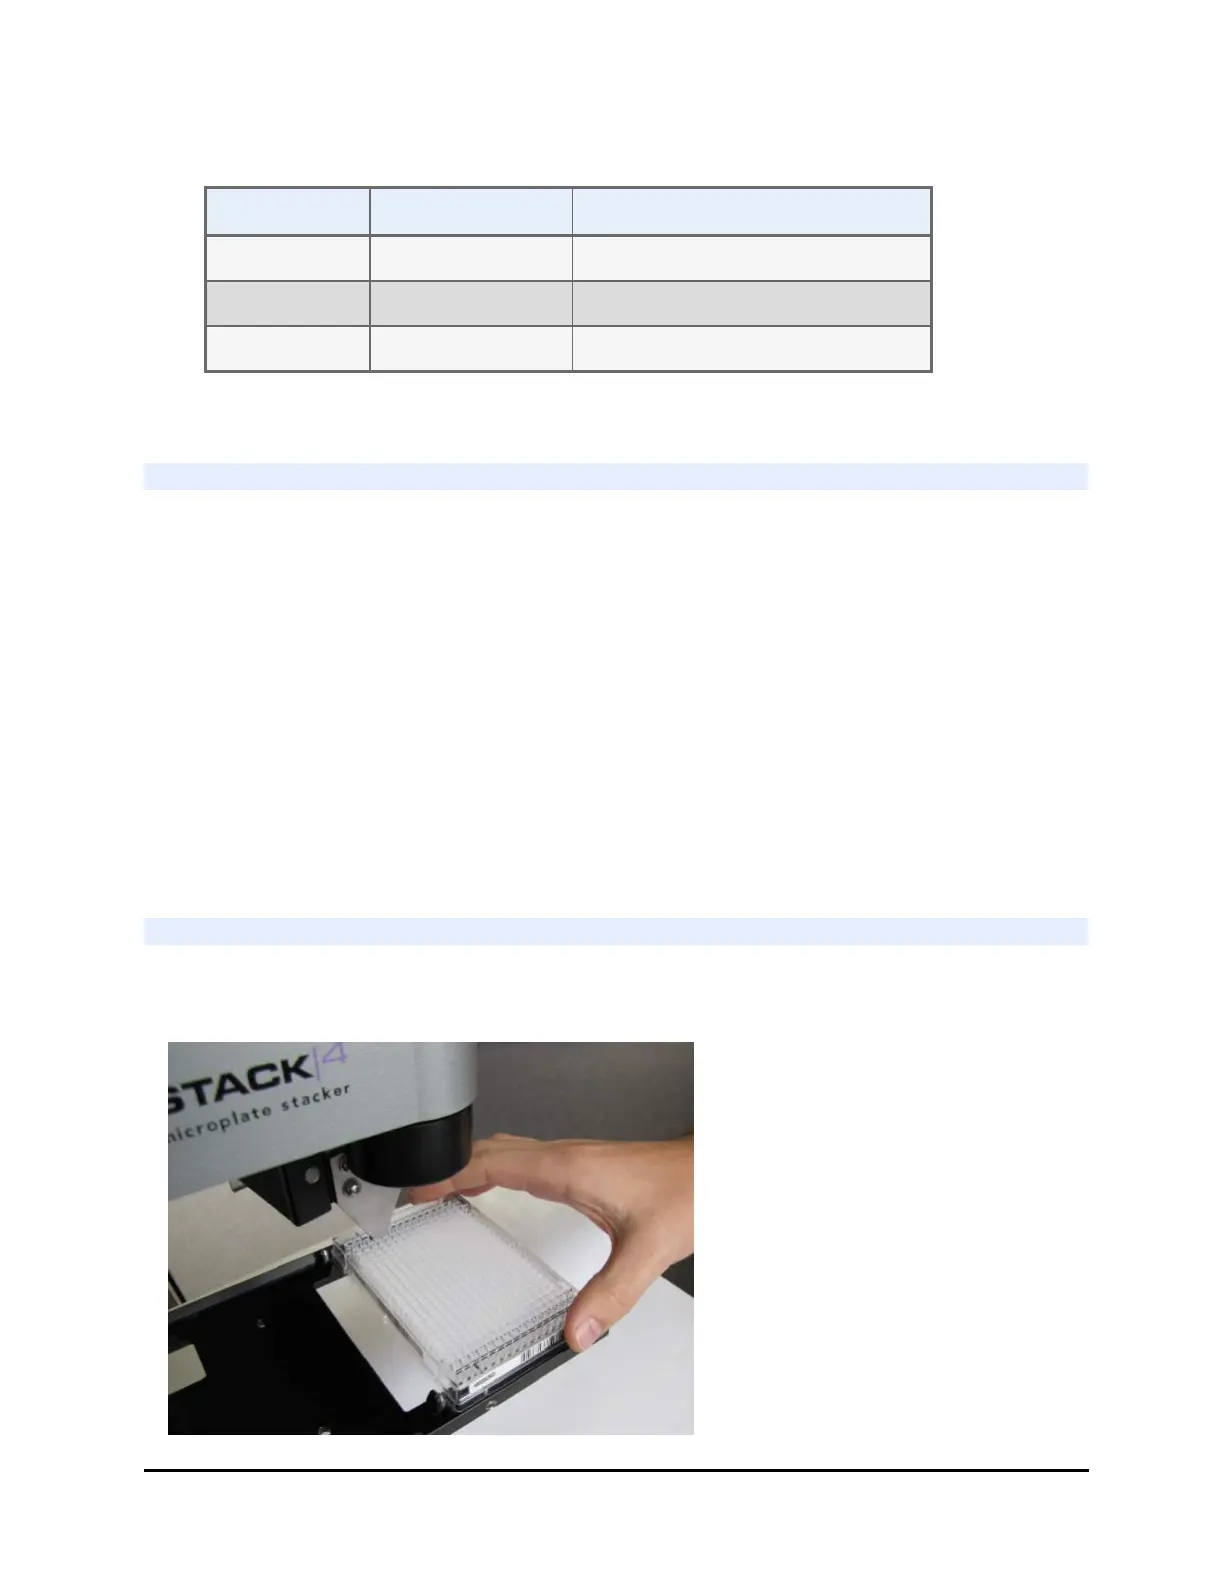
Switch 2
Wrist Angle BIOSTACK2WR BIOSTACK3WR/BIOSTACK4
90°/+90° SW2 - 3 = Open SW2-3 Open and SW2-4 Closed
0° SW2 - 3 = Closed SW2-3 Closed and SW2-4 Open
-90° N/A SW2-3 Closed and SW2-4 Closed
4. Replace the plug.
Change Setting for 50-Plate Stacks
For better performance when using 50-plate stacks and routinely processing more
than 30 plates, change the dip switch setting. This changes the BioStack's behavior to
better handle the heavier load.
1. Turn off the BioStack.
2. Two plugs on the rear wall of the instrument cover two sets of dip switches.
Remove plug #2, the plug on the right when viewing the instrument from the
rear.
3. Using a pencil tip, push SW-2 switch #1 (the right-most dip switch) to its Open
position, away from the instrument.
4. Replace the plug.
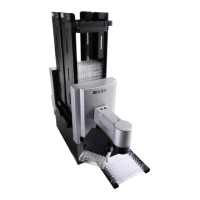
Test Plates for Compatibility—BioStack 4 Only
Perform this simple test to make sure your microplates are compatible with the
BioStack 4:
BioStack™ Microplate Stacker