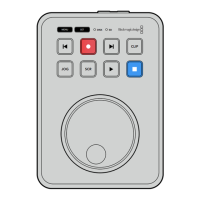
Format Media
SD cards and media connected via the rear ext disk connection can be formatted directly on
the unit or via a Mac or Windows computer.
Preparing Media on HyperDeck Shuttle HD:
1 Using the search dial and set button, select format media.
2 Select the media to format from the list and press set.
3 Choose the format and press set.
4 A confirmation window will appear detailing which card is to be formatted and the selected
format option. Select format.
5 A formatting window will appear once completed. Select OK.
HFS+ is also known as Mac OS X Extended and is the recommended format as it supports
‘journaling’. Data on journaled media is more likely to be recovered in the rare event that your
storage media becomes corrupted. HFS+ is natively supported by Mac. exFAT is supported natively
by Mac and Windows without needing any additional software but does not support journaling.
Toformat media on a Mac or Windows computer, refer to the ‘formatting media’ section.
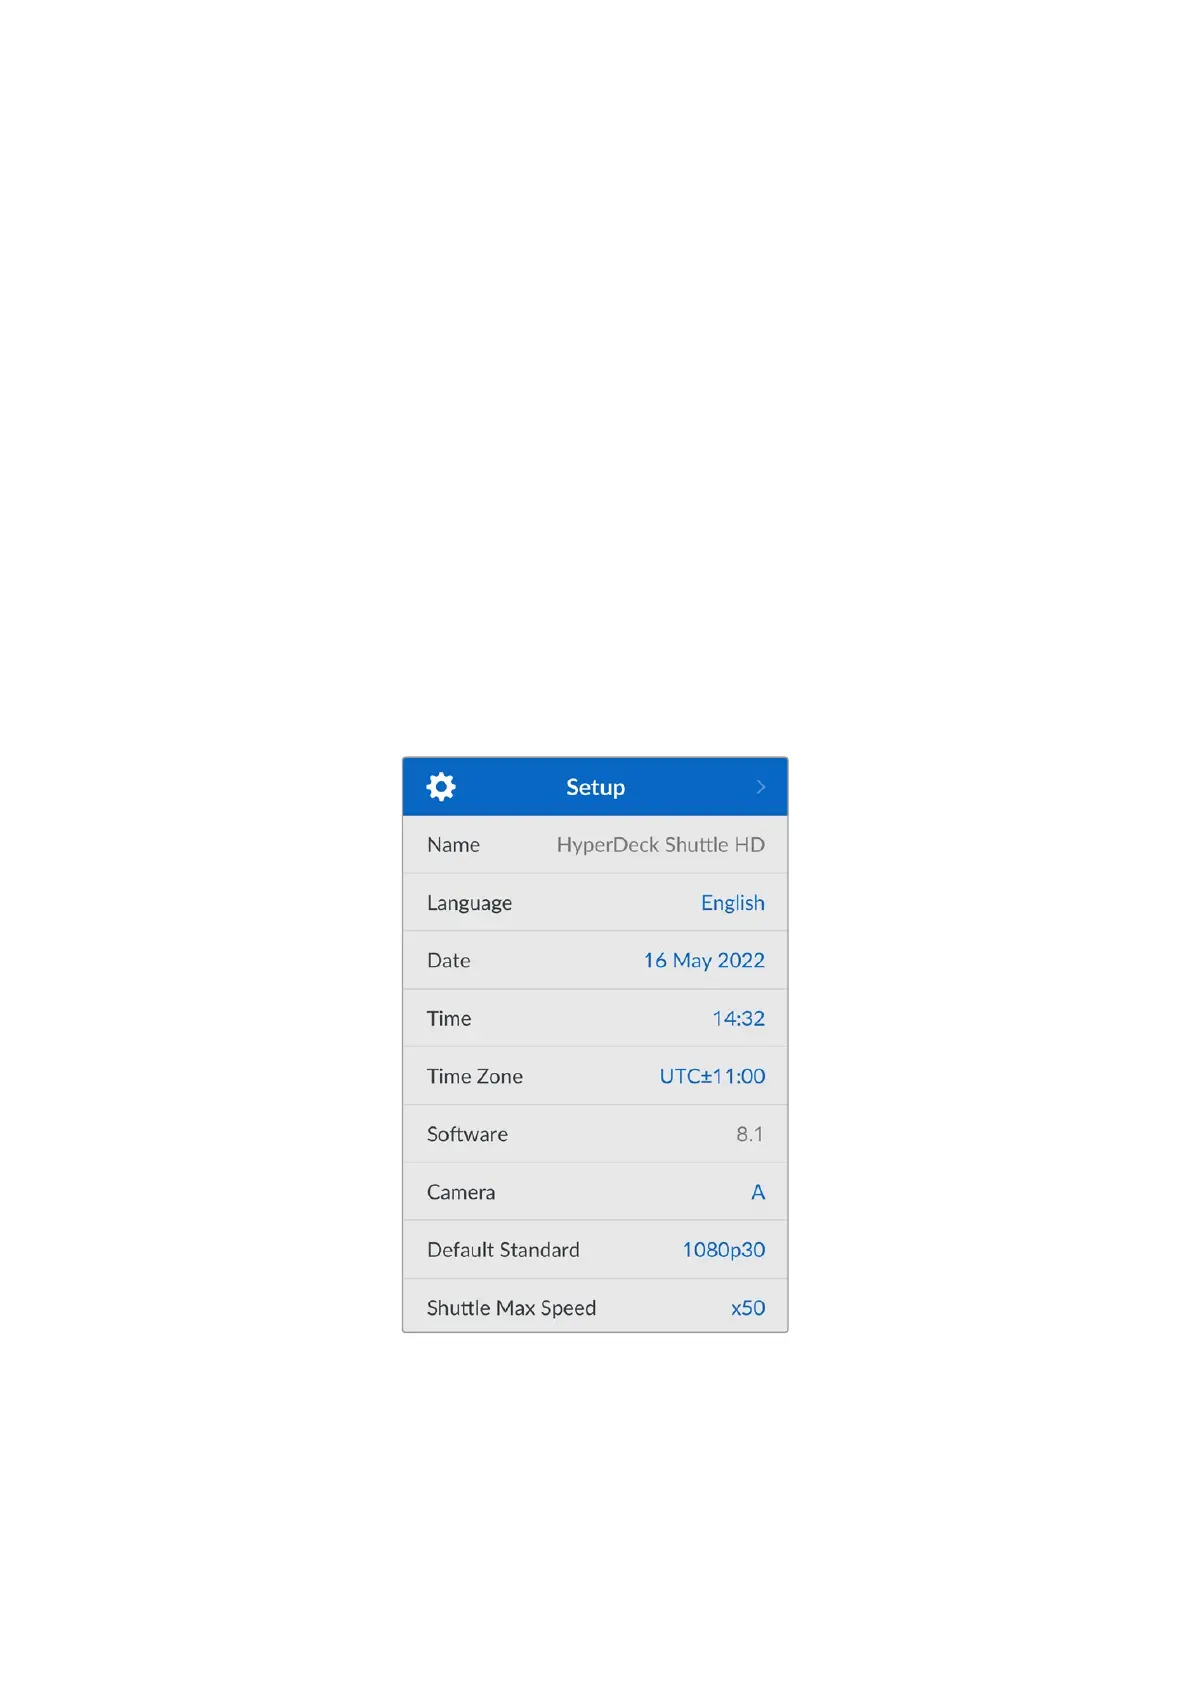
Setup Menu
The setup menu contains settings including language selection and default standard as well as
sections for the menu display, network settings and timecode options.
Name
When more than one HyperDeck Shuttle HD is on the network, you may wish to give them
discrete names to help identify the different units. This can be done via Blackmagic HyperDeck
Setup or Blackmagic HyperDeck Ethernet Protocol using a terminal application. The name will
appear in the setup menu.
15Settings
 Loading...