Since a domain name was selected, you will need to speak to your IT department about
resolving the DNS entry for the HyperDeck Shuttle HD unit. This will point all traffic for the IP
address of the HyperDeck Shuttle HD to the selected domain address in the signing request.
Thiswill also be the HTTPS address you use to access files via the web media manager,
forexample https://hyperdeck.melbourne.com
It’s worth noting that the certificate will be invalidated following a factory reset and a new
certificate will need to be generated and signed.
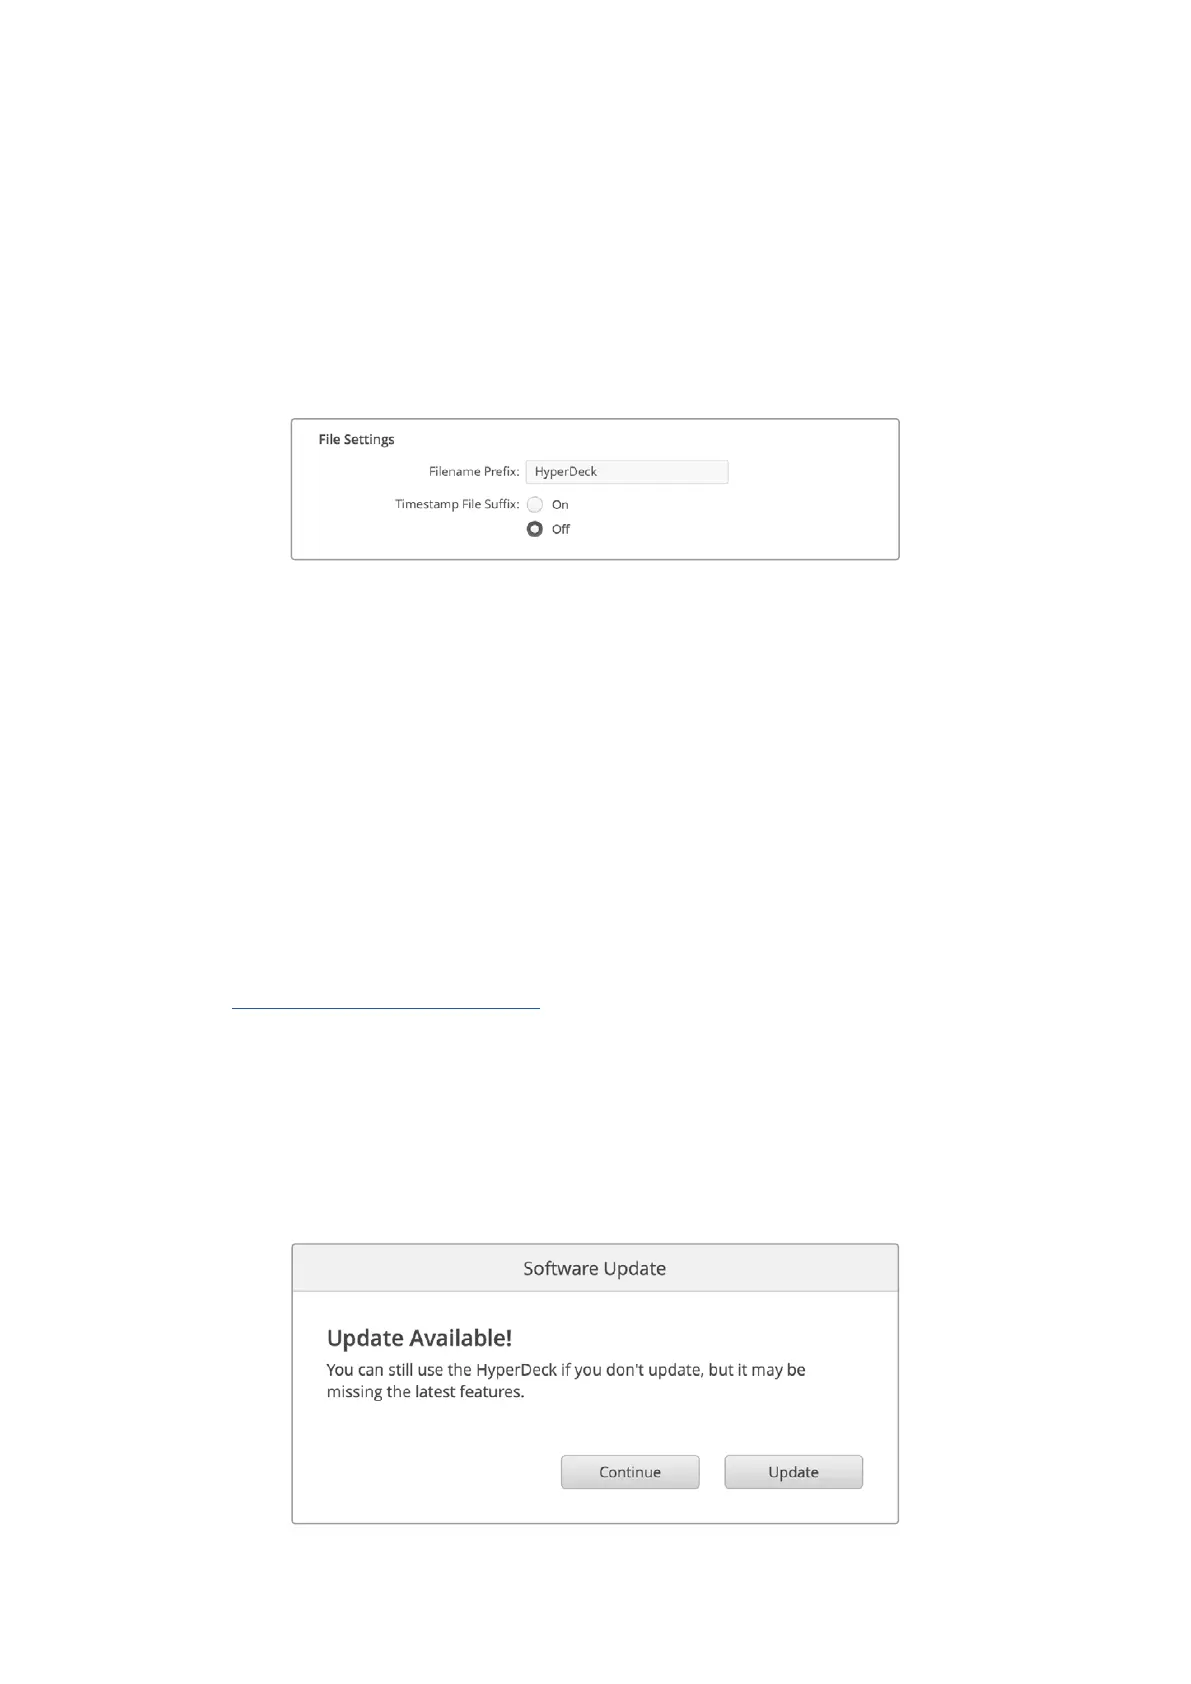
File Settings
When first set up, your HyperDeck Shuttle HD will record clips to your SD card or USB flash disk
using ‘HyperDeck’ as the prefix. Type in a new filename to change the prefix.
The timestamp added to the filename is turned off by default. If you would like the date and
time recorded in your filename, switch it to on. Filename prefix and timestamp settings are also
available via onscreen menu on HyperDeck Shuttle HD.
Reset
Select ‘factory reset’ to restore your HyperDeck to factory settings. A factory reset will invalidate
the current certificate. If a secure certificate is being used you will need to generate a new
certificate signing request to be signed by a certificate authority or IT department.
Updating the Internal Software
To update the internal software:
1 Download the newest Blackmagic HyperDeck Setup installer from
www.blackmagicdesign.com/support.
2 Run the Blackmagic HyperDeck Setup installer on your computer and follow the onscreen
instructions.
3 After installation is complete, connect your HyperDeck Shuttle HD to the computer
via the USB or Ethernet connector on the rear panel.
4 Launch Blackmagic HyperDeck Setup and follow any onscreen prompt to update
the internal software. If no prompt appears, the internal software is up to date and there is
nothing further you need to do.
{note to designer, no
hyperlink for this please}
34Blackmagic HyperDeck Setup
 Loading...