Input
There are four timecode input options available when recording.
Video Input
Selecting video input will take the embedded timecode from HDMI sources with
SMPTE RP 188 metadata. This will maintain sync between your HDMI source and
the file recorded on the HyperDeck Shuttle HD.
Internal Use this option to record time of day timecode via the built in timecode generator.
Last Clip
Regen
By selecting ‘last clip regen’ for your timecode input, each file will start one frame
after the last frame of the previous clip. For example, if your first clip ends on
10:28:30:10, the next clip timecode will start at 10:28:30:11.
Preset
If you want to set a timecode manually, select the preset option. Recorded clips will
start at the timecode set via the ‘preset’ setting as shown later in this section.
Drop Frame
For NTSC sources at frame rates of 29.97 or 59.94, you can select ‘drop frame’ or ‘non-drop
frame’ timecode. If the source is unknown, select ‘default’. This will maintain the standard of the
input, or default to drop frame if there is no valid timecode.
Preset
You can set your timecode manually by pressing the set button and entering the start timecode
using the search dial and set button. Make sure the ‘preset’ option is selected under the
input menu.
Output
Select your timecode options for your outputs.
Timeline
To output a continuous timecode for all clips recorded on a card or drive,
selecttimeline.
Clip Selecting the clip option will output the timecode of each individual clip.
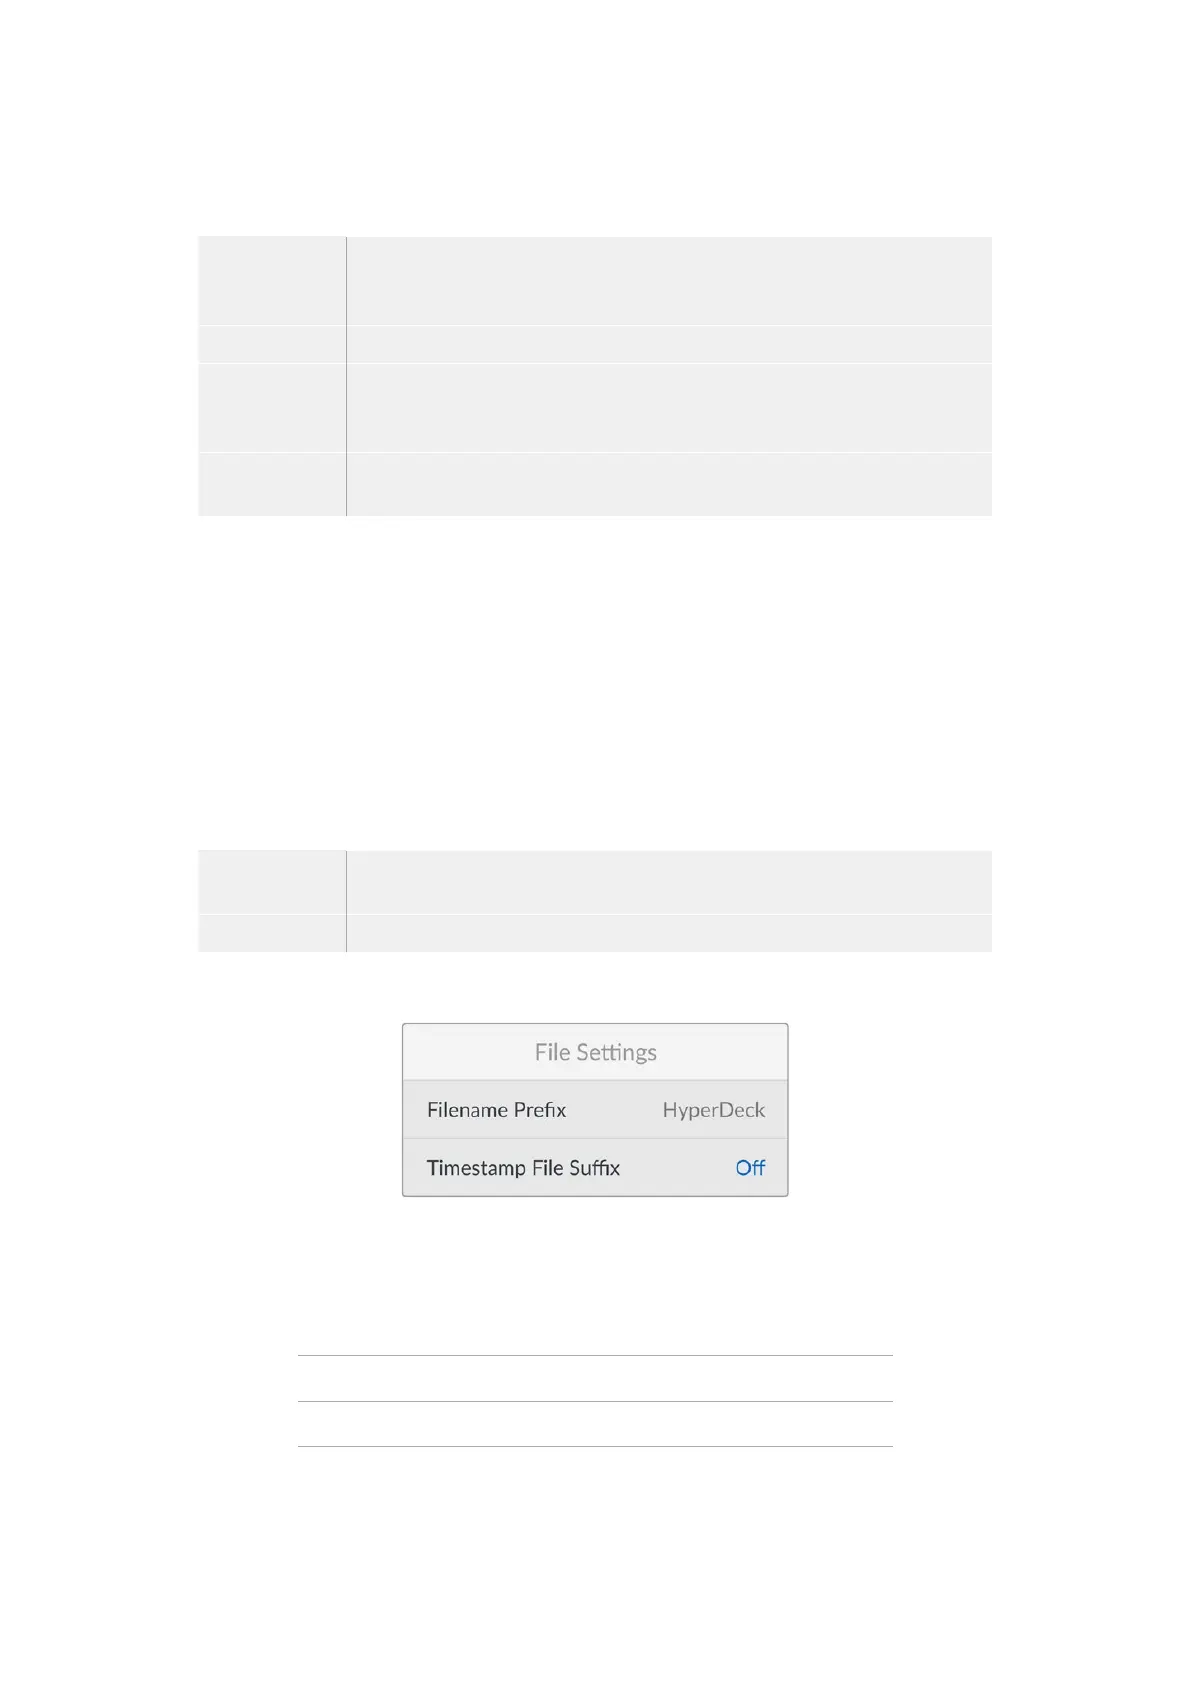
File Settings
Filename Prefix
When first set up, your HyperDeck Shuttle HD will record clips to your SD Card or USB flash
disk using the following filename convention.
HyperDeck_0001
HyperDeck_0001 Prefix
HyperDeck_0001 Clip Number
You can change the filename prefix via the HyperDeck Setup utility. For more information, refer
to ‘Blackmagic HyperDeck Setup’ later in this manual.
19Settings
 Loading...