Using Blackmagic Videohub Control
10
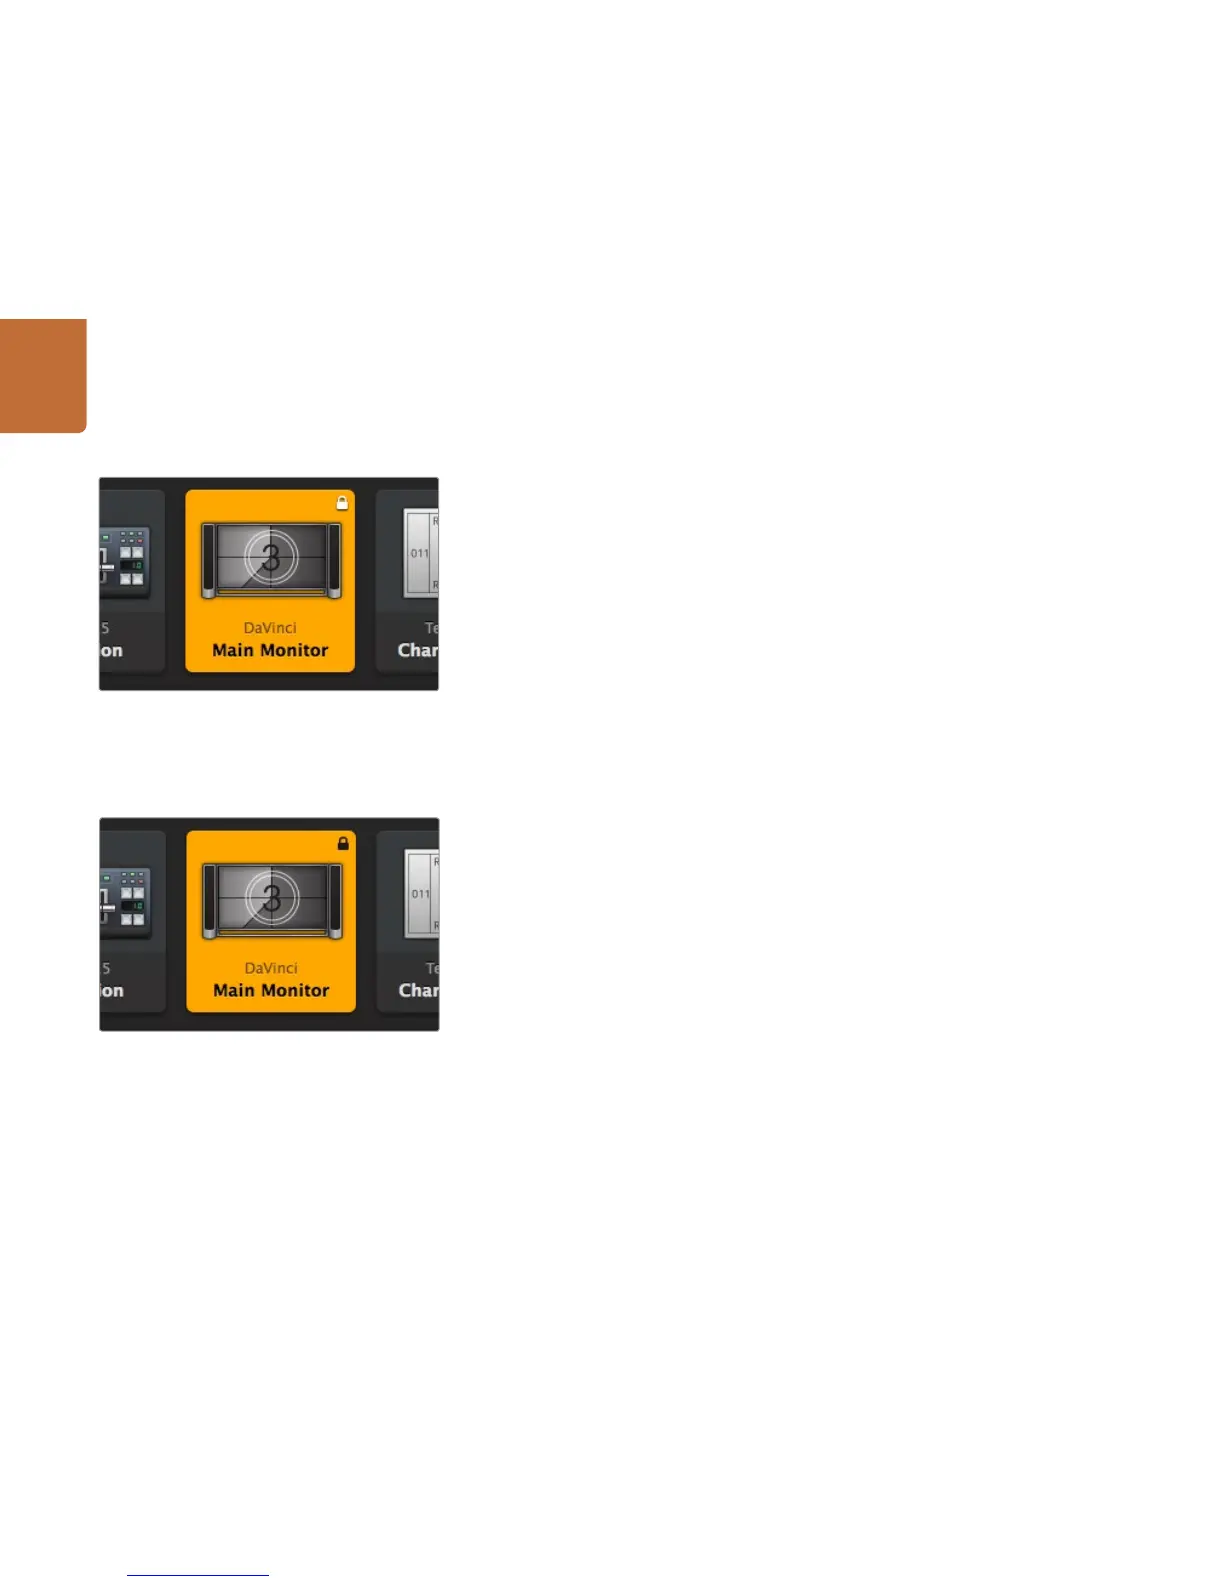
Locking and Unlocking Routes
Locking a destination will avoid accidentally changing the video source which is routed to that destination.
To lock a route, select the destination pushbutton and click the Lock button. A padlock icon will appear in
the top-right corner of the destination pushbutton and will prevent anyone else from using the destination
device until it is unlocked from your computer. Locking a destination still leaves the associated video
source available for routing to multiple destinations simultaneously.
If you click on a pushbutton that's locked, the Lock button changes into an Unlock button. Simply click
the Unlock button to unlock the destination pushbutton.
To simultaneously lock multiple destinations, shift click the destination pushbuttons you wish to lock
and click the Lock button. If you select a mixture of locked and unlocked pushbuttons, you will have the
option to Lock the unlocked pushbuttons.
Locking a route between an input and an output also locks the RS-422 deck control connection between
the two devices to avoid other users accidentally seizing the deck control belonging to the video source.
The RS-422 connection between the video source and video destination will remain locked until the
destination pushbutton is unlocked.
A black padlock icon will appear on any destination pushbuttons which other users have locked. The video
destination devices will not be available to you until the destination pushbuttons have been unlocked
from the other users’ computers and iPads.
If you need to unlock a route set by another user, launch Videohub Setup, select the Outputs tab and
click the destination's lock icon.
Remotely locked destinations display a black padlock icon.
Locally locked destinations display a white padlock icon.