16
Getting Started with Videohub Controllers
Connecting USB to Configure the Control Panel
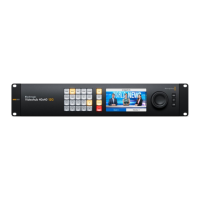
A USB 2.0 connection to a computer is used to configure the network settings of the Videohub Controller.
Be aware that the USB port of the Videohub Smart Control is inaccessible once it is installed in a rack.
If you are likely to reconfigure Videohub Smart Control network settings periodically, then it may be
convenient to permanently connect a USB cable to the unit before installing Videohub Smart Control
in a rack.
Plugging into an Ethernet Network
In most facilities, Videohub is usually shared via an Ethernet network switch so it can be controlled by
computers on the network as well as by Videohub control panels.
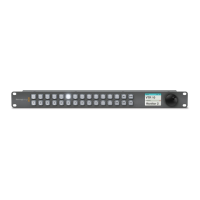
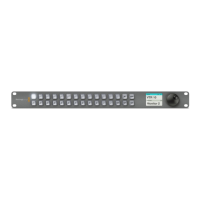
Videohub Master Control and Videohub Smart Control
Videohub Master Control and Videohub Smart Control connect to any Videohub via standard Ethernet
networking and can be powered over Ethernet or with an external power supply.
If your Ethernet switch does not provide power over Ethernet, use the included universal power supply.
To connect a Videohub control panel to the local area IP based network:
Step 1. Connect the included power supply to your Videohub control panel. You can skip this step if
your network switch provides power over Ethernet. No problem will be caused by connecting
the power supply and power over Ethernet at the same time.
Step 2. Use the network In port on your Videohub control panel to connect to your network switch
with a standard RJ45 Ethernet cable.
Step 3. You might also wish to connect another network device to the network Out port on your
Videohub control panel, such as a Videohub router, another Videohub control panel or other
network devices such as a computer or VoIP phone. The Out port does not provide power
over Ethernet and any network device connected to this port will require its own power supply.
Side view of Videohub Smart Control showing the mini-B type
USB port.

 Loading...


