12
Getting Started with Videohub Routers
Configuring Smart Videohub with the Control Panel
You can use the Smart Videohub's integrated control panel and LCD to configure network settings.
Your router will be visible to other computers and hardware panels and these devices can then
control the unit remotely and make the routing changes. If your router does not have a front panel
control, then you should use Blackmagic Videohub Setup to configure your network settings.
Please follow these steps to set the IP address:
Step 1. Press the MENU button to enter the network configuration page.
Step 2. If not already selected, use the rotary knob to select the "IP" tab.
Step 3. Press the TAKE button to highlight the first field and use the rotary knob to adjust this value.
Step 4. Repeat the process until you have set the desired IP address.
Step 5. Press the MENU button to exit the network configuration page.
If required, the Subnet and Gateway address can be set by the same method.
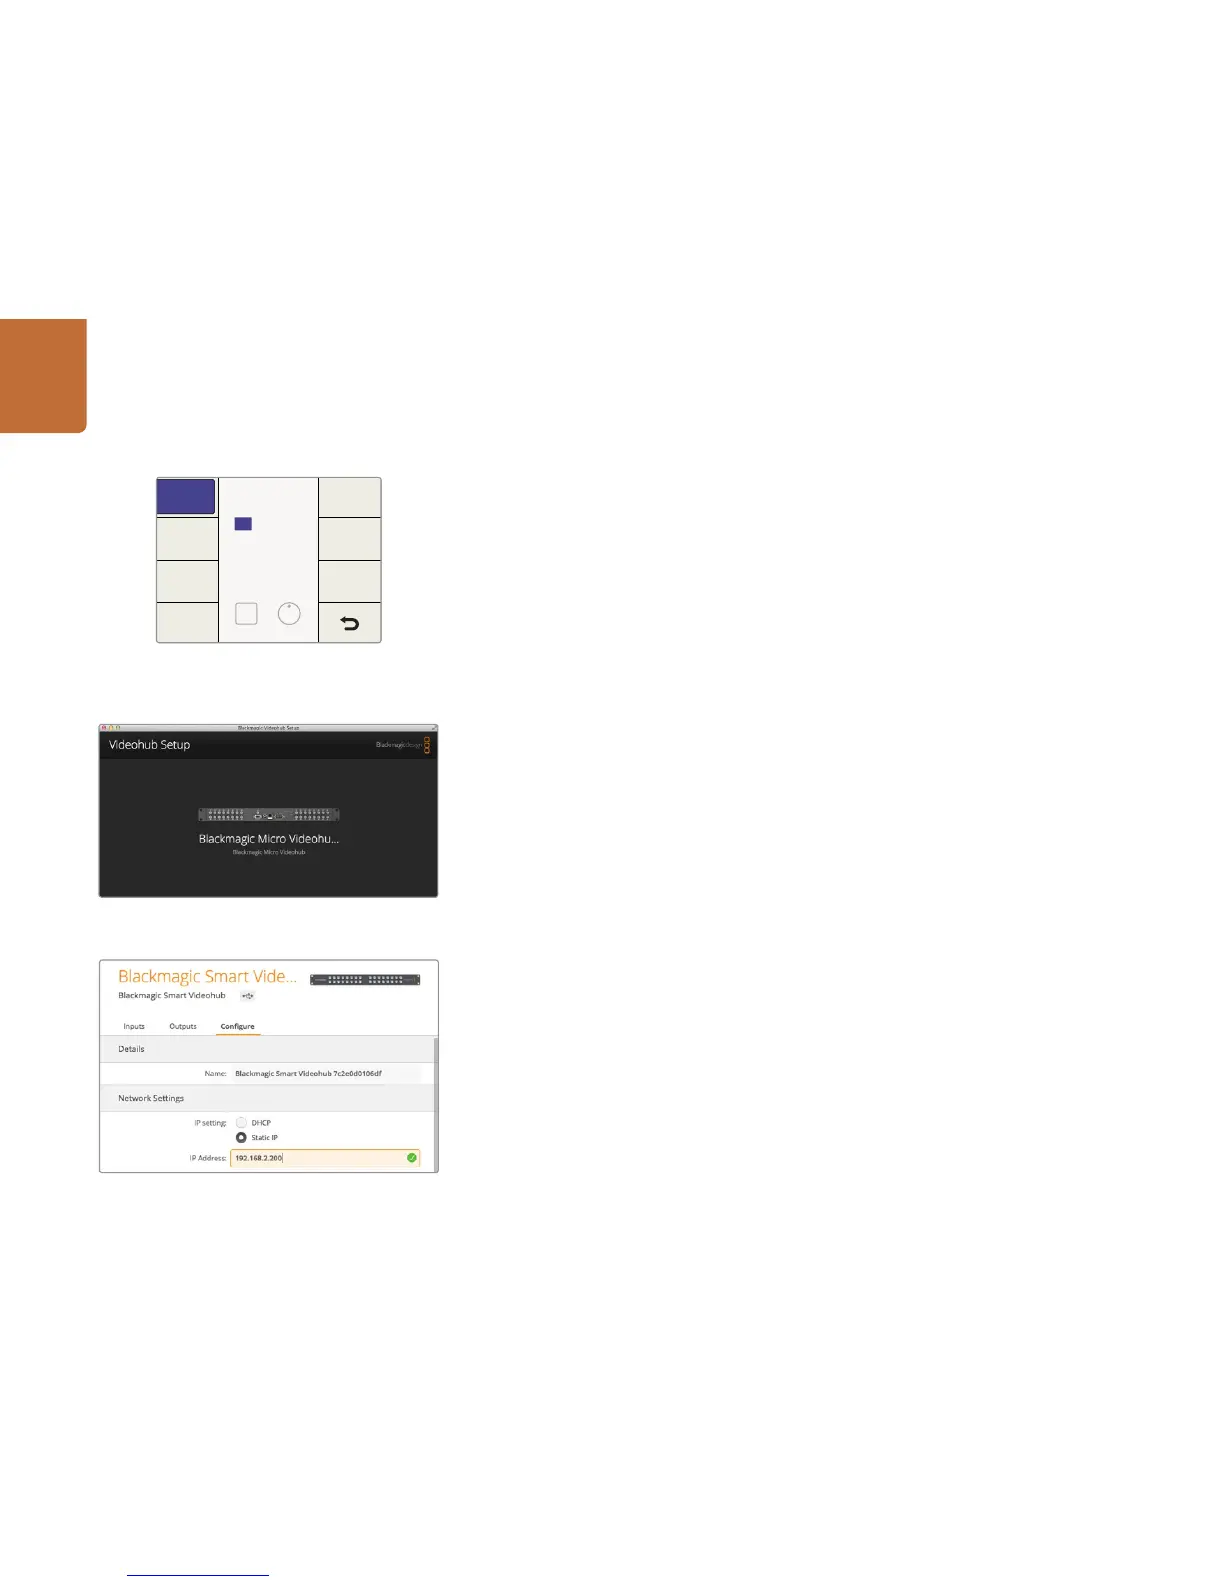
Configuring Videohub with Blackmagic Videohub Setup
Ethernet Videohub Server Settings
If your Videohub contains an integrated Videohub Server, you can use Blackmagic Videohub Setup to
set the IP address. Connect the Videohub to your computer via USB and follow these steps:
Step 1. Launch Blackmagic Videohub Setup and it will automatically display any Videohubs that are
connected to your network.
Step 2. If you have multiple Videohubs you can use the left and right arrows to cycle through the
devices. If for any reason your Videohub does not appear, click on the Plus Sign and enter
your Videohub's IP address and then click Add.
Step 3. Select your Videohub by clicking on either the picture or the configuration icon.
Step 4. Click on the Configure tab and enable the Static IP button.
Step 5. Enter the IP address and if required, the Subnet Mask and Gateway address, and click Apply.
Step 6. Click the "Done" button to close the window.
If controlling Videohub via RS-422, set the "Leitch protocol" switch to:
"Leitch Client" if the Videohub is to act as a client of a connected control panel and to listen
and respond to the control panel button presses.
"Leitch Server" if the Videohub is to be controlled from an automation system or third party
router control system.
The Videohub Server Configuration options will become active
when an Ethernet-equipped Videohub is connected via USB.