Installation of the organ
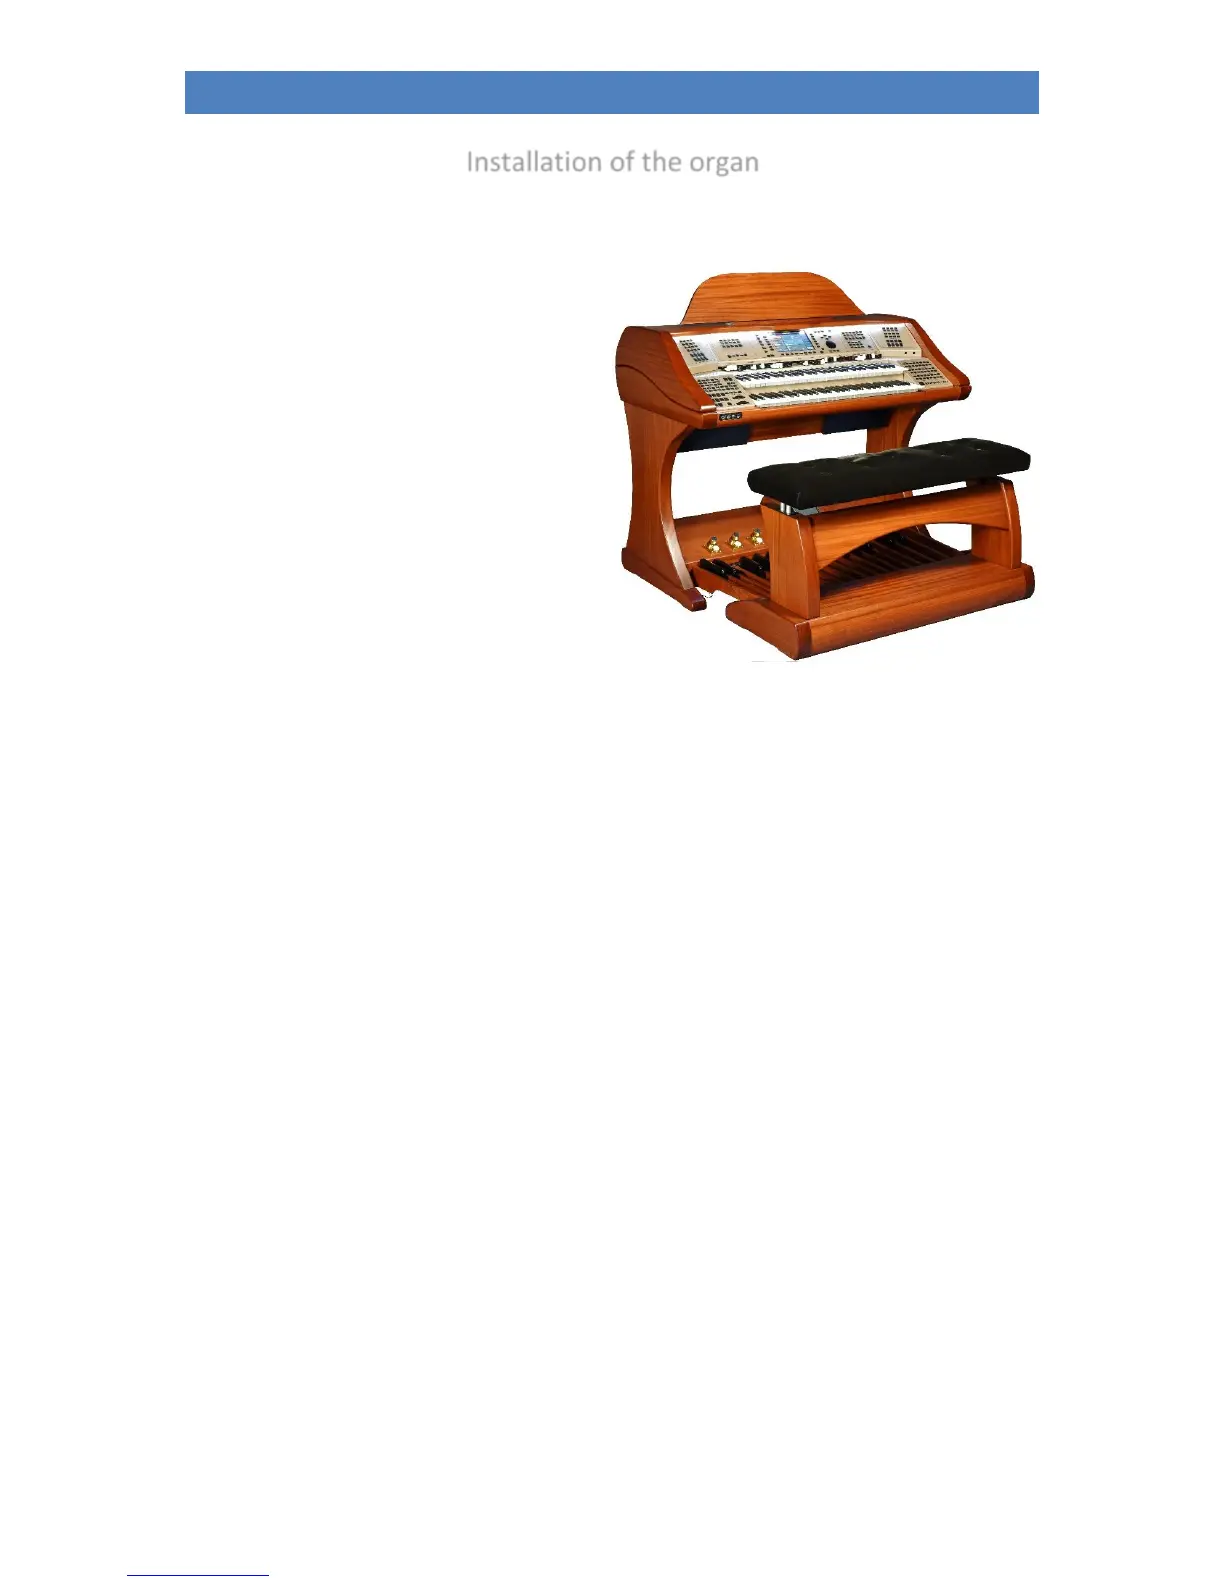
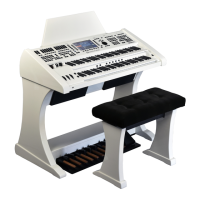
Your SINFONIA 480/500SE or EMPORIO 600SE consists of several parts:
The organ consists of the stand with active
loudspeaker system (not for "concert edition"),
the console and the 30 keys full pedalboard (17
or 25 pedal keys for the SINFONIA 480SE).
• Place the console on the stand with an
assistant. The electrical connections are
made automatically via a multi-pole
plug/socket in the lower right corner of
the sidewall or in the console. Carefully
place the upper part on top so that the
plug and socket engage and the wooden
pins in the side rails of the stand slide
into the corresponding holes in the side
rails of the console. Attention: Pay
attention to your fingers and those of
the assistant - danger of jamming!
• Now insert the music stand into the provided mounting bolts or - if your organ has the
illuminated acrylic music stand - into the mounting slot.
If the organ has the optional Cloud Studio, you will find a slot behind the music stand for the
necessary cable connections for the display music stand. Connect the USB cable coming from
the music stand to the socket on the right in the lead-through (under the cover brush), the
cables coming from the upper part (HDMI and mains cable) in the lead-through plug into the
corresponding sockets on the underside of the plastic cover on the back of the music stand.
• Place the pedal in front of the stand and insert the connecting cable into the socket provided
on the right in the foot box of the stand.
• Now carefully insert the pedal into the foot box of the underframe. Make sure that the unit
does not jam to avoid pressure points in the housing.
• Plug the power cord into a wall outlet.
• Place the bench in front of the organ and adjust the seat height to a comfortable level.
• The organ is now ready to play.
Note: All necessary connections for operation are made automatically via the plug connector between
the top and the stand of the organ. If you want to connect the organ to other components, you will find
the corresponding connections at the bottom right on the back of the pedal box.