Basic Procedures 4-5
Decrease Size. Decreases the size of the selected text or
graphic. The text or graphic remains in its original proportions,
but displays and will print 10% smaller for each time you press
the Increase Size button. See Using Increase Size and
Decrease Size on page 7-30 for details.
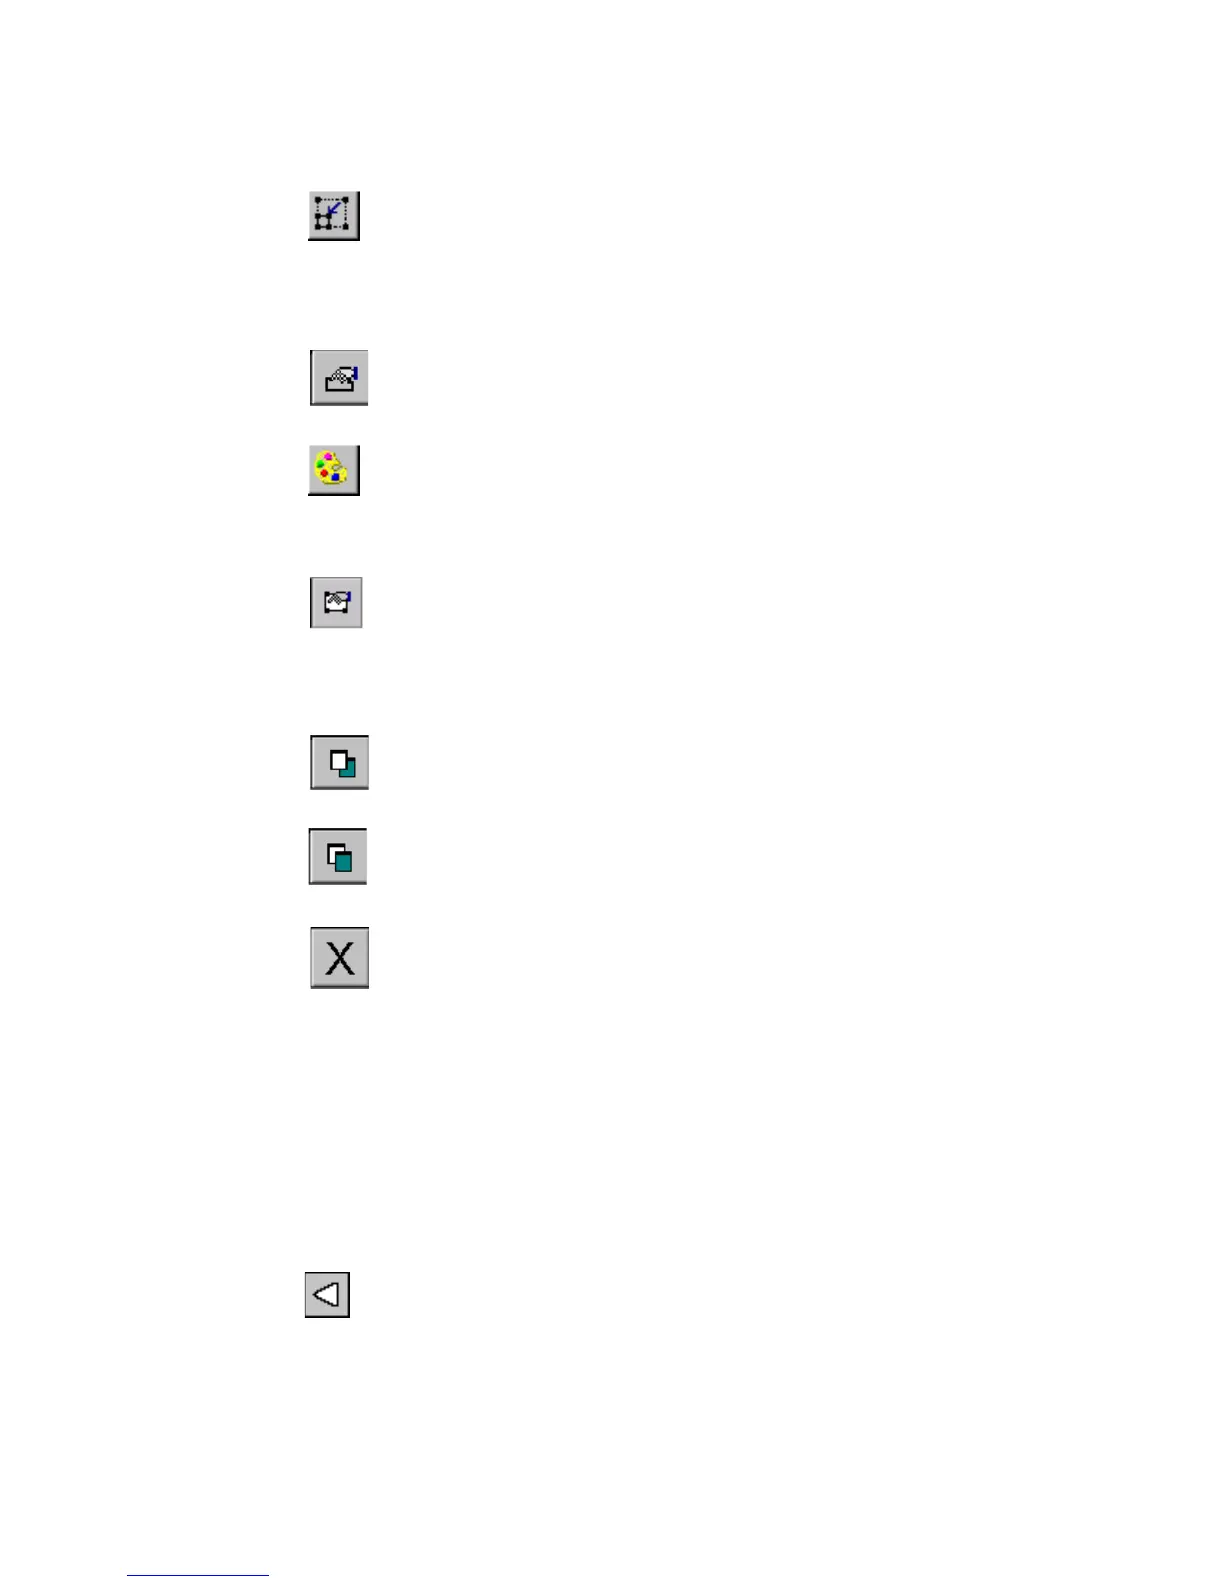
Properties Menu. Displays different options that apply to the
object selected including: Color, Object Properties, Move to Back,
and Move to Front.
Color. Lets you choose color for the selected object or change the
default color the system uses for drawing new objects. See See
CHAPTER 8: Applying Color, beginning on page 8-1 for
details.
Object Properties. Lists information about the object selected,
which can be either text or graphic, including height, width,
rotation, and so on. This button is valid only when a single object
is selected. See Changing object properties on page 7-35 for
details.
Move to Back. Moves the selected object to the back of any
layered objects, so that the other objects obscure or cover up the
selected object.
Move to Front. Moves the selected object to the front of any
layered objects, so that the selected object obscures or covers up
any objects behind it.
Exit. Returns to the Main Launcher screen.
Scrolling functions
Use the scroll buttons (shown in Figure 4-1) to move the view shown
on the screen to the left or right, and up or down.
If the entire label is already visible in the viewing area of your screen,
scrolling has no effect. But if you have chosen a zoom level that results
in your label exceeding the size of the preview window, you’ll find the
scroll buttons useful.
Press the left scroll button to shift the view toward the right
edge of the label.