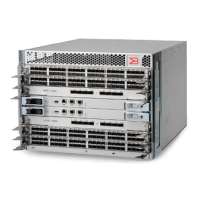
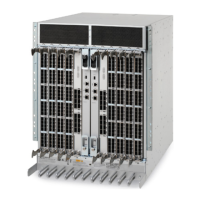
3. Unpack the new chassis:
a) Cut the bands that encircle the packaging.
b) Remove the lid and the kits and foam from the top of the chassis.
c) Lift the cardboard box o the chassis and remove the plastic bag from around the chassis. Save the packing materials for
use when returning the old chassis.
d) Leave the chassis on top of the plastic shipping tray if the chassis must be transported to the installation location.
NOTE
The device packaging does not incorporate a wood pallet and pallet brackets. The chassis sits on top of a plastic
shipping tray.
4. Use a pallet jack or other assisted lift to transport the new chassis to the installation area. Doorways must be wider than 91 cm
(36 in.) to accommodate the chassis on the pallet.
5. Use a lift to raise the chassis to the correct level. If installing the chassis in a cabinet, follow the instructions provided by the rack
kit manufacturer.
Installing components into the chassis
Follow electrostatic discharge (ESD) precautions when installing new components. Wear a wrist grounding strap connected to chassis
ground (if the device is plugged in) or a bench ground.
DANGER
For safety reasons, the ESD wrist strap should contain a series 1 megaohm resistor.
1. Replace the blower assemblies (Blower assembly removal and replacement on page 124).
2. Replace the power supplies or ller panels (Power supply removal and replacement on page 121).
3. Replace the control processor blades (CP8) (Control processor blade (CP8) removal and replacement on page 107).
4. Replace the core switch blades (CR16-x) (Core switch blade (CR16-x) removal and replacement on page 119).
5. If ICL cables are not used, insert EMI plugs in the ICL sockets in the core switch blades (CR16-x).
6. Replace the port blades or ller panels (Port and application blade removal and replacement on page 102 and Blade ller panel
removal and replacement on page 105).
7. Replace the cable management comb (Cable management comb removal and replacement on page 101).
8. Connect the power cords to the power supplies and the power outlets.
9. Replace the chassis door (Chassis door removal and replacement on page 99).
10. Power on the device (Providing power to the device on page 55).
The device performs a power-on self-test (POST). The POST takes a minimum of three minutes and is complete when LED
activity returns to the standard state.
11. Verify that the device is powered on and POST is complete (all power LED indicators on the blades should be a steady green).
12. Verify that all components are functioning correctly by checking their LEDs. If the LEDs do not indicate correct operation, try
reinstalling the corresponding component.
Chassis removal and replacement
Brocade DCX 8510-8 Backbone Hardware Installation Guide
146 53-1002180-15
 Loading...