2-77
Confidential
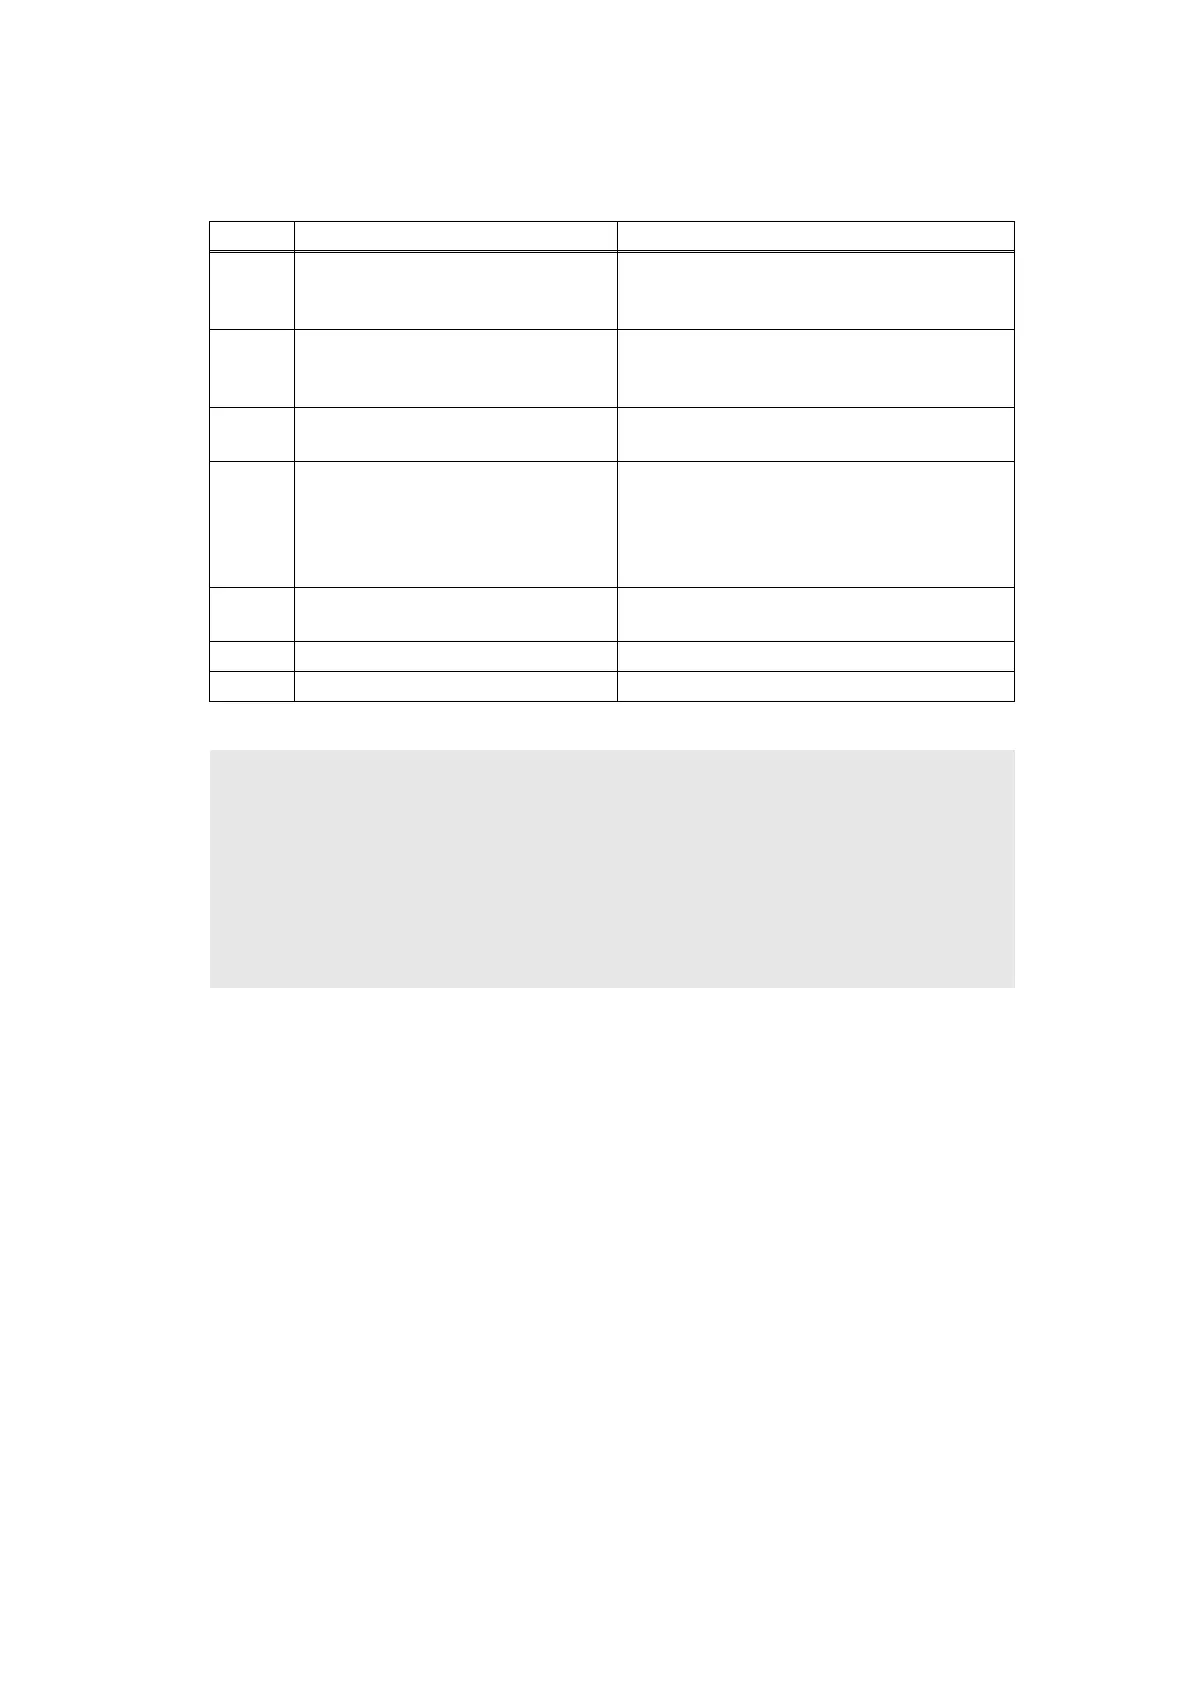
4.8 Troubleshooting for Fuser Unit Problems
4.8.1 Fuser unit failure
Step Cause Remedy
1
Harness connection failure
between fuser unit and eject sensor
PCB
Check the harness connection between the
fuser unit and the eject sensor PCB, and
reconnect it if necessary.
2
Harness connection failure
between fuser unit and low-voltage
power supply PCB
Check the harness connection between the
fuser unit and the low-voltage power supply
PCB, and reconnect it if necessary.
3
Connection failure of the eject
sensor harness
Check the connection of the eject sensor
harness, and reconnect it if necessary.
4
Eject sensor PCB failure Refer to "1.3.8 Check sensor operation
(function code: 32)" in Chapter 5 to check
the sensor operation. If the sensor operation
is faulty, replace the eject sensor PCB
ASSY.
5
Low-voltage power supply PCB
failure
Replace the low-voltage power supply PCB
ASSY.
6 Fuser unit failure Replace the fuser unit.
7 Main PCB failure Replace the main PCB ASSY.
CAUTION:
• Turn the power switch OFF and then ON again. Leave the machine for ten minutes.
This problem may then be cleared.
• The machine may recover from the error, when fuser unit inspection print is conducted
after the following operation: Open the cover, and turn the power switch ON while
pressing the [Go] button, then press the [Go] button one time, and then press the [Go]
button three times. However, conducting this operation while the heater has not yet
cooled may cause the fuser unit to melt. Be careful.

 Loading...