4 - 21
Inspection and
Adjustment
Inspection and
Adjustment
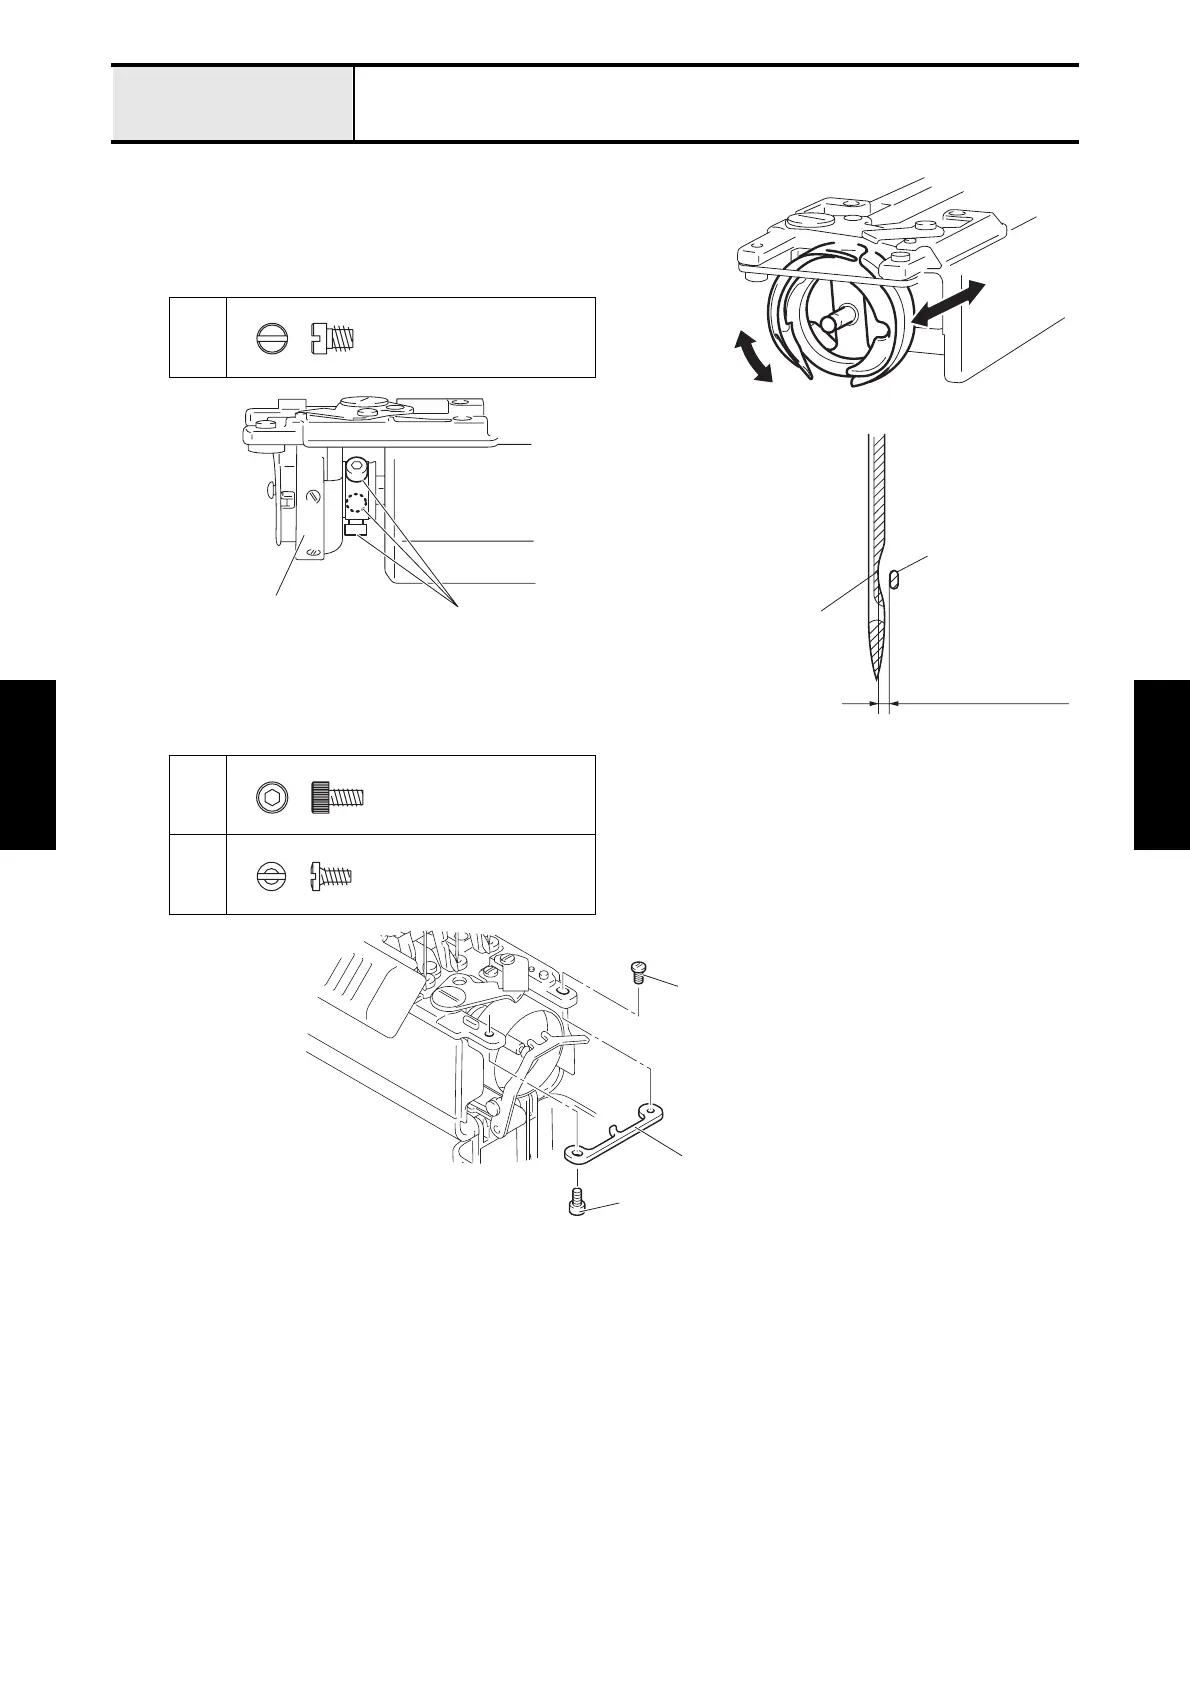
Adjustment Needle bar rising and Needle clearance
7. Loosen the 3 screws 3 at the base of the rotary and turn
the outer rotary by hand until the right edge of the needle
matches up with the rotary hook point of the outer rotary.
Then move the outer rotary to the front or back to adjust
the needle clearance and tighten the 3 screws 3 to secure
the rotary when done.
8. Follow these steps to adjust the amount the needle bar
rising and needle clearance for all other needle bars.
9. Tighten the screw 1 and screw 2 of the rotary hook
stopper to secure the rotary hook stopper.
*CAUTION
• Move the inner rotary to the proper position, and then secure the inner rotary. If the inner rotary position is not
correctly placed, the inner rotary may hit a needle and may break.
*Key point
• When securing the rotary hook stopper, make adjustments following the guidelines in section “4-24 Rotary
hook stopper clearance”.
10. Tighten the 2 screws of the needle plate to secure the needle plate.
*Key point
• If you are going to follow up with the adjustments in section “4-22 Needle bar height” you should not yet
reattach the rotary hook stopper/needle plate.
3
1
2
Needle clearance
0 - 0.4 mm
Scarf of needle
Outer rotary
hook point
Hook set screw
4.46
3
Rotary
Bolt, Socket
M3X6
Screw
2
1
Rotary hook stopper
with hex wrench 2.5 mm
 Loading...


