38
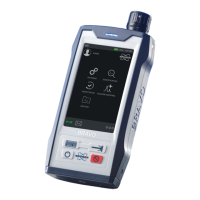
BRAVO Analyzer - User Manual Bruker Optik GmbH
Operation 4
4.9 Establishing a wireless connection between BRAVO and a
data station
By default, the BRAVO analyzer is designed for a wireless connection between BRAVO
and data station.
➣ Important Note: For a wireless connection between BRAVO and data station, a
WLAN-capable data station (e.g. notebook, tablet PC) is required. In case there is
no WLAN available at your site, a router is required in addition. In case the data sta-
tion is not WLAN-capable, a wireless access point is required.
Establishing a wireless connection between BRAVO and the data station involves the
following basic steps:
1. Connecting the data station to the WLAN
2. Connecting the BRAVO analyzer to the WLAN
3. Connecting the data station to the BRAVO analyzer via WLAN
➣ Important Note: BRAVO and data station have to be connected to the same
WLAN!
➣ Note: The BRAVO analyzer is equipped with a WiFi module which supports the
standards IEEE 802.11b/g/n.
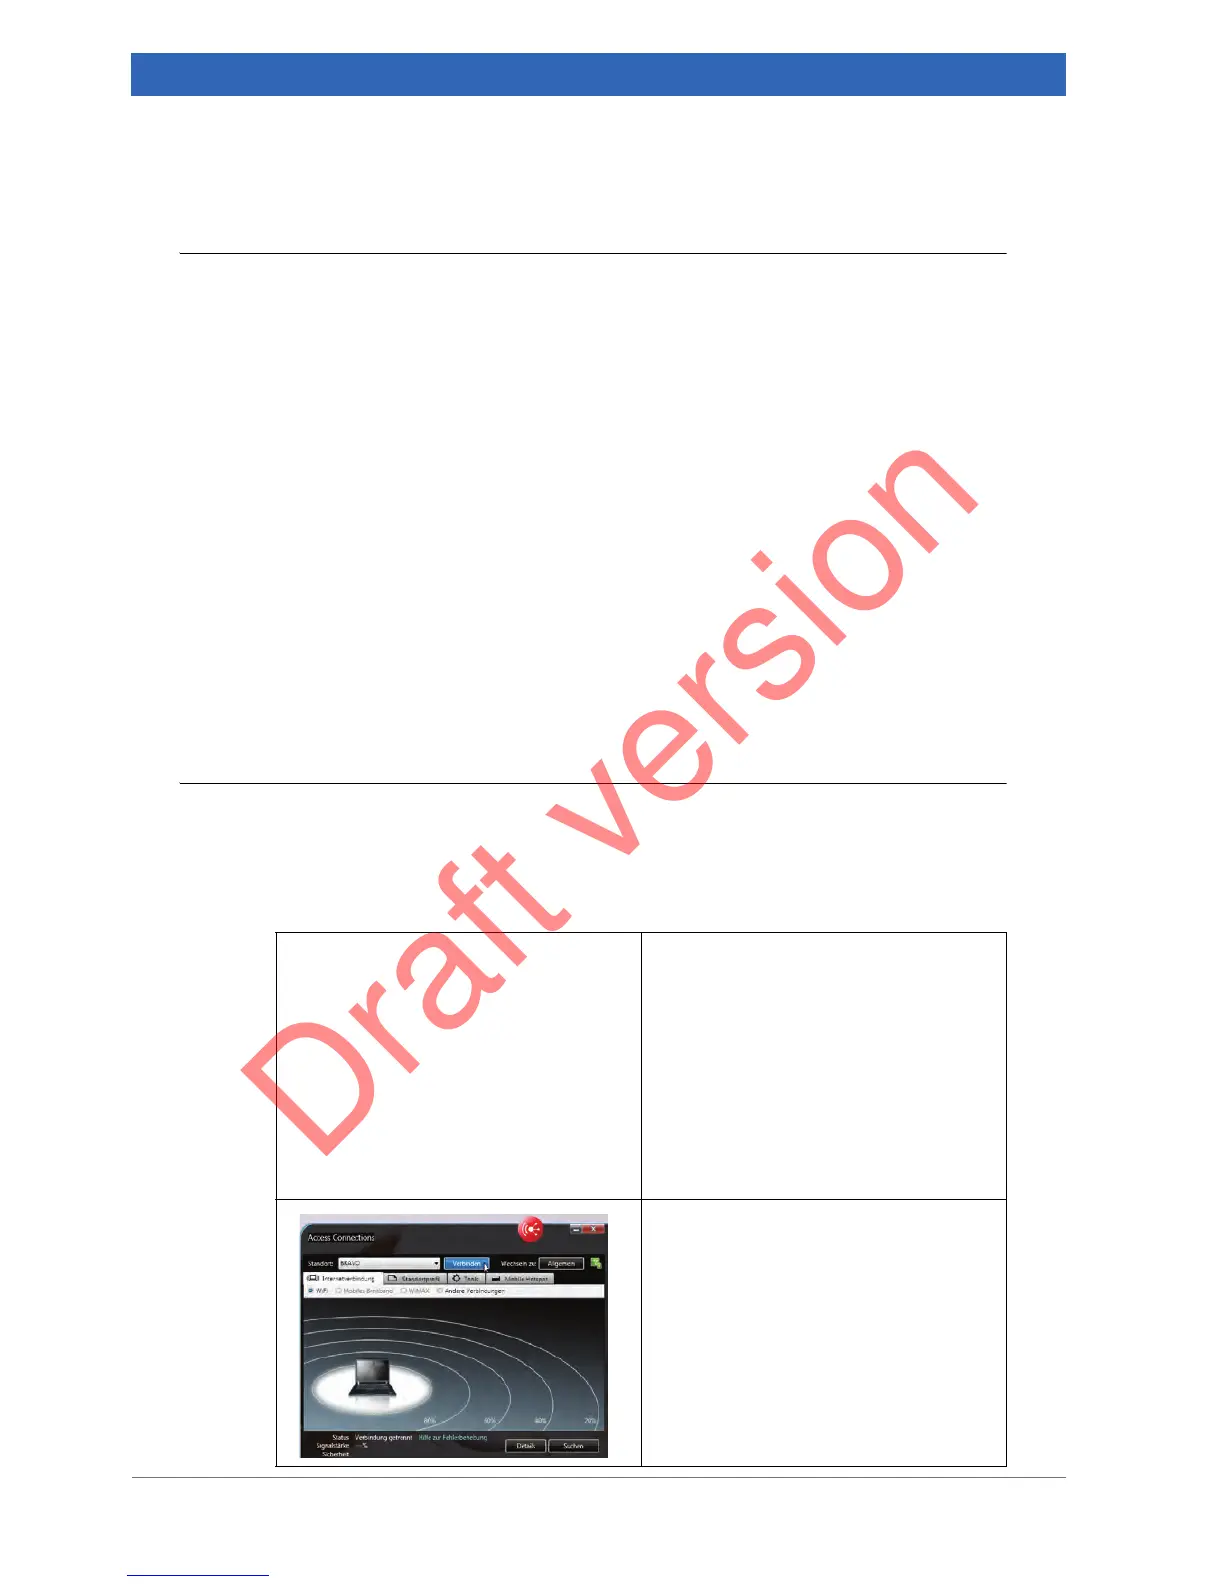
4.9.1 Connecting the data station to the WLAN
The precise procedure depends on the used wireless LAN-equipment and the wireless
local area network (WLAN) at your site.
☞ For this reason, ask your responsible IT administrator for information about how to
connect your data station to your WLAN.
1. Activate the WLAN card which is
integrated in your data station.
☞ For information about this subject,
refer to the user manual of the data
station in question.
Note: In case a router is used, switch it
on as well.
☞ For information about this subject,
refer to the user manual of the router
in question.
2. Connect the data station to a WLAN
which is available at your site (e.g. a
company-internal WLAN). Wait until
the wireless connection is estab-
lished.
☞ If you have any questions on this
subject, contact your IT administra-
tor.