2-36 2002 Buell X1: Chassis
HOME
8. See Figure 2-50. Install two cable ties (thick) to reservoir
hose and rear brake line in two locations as shown in fig-
ure. Use care to avoid pinching hose.
9. Install top two bolts to oil tank. Tighten bolts to 10-12
in-
lbs (1.1-1.4 Nm).
10. See
Figure 2-52. Cable tie vent hose and wire harness to
frame on left side of motorcycle. NOTE: Use thick cable
tie on wire harness and thin cable tie on vent hose. Use
care to avoid pinching hose.
11. Install battery with strap and nut. Tighten nut to 40 in-lbs
(4.5 Nm).
12. Attach oxygen sensor connector to battery strap with
new thin cable tie on left hand side of motorcycle.
13. See
Figure 2-51. Connect rear brake light switch wires to
rear brake light switch.
14. Attach rear brake light switch wires to battery strap with
new thin cable tie on right hand side of motorcycle.
11WARNING1WARNING
Always connect the positive battery cable first. If the
positive cable should contact ground with the negative
cable installed, the resulting sparks may cause a battery
explosion, which could result in death or serious injury.
15. Connect positive battery cable. Tighten to 60-96 in-lbs
(7-11 Nm).
16. Connect negative battery cable. Tighten to 60-96 in-lbs
(7-11Nm).
17. Bleed rear brake system and install reservoir cap. See
1.7 BRAKES
11WARNING1WARNING
After installing seat, pull upward on front of seat to be
sure it is locked in position. If seat is loose, it could shift
during vehicle operation resulting in loss of control of
vehicle and death or serious injury.
18. Install seat. See
2.40 SEAT.
11WARNING1WARNING
Check for proper brake lamp operation before riding
motorcycle. Visibility is a major concern for motorcy-
clists. Failure to have proper brake lamp operation could
result in death or serious injury.
19. Turn ignition key ON, depress rear brake pedal and
check for proper brake light operation.
11WARNING1WARNING
After completing repairs or bleeding the system, always
test motorcycle brakes at low speed. If brakes are not
operating properly or braking efficiency is poor, testing
at high speeds could result in death or serious injury.
20. Test ride motorcycle and check for proper brake opera-
tion.
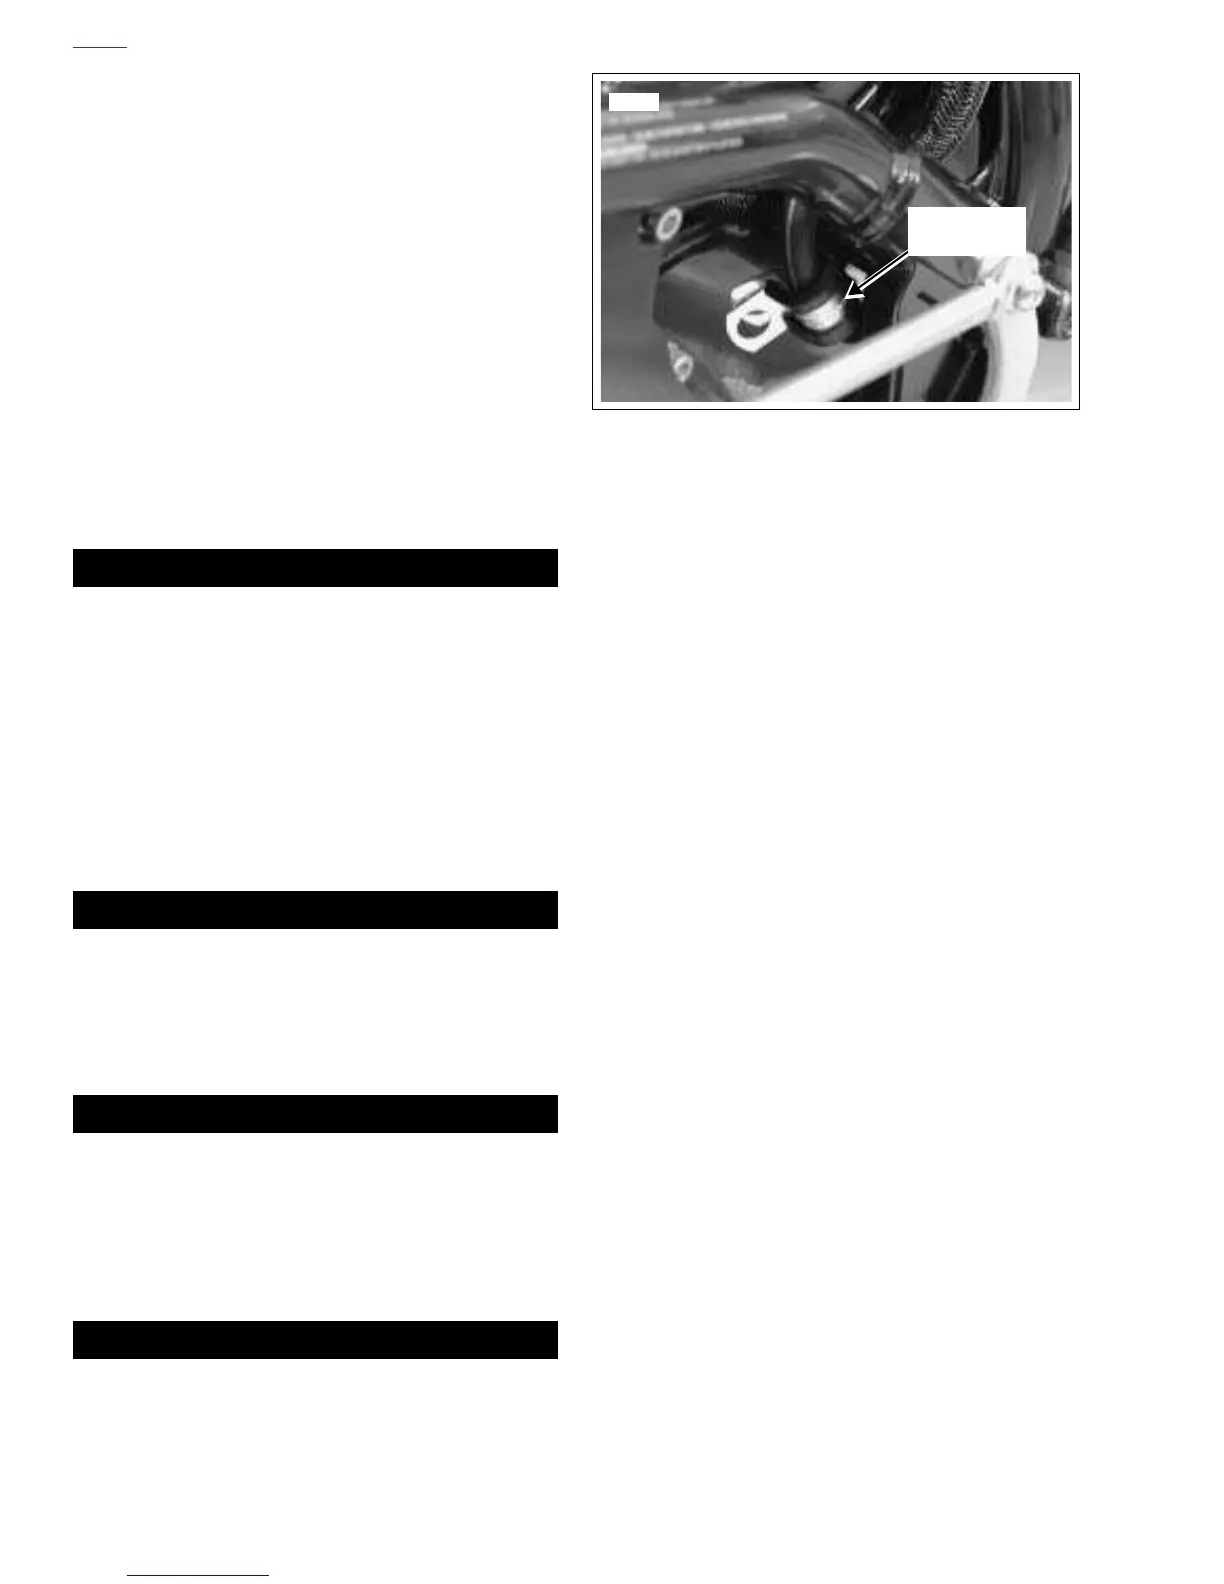
Figure 2-54. Loop Clamp Orientation Before Installation
8214
Cushioned
Loop Clamp
 Loading...


