4-8 2002 Buell X1: Fuel System
HOME
SCANALYZER 4.5
SCANALYZER DIAGNOSTICS
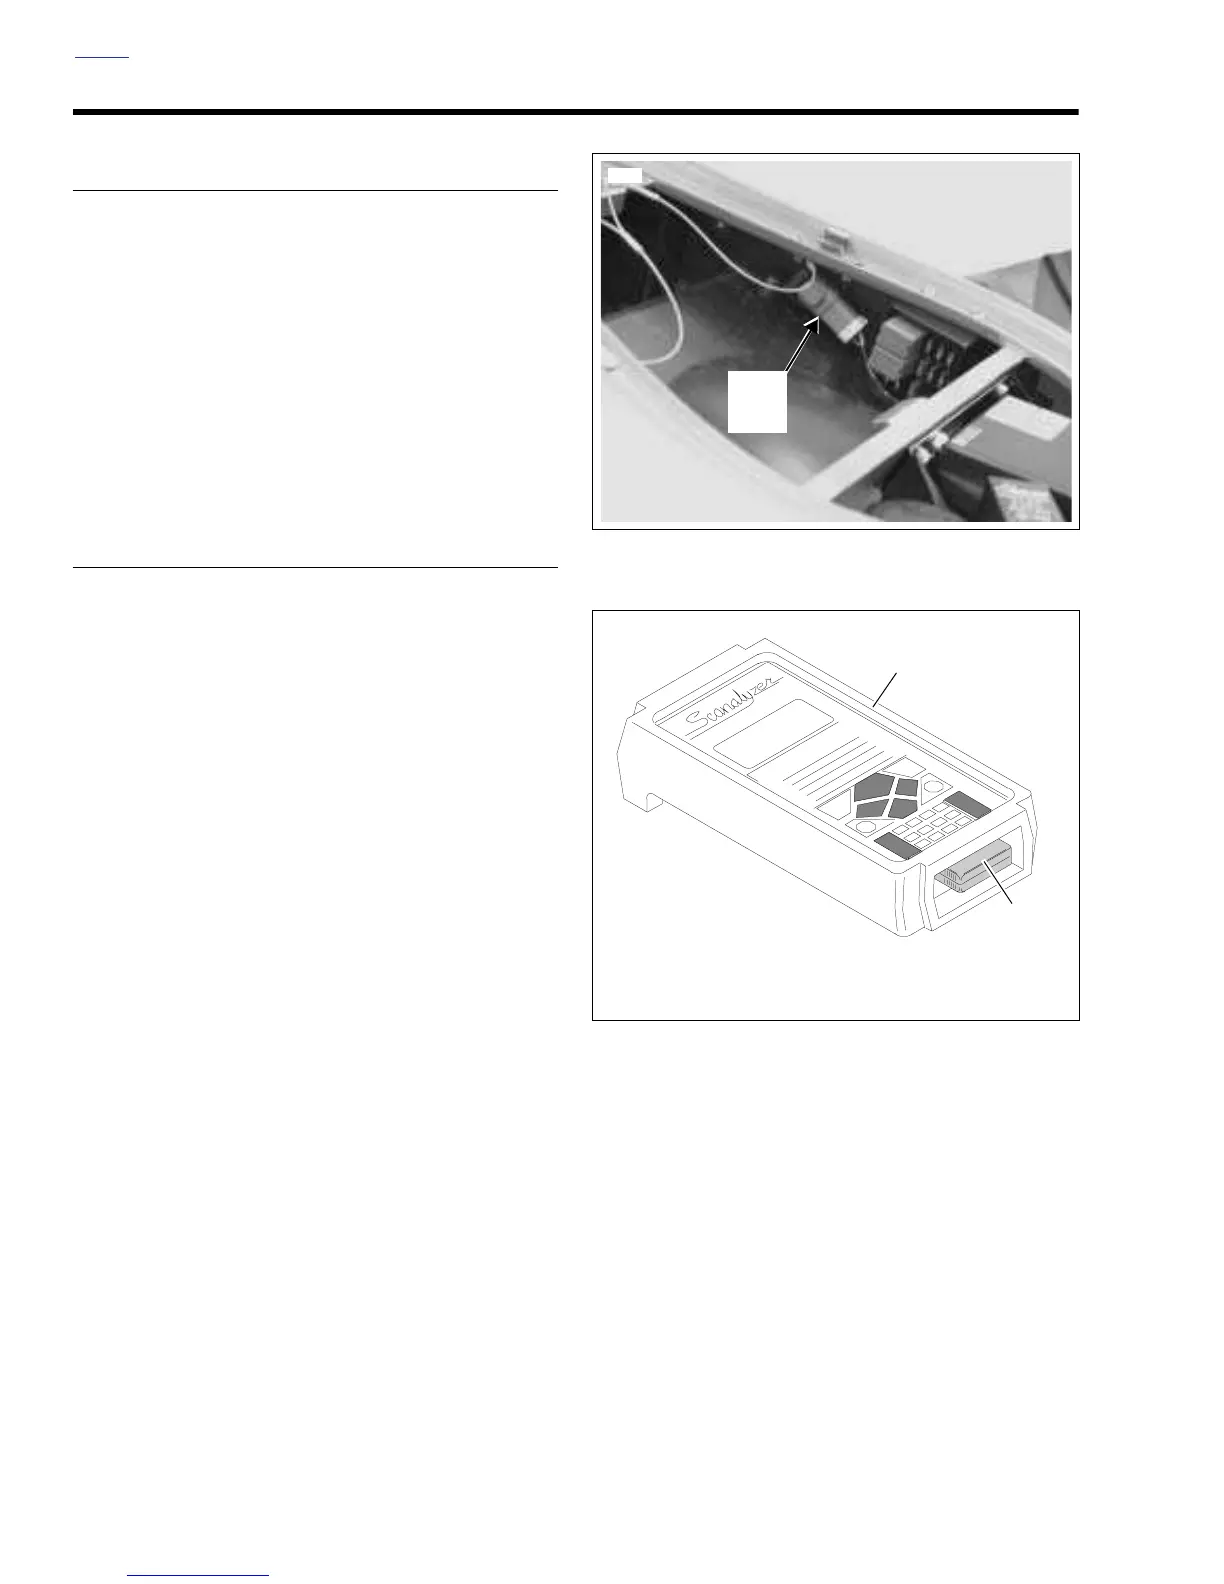
Data Link Connector
See
Figure 4-6. Using the Scanalyzer requires access to the
data link connector located in the trunk.
Scanalyzer Cartridge
See
Figure 4-7. Through a special programmable application
cartridge, the Scanalyzer offers data displays and menu
selections that allow for quick and easy retrieval of data. The
device enables the user to perform a variety of diagnostic
tests while monitoring inputs and outputs.
Sample Scanalyzer menu selections are shown in
Figure 4-8.
INSTALLATION
The illumination of the check engine lamp usually indicates
the presence of trouble codes. When trouble codes are
present, and a SCANALYZER (Part No. HD-41325) and
DIAGNOSTIC CARTRIDGE (Part No. B-41325-99) are avail-
able, proceed as follows:
1. Turn ignition/light key switch OFF.
2. Remove seat. See
2.40 SEAT.
3. See Figure 4-6. Locate the data link connector [91A] in
the trunk.
4. Remove rubber protective plug from data link connector.
Plug Scanalyzer into connector. If necessary, detach
connector from frame.
5. Turn ignition/light key switch ON. Set engine stop switch
to RUN, but do not start engine.
6. See
Figure 4-7. Insert the diagnostic application car-
tridge (2) into the Scanalyzer (1). During the next few
seconds, the Scanalyzer sequences through a series of
screens that reflect a power-on self test, the system
copyright, and then an attempt at communications with
the ECM. Once communications is established with the
ECM, the diagnostic menu appears. See
Figure 4-8.
7. Continue with the instructions under USAGE.
Figure 4-6. Data Link Connector [91A]
Figure 4-7. Scanalyzer and Cartridge
Data
Link
7987
[91A]
1. Scanalyzer (Part No. HD-41325)
2. Cartridge (Part No. B-41325-99)
b0656x4x
1
2













 To Next Page