2002 Buell X1: Electrical 7-51
HOME
HORN 7.21
REMOVAL
1. Remove seat. See
2.40 SEAT.
1WARNING1WARNING
The gasoline in the fuel supply line downstream of the
fuel pump is under high pressure (49 psi [338 kPa]). To
avoid an uncontrolled discharge or spray of gasoline,
always purge the system of high pressure gas before
attaching fuel pressure gauge. Gasoline is extremely
flammable and highly explosive. Inadequate safety pre-
cautions could result in death or serious injury.
2. Purge fuel line and remove fuel tank. See
4.37 FUEL
TANK.
3. Remove air scoop. See
2.36 AIR SCOOP.
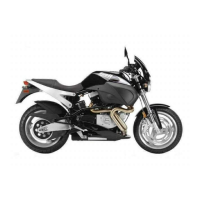
4. See
Figure 7-68. Remove bolt (1) and washer (2).
5. Remove horn (3) from frame.
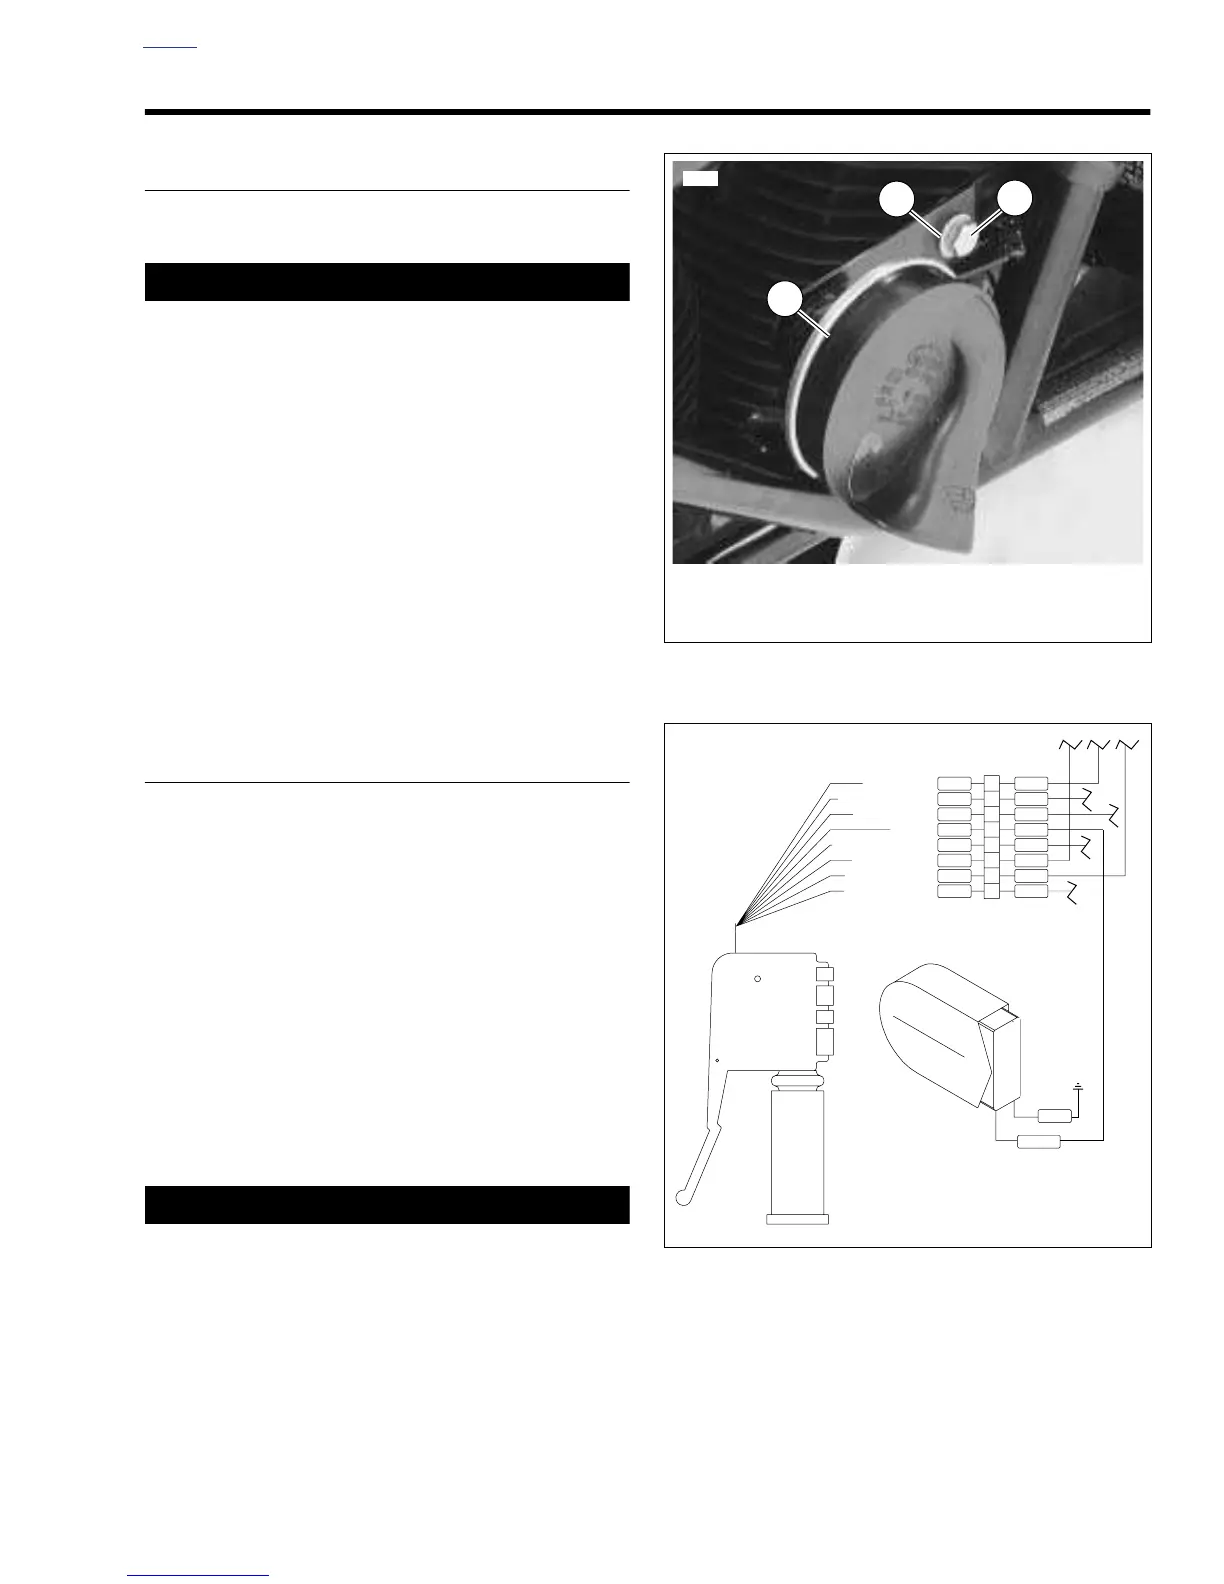
6. See
Figure 7-69. Detach Y/BK power wire and BK
ground wire from terminal clips on back side of horn.
INSTALLATION
1. See
Figure 7-69. Connect Y/BK power wire and BK
ground wire to terminal clips on back side of horn.
2. See
Figure 7-68. Attach horn (3) to frame using bolt (1)
and washer (2).
3. Check horn operation. If horn does not sound or fails to
function satisfactorily, see
TROUBLESHOOTING.
a. Turn ignition key switch to IGN.
b. Press horn switch to activate horn.
c. Turn ignition key switch to OFF.
4. Install air scoop. See 2.36 AIR SCOOP.
5. Install fuel tank. See
4.37 FUEL TANK.
1WARNING1WARNING
After installing seat, pull upward on front of seat to be
sure it is locked in position. If seat is loose, it could shift
during vehicle operation and startle the rider, causing
loss of control which could result in death or serious
injury.
6. Install seat. See
2.40 SEAT.
Figure 7-68. Horn Assembly
Figure 7-69. Horn Wiring