2002 Buell X1: Chassis 2-75
HOME
FUEL TANK COVER 2.35
REMOVAL
1. Remove seat. See
2.40 SEAT.
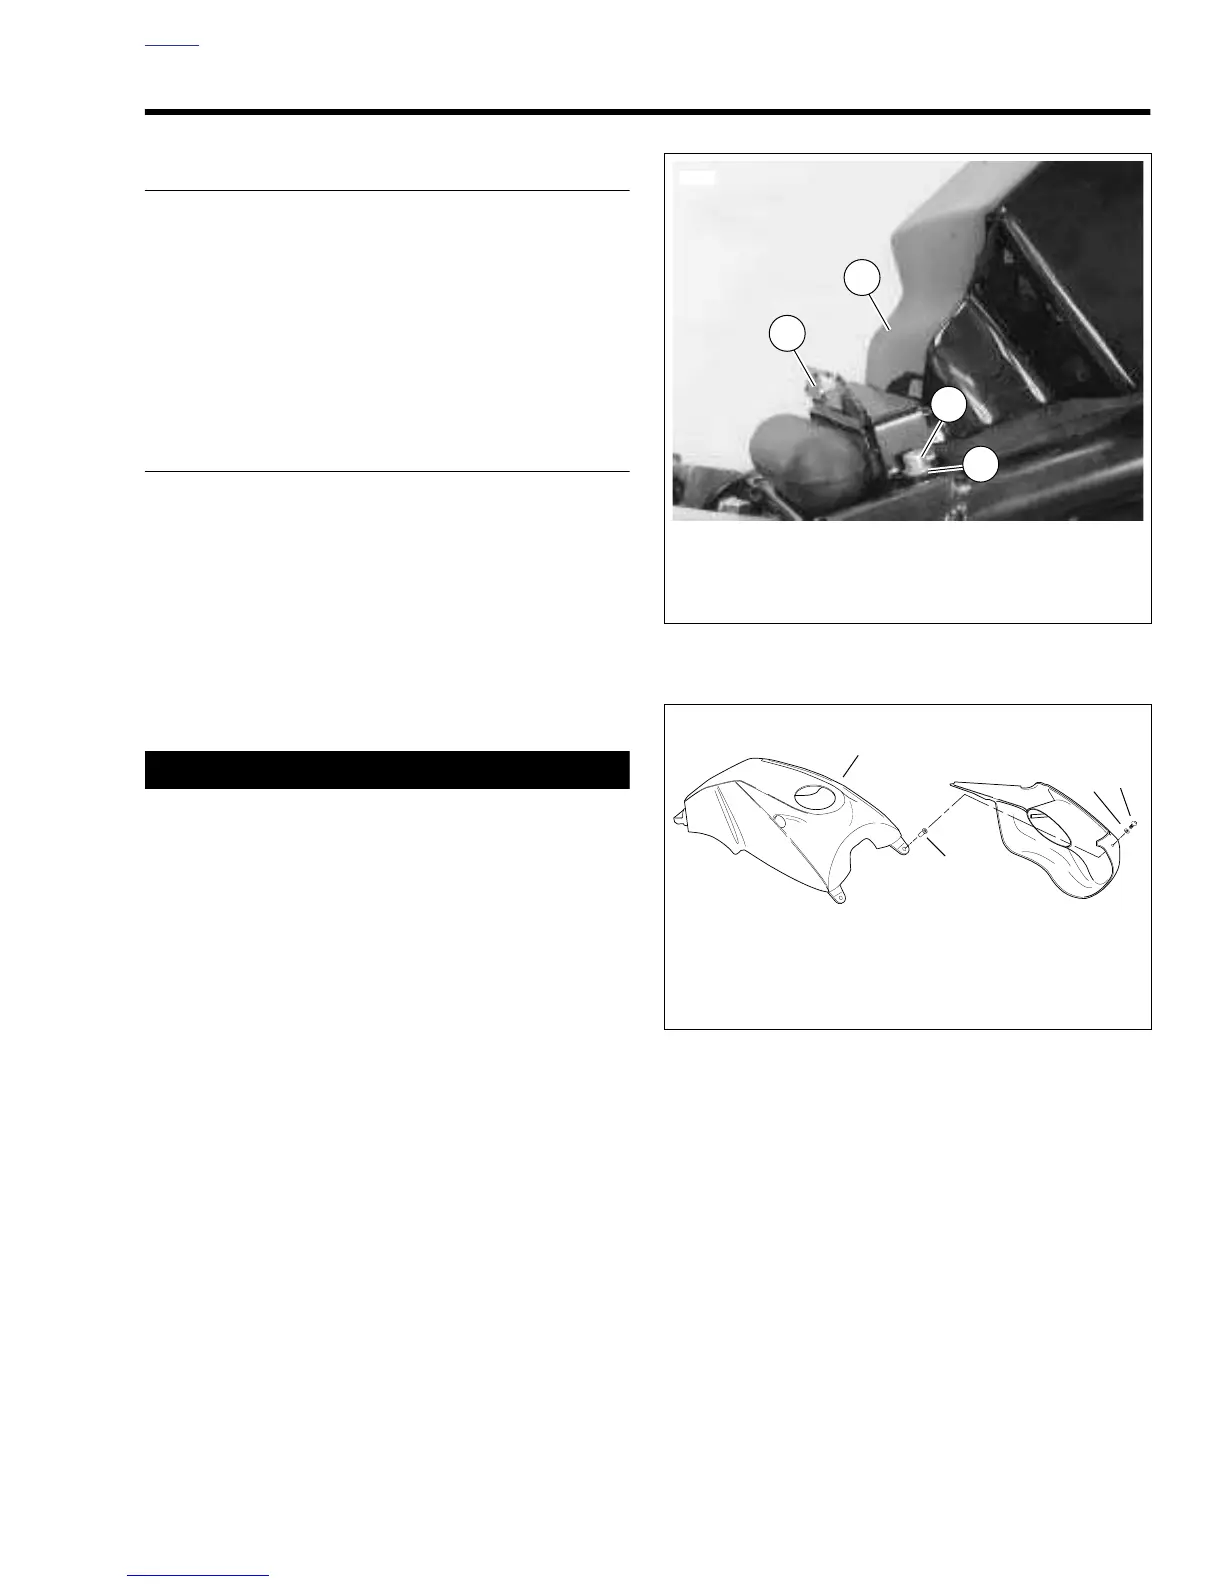
2. See Figure 2-122. Remove two fuel tank cover screws
(1) and washers (2) from bracket (3). Remove bracket.
3. Cut cable strap from vapor vent hose and vent hose fit-
ting on top of fuel tank. Detach vent hose.
4. See
Figure 2-123. Remove two screws (1), washers (2)
and wellnuts (4) at front of tank cover.
5. Remove fuel tank cover from frame.
INSTALLATION
1. Position fuel tank cover on frame.
2. See
Figure 2-123. Secure front of fuel tank cover (3) with
screws (1) and washers (2) through wellnuts (4).
3. Attach vent hose to vent hose fitting with a new cable
strap.
4. See
Figure 2-122. Install bracket.
a. Position bracket (3) over fuel tank cover (4). Tab on
bracket must face towards rear wheel.
b. Install two screws (1) and washers (2). Tighten
screws to 9-11 ft-lbs (12-15 Nm).
11WARNING1WARNING
After installing seat, pull upward on front of seat to be
sure it is locked in position. If seat is loose, it could shift
during vehicle operation and startle the rider, causing
loss of control which could result in death or serious
injury.
5. Install seat. See 2.40 SEAT.
Figure 2-122. Fuel Tank Cover Bracket
Figure 2-123. Fuel Tank Cover