1-16 2002 Buell X1: Maintenance
HOME
CHANGING ENGINE OIL
AND FILTER
Change engine oil:
● At the 500 mile (800 km) service interval.
● At every 5000 mile (8000 km) service interval thereafter.
● When storing or removing the motorcycle for the season.
NOTE
The colder the weather, the shorter the recommended oil
change interval. A vehicle used only for short runs in cold
weather must have the engine oil drained more frequently.
1. Place a suitable container under the motorcycle.
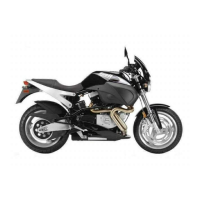
2. See
Figure 1-5. Compress clamp (2). Remove drain plug
(3) from drain hose (1). Direct hose to container and
completely drain oil tank.
3. Install drain plug (3) on drain hose (1). Tighten clamp (2).
4. Remove oil filter using OIL FILTER WRENCH (Part No.
HD-42311).
5. Clean filter gasket contact surface on crankcase. Surface
should be smooth and free of any debris or old gasket
material.
6. See
Figure 1-6. Apply a thin film of oil to filter gasket con-
tact surface on crankcase and to new oil filter.
7. Pour 4.0 ounces (0.12 liter) of clean oil into new filter
when changing oil.
8. Screw filter onto adapter until filter gasket touches crank-
case surface. Apply another 1/2-3/4 turn by hand.
9. Remove seat. See 2.40 SEAT.
11WARNING1WARNING
Be sure no oil gets on tires when changing oil and filter.
Traction will be adversely affected which may lead to
loss of control which could result in death or serious
injury.
10. Fill oil tank with an oil from
Tabl e 1-4. Oil tank capacity is
2.5 quarts (2.37 liters) including the 4.0 ounces (0.12
liter) added in Step 7.
11. Install filler cap onto oil tank. Make sure filler cap is fully
seated.
11WARNING1WARNING
After installing seat, pull upward on front of seat to be
sure it is locked in position. If seat is loose, it could shift
during vehicle operation and startle the rider, causing
loss of control which could result in death or serious
injury.
12. Install seat. See
2.40 SEAT.
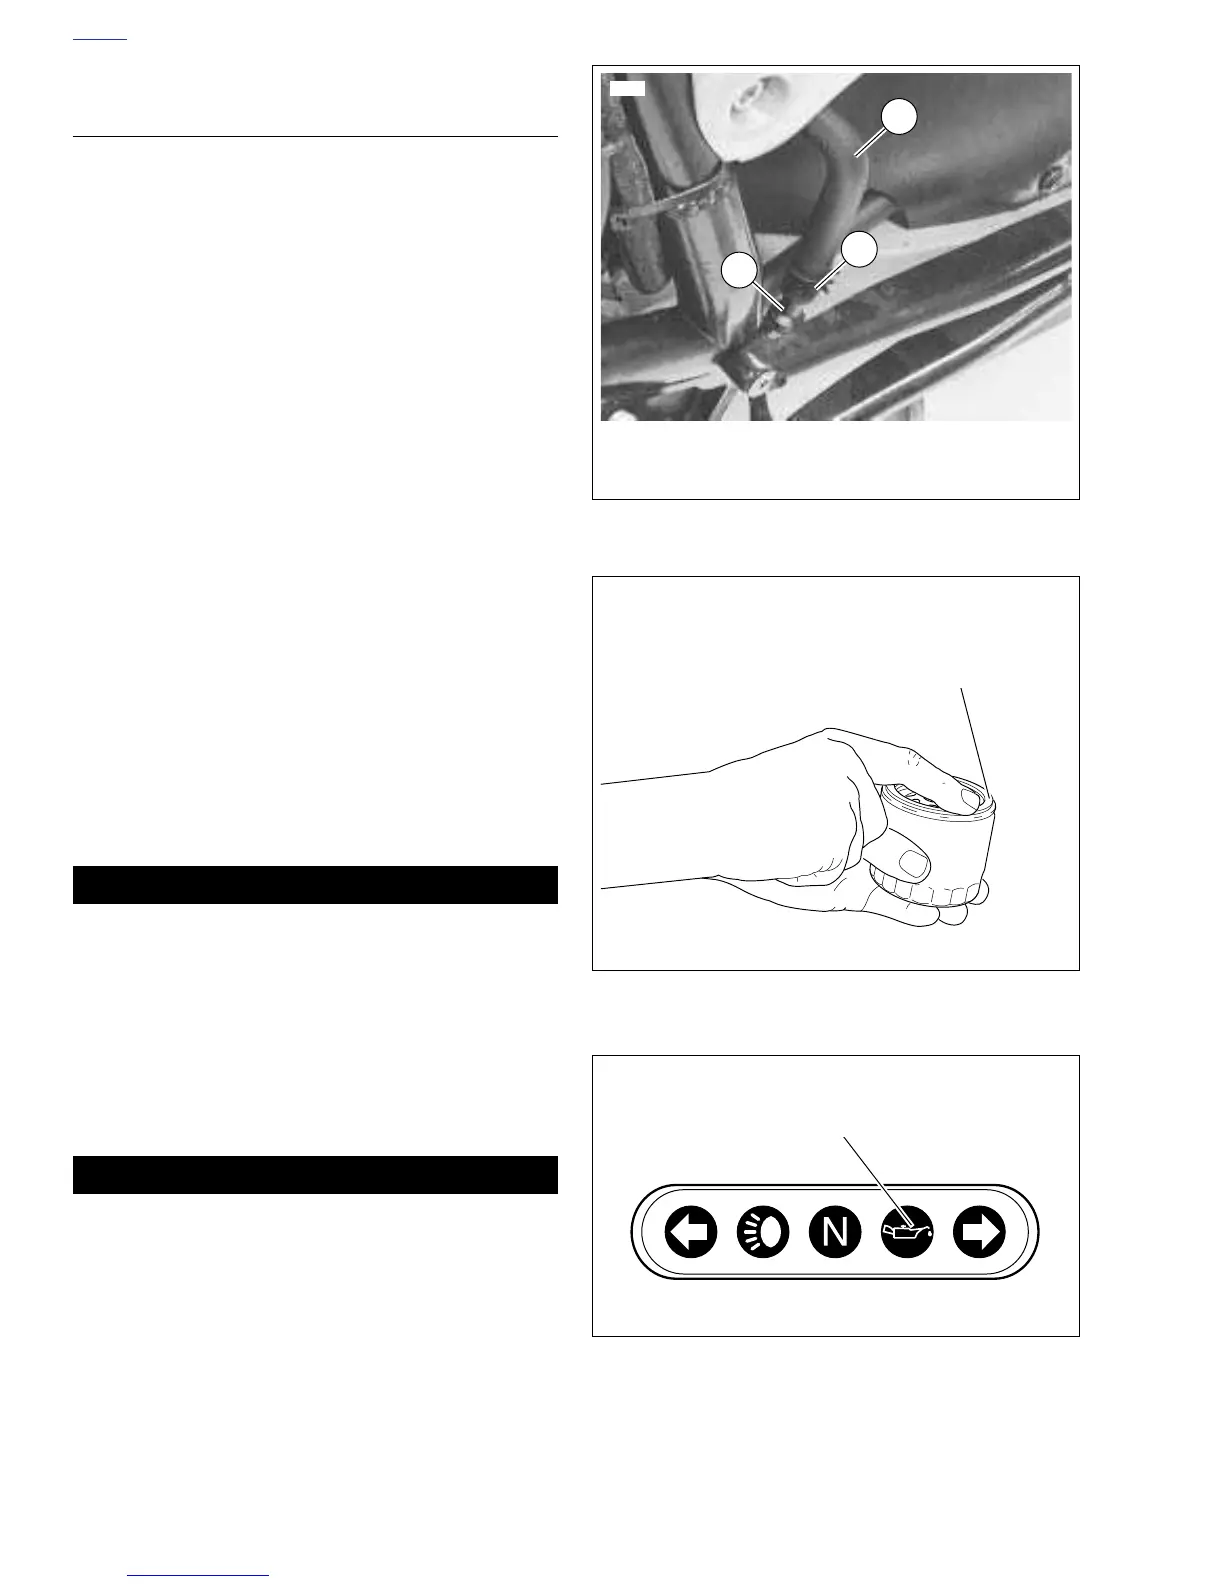
13. See Figure 1-7. Start engine. Verify that oil pressure sig-
nal light on instrument support turns off when engine
speed is 1000 RPM or above.
14. Check for oil leaks at oil filter and drain hose.
15. Check oil level. See
CHECKING ENGINE OIL LEVEL.
Figure 1-5. Oil Tank Drain Line
Figure 1-6. Oil Filter
Figure 1-7. Oil Pressure Signal Light
1. Drain Hose
2. Clamp
3. Drain Plug
1
7034
2
3
b0138aox
Apply a thin film of oil to new filter
gasket and crankcase mounting plate
Oil Pressure
Signal Light
b0091x7x