2002 Buell X1: Electrical 7-29
HOME
Table 7-6. Battery Charging Rates/Times
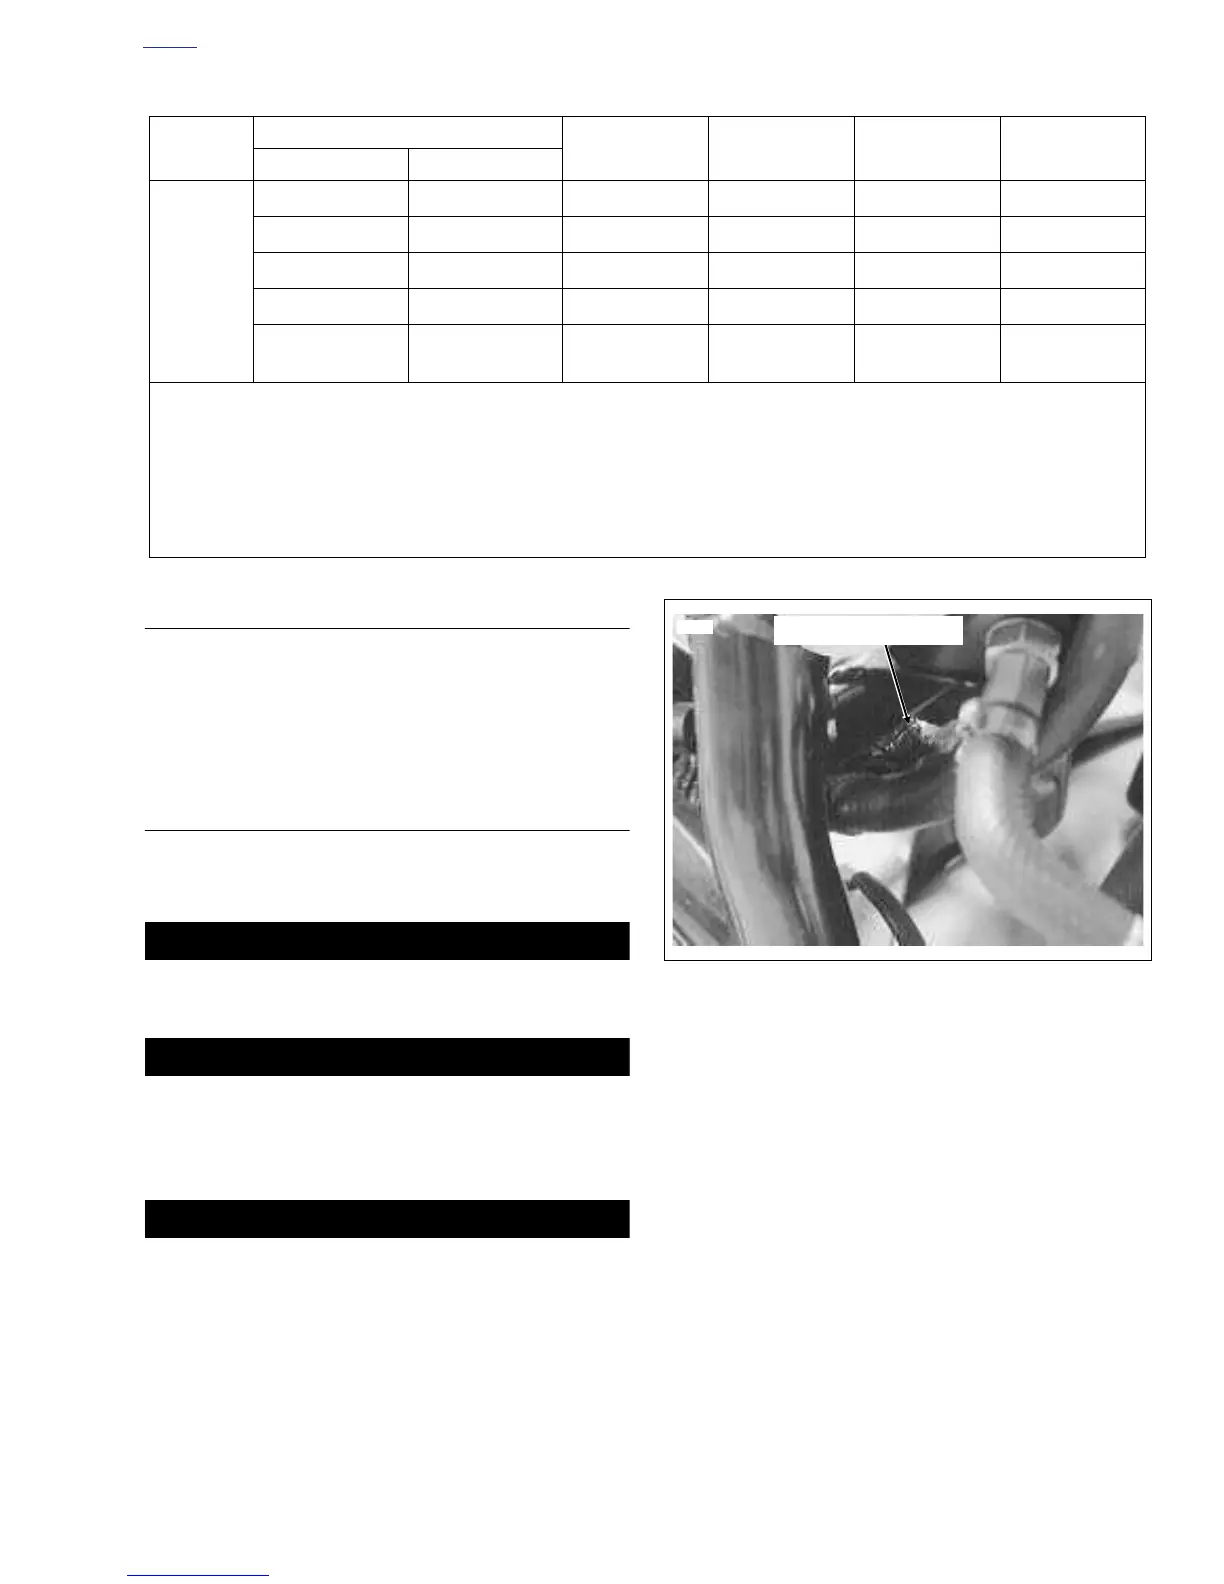
BATTERY CABLE ROUTING
Positive battery cable runs from starter post to positive bat-
tery terminal. Negative battery cable runs from frame to neg-
ative battery terminal. See
Figure 7-34.
BATTERY INSTALLATION AND
CONNECTION
1. Place the fully charged battery into the battery box, ter-
minal side forward.
CAUTION
Connect the cables to the correct battery terminals or
damage to the motorcycle electrical system will occur.
1WARNING1WARNING
Always connect the positive battery cable first. If the
positive cable should contact ground with the negative
cable installed, the resulting sparks may cause a battery
explosion which could result in death or serious injury.
CAUTION
Overtightening bolts can damage battery terminals.
2. Insert bolt through battery positive cable (red) into
threaded hole of battery positive (+) terminal. Tighten
bolt to 60-96 in-lbs (7-11 Nm).
3. Insert bolt through battery negative cable (black) into
threaded hole of battery negative (-) terminal. Tighten
bolt to 60-96 in-lbs (7-11 Nm).
4. Apply a light coat of petroleum jelly or corrosion retar-
dant material to both battery terminals.
5. Install battery strap.
a. Insert tab on right side of battery tray. Place battery
strap around top side of battery.
b. Hook edge of strap into frame tab.
c. Insert threaded shaft on strap through frame tab.
d. Install battery strap locknut on threaded shaft.
Tighten to 40 in-lbs (4.5 Nm).
5. Apply light coat of petroleum jelly or corrosion-retardant
material to both battery terminals.
6. Secure oxygen sensor connector to battery tray with
new cable strap.
6. Install seat. See
2.40 SEAT.
Battery
Amp-Hour
State of Charge
3
Amp Charger
6
Amp Charger
10
Amp Charger
20
Amp Charger
Voltage Reading % of Charge
SPORT
19
12.8 V 100% ----
12.6 V 75% 1.75 hours 50 minutes 30 minutes 15 minutes
12.3 V 50% 3.5 hours 1.75 hours 1 hour 30 minutes
12.0 V 25% 5 hours 2.5 hours 1.5 hours 45 minutes
11.8 V 0% 6 hours,
40 minutes
3 hours,
20 minutes
2 hours 1 hour
The figures listed above assume that the battery is charging at room temperature. If warmer than room temperature, use a slightly shorter
charging time. If colder, use a slightly longer charging time.
The use of constant current chargers to charge sealed maintenance-free batteries is not recommended. Any overcharge will cause dry-
out and premature battery failure. If a constant current charger is the only type available, do not exceed the charge times listed above and
do not continue charging the battery if it gets hot. When charging, never exceed 15 volts for more than 30 minutes.
Figure 7-34. Negative Battery Cable
 Loading...


